Pamela’s Gluten Free Pretzel Recipe – Whisk Guide

When you think of a delicious pretzel, your mind probably conjures up thoughts of hungry game days, cozy movie nights, or friendly gatherings. Pamela’s Gluten Free Pretzel are the real deal, perfect for pairing with a variety of dips and drinks. Some delightful choices include:
A warm, gooey cheese dip complements the traditional pretzel flavor seamlessly. You can even make a homemade cheese dip with cheddar and cream cheese. Melty and rich, it’s a crowd-pleaser.
This tangy and sweet sauce brings out the savory notes in the pretzels. Mix equal parts of honey and mustard for a dip that’s incredibly easy to make.
Want to get fancy? Pairing your pretzels with marinara gives a nod to the Italian heritage of breadsticks. The zesty sauce is a tasty contrast to the warm, salty, chewy pretzel.
The craft beer trend is booming. A nice, cold lager or pale ale pairs well with pretzels, amplifying that salty goodness while refreshing your palate.
Now that we’ve set the stage for your pretzel enjoyment, let’s dive deeper into the world of Pamela’s Gluten Free Pretzels.

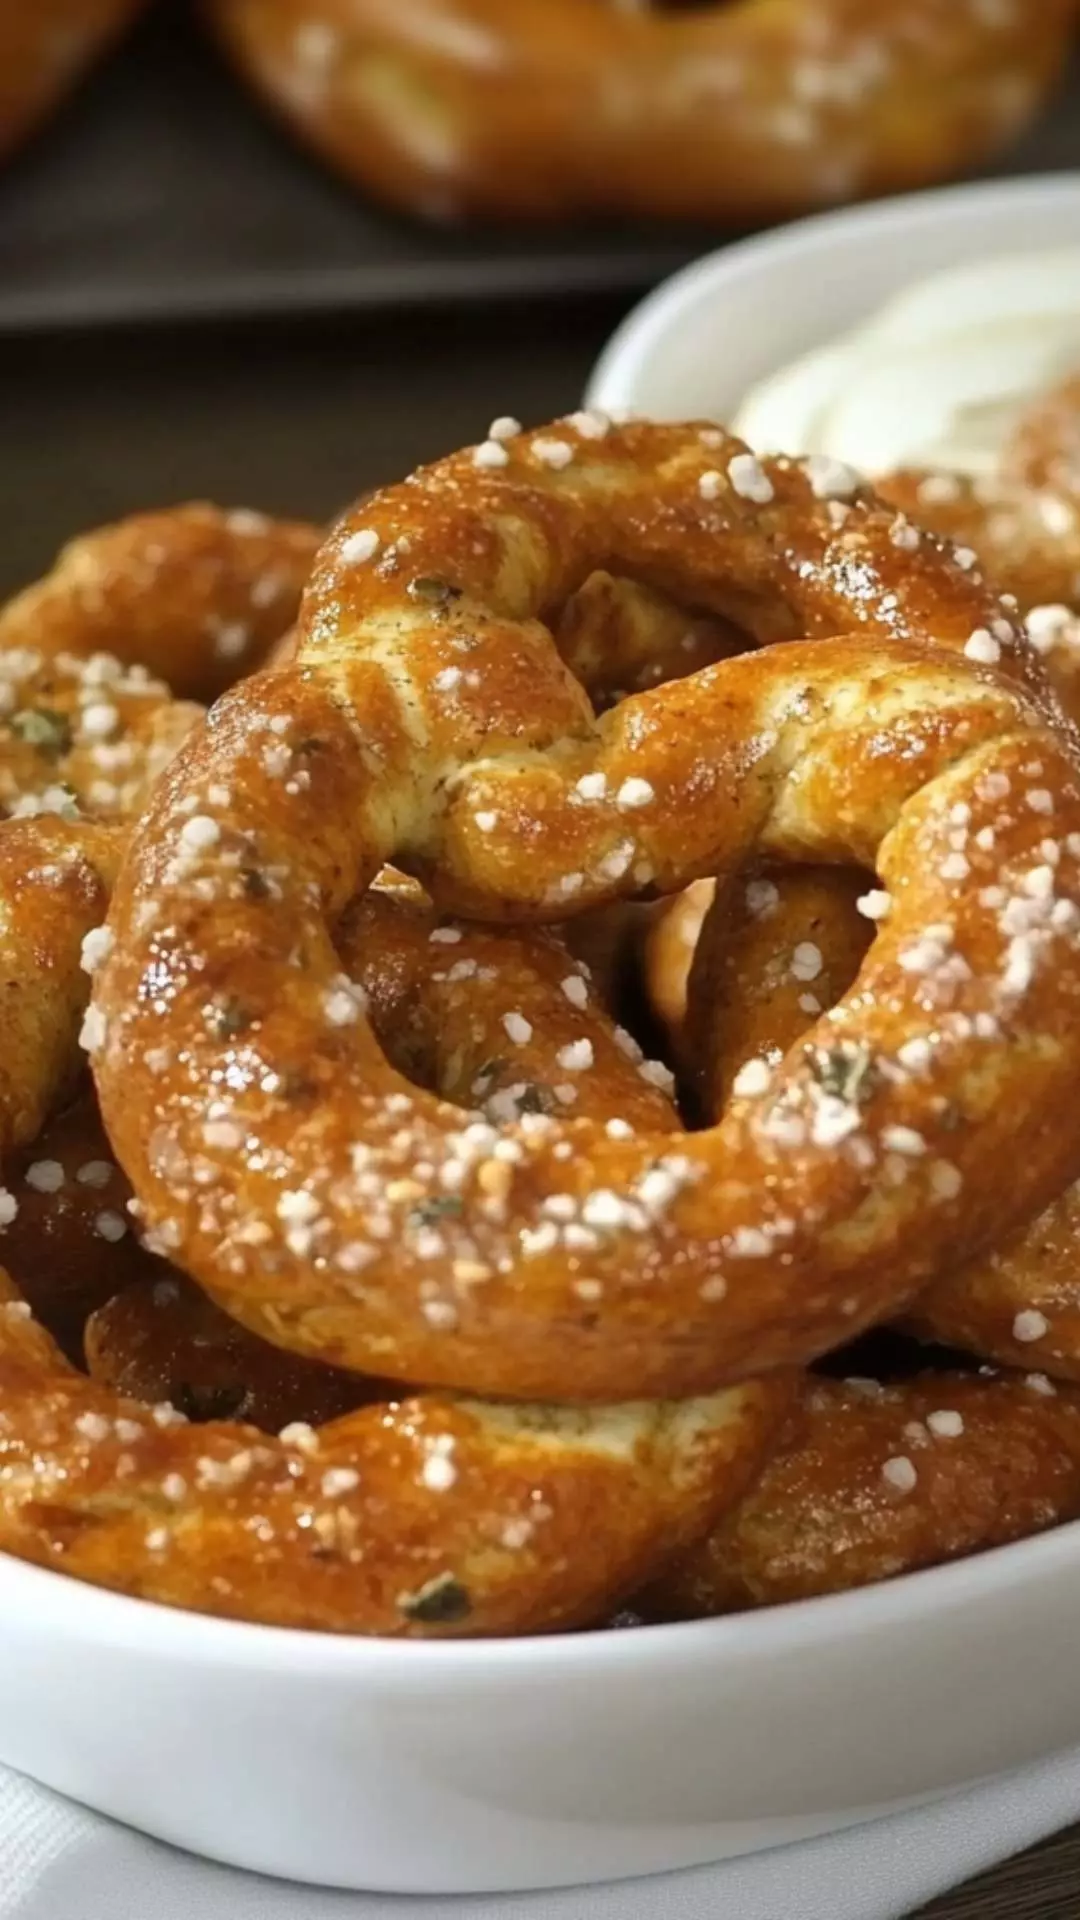
I stumbled upon Pamela’s Gluten Free Pretzel recipe on a particularly rainy Sunday afternoon. I peered into my pantry and saw the familiar bag of Pamela’s Gluten-Free Bread Mix. It dawned on me: why not create something special? So, I pulled together my ingredients and got to work, eager for that soft, chewy texture and taste of homemade goodness.
Pamela’s mixes have been a staple in the gluten-free community. They focus on providing high-quality products that do not compromise on taste or texture. As a food enthusiast and registered dietitian, I appreciate their philosophy.
This recipe is straightforward, making gluten-free baking accessible to everyone. So whether you’re gluten intolerant or just looking for a delicious snack option, these pretzels deliver in flavor and texture.
What is Pamela’s Gluten Free Pretzel?
Pamela’s Gluten Free Pretzel is a fantastic treat made from Pamela’s Gluten-Free Bread Mix. This mix is gluten-free, dairy-free, and free from the common allergens that many people need to consider today.
The beauty of this pretzel recipe lies in its versatility. You can create sweet or savory variations, all while enjoying a soft, chewy bite that’s hard to resist.
Why This Recipe Works
The science behind this recipe is quite simple yet effective. The bread mix provides a structured base, and the yeast gives the pretzels that beloved fluffiness. The combination of warm water and brown sugar activates the yeast, leading to a perfect rise.
Not to mention, the olive oil adds moisture, while the baking soda provides that classic pretzel crust you know and love. Together, these ingredients meld seamlessly, creating pretzels that are both flavorful and satisfying.
What You’ll Need to Make This Dish
Before you dive into the world of homemade pretzels, gather your ingredients:
- 1 bag (3 1/2 cups) Pamela’s Gluten-Free Bread Mix
- 2 1/4 cups warm water
- 2 tablespoons packed brown sugar
- 1 yeast packet (2 1/4 teaspoons) included in the bag
- 2 tablespoons extra virgin olive oil
- 1 teaspoon baking soda
For flavor, you can choose:
Option 1 – Savory:
- Olive oil spray
- Kosher salt, to taste
- 1/2 teaspoon garlic powder
Option 2 – Sweet:
- 1/4 cup melted butter or margarine
- 1/4 cup granulated sugar
- 2 teaspoons ground cinnamon
- 1/4 teaspoon nutmeg

How to Make Pamela’s Gluten Free Pretzel
Let me guide you through the delightful experience of making these pretzels. It’s simple enough to involve your kids or friends. Here’s a sneak peek into how you create this delicious dish:
Start by mixing your ingredients, and then we’ll roll, shape, and bake to perfection. Now let’s get into the step-by-step details.
Step 1: Prepare the Yeast
Start by combining warm water with brown sugar and yeast in a large mixing bowl. Let it sit for about five minutes until it foams.
Step 2: Combine the Ingredients
Once the yeast is ready, add the Pamela’s Gluten-Free Bread Mix and olive oil to the bowl. Mix until it forms a dough. This dough will be slightly sticky but should hold its shape.
Step 3: Knead the Dough
Dust your countertop with a bit of gluten-free flour. Turn the dough out and knead it for about 5 minutes. This is where you can get your hands a little messy, but it’s worth every second.
Step 4: Let It Rise
Place your kneaded dough in a greased bowl and cover it with a damp cloth. Let it rise in a warm spot for about an hour or until it doubles in size.
Step 5: Shape the Pretzels
Once the dough has risen, preheat your oven to 425°F (220°C). Punch down the dough and divide it into smaller pieces. Roll each piece into a rope, then twist it into a pretzel shape.
Step 6: Boil and Bake
Prepare a pot of boiling water and add the baking soda. Boil each pretzel for about 30 seconds on each side, then remove them carefully with a slotted spoon, and place them on a baking sheet. Don’t forget to sprinkle them with salt if you’re going for a savory twist!
Step 7: Bake to Perfection
Place the baking sheet in the oven and bake for about 15-20 minutes or until golden brown. Trust me; the smell will make your kitchen feel like a bakery.
Tips for Success
Here are some handy tips for making the best pretzels:
- Use Warm Water: The water should feel like a warm bath but not too hot. It helps activate the yeast correctly.
- Don’t Skip the Rise Time: Letting the dough rise is crucial for texture. Patience will pay off.
- Experiment with Flavors: Feel free to tweak the sweet or savory options. Add diced jalapeños for a kick or cheese chunks for a surprise.
- Check Your Oven Temperature: Every oven is different. Keep an eye on your pretzels as they bake to avoid overcooking.
- Serve Hot and Fresh: The best bite of a pretzel is when it’s warm out of the oven. Serve them fresh for maximum enjoyment.
How to Store Leftovers
If you’re lucky enough to have leftovers, store them in an airtight container in the refrigerator for up to three days.
You can reheat them in a toaster oven for a few minutes. This will bring back their crunchy exterior and warm, chewy center.

Nutrition Information
Here’s a glance at the nutrition facts per pretzel, based on standard preparation:
- Calories: 150
- Total Fat: 4g
- Saturated Fat: 0.5g
- Carbohydrates: 27g
- Fiber: 2g
- Protein: 4g
- Sodium: 150 mg
Recommended Ways to Serve Pamela’s Gluten Free Pretzel
Here are some excellent serving suggestions to elevate your pretzel experience:
- BBQ Sauce Dip: Mix up some tangy barbecue sauce for a fun twist. This is ideal for family gatherings where dipping into something flavorful always works.
- Buffalo Chicken Dip: An adventurous blend of spicy chicken, cream cheese, and ranch. You’ll truly kick your game day up a notch with this pair.
- Chili: Serve pretzels alongside a hearty bowl of chili. The warmth from the spices and the crunchiness of the pretzel come together beautifully.
- Cheese Board Delight: Incorporate pretzels into a cheese board. Pair them with different cheeses, nuts, and fresh fruits for a rustic touch.
What Alternatives Can You Use for the Ingredients?
If you’re missing an ingredient, no worries! Here are some substitutes:
- Brown Sugar: Use honey or maple syrup instead. Adjust the amount slightly since they may add extra moisture to the dough.
- Olive Oil: Coconut oil or avocado oil make for suitable substitutes. They add richness and flavor to the recipe as well.
- Yeast Packet: If you don’t have a packet, use five to seven grams of bulk yeast. The rise time may vary slightly, so keep an eye on it.
- Honey for Sweet Pretzels: If you’re out of sugar, swap it with an equal amount of honey. This adds a distinctive flavor and gives a slightly different texture.
Pamela’s Gluten Free Pretzel Recipe
Ingredients
Equipment
Method
- Start by combining warm water with brown sugar and yeast in a large mixing bowl. Let it sit for about five minutes until it foams.
- Once the yeast is ready, add the Pamela’s Gluten-Free Bread Mix and olive oil to the bowl. Mix until it forms a dough. This dough will be slightly sticky but should hold its shape.
- Dust your countertop with a bit of gluten-free flour. Turn the dough out and knead it for about 5 minutes. This is where you can get your hands a little messy, but it’s worth every second.
- Place your kneaded dough in a greased bowl and cover it with a damp cloth. Let it rise in a warm spot for about an hour or until it doubles in size.
- Once the dough has risen, preheat your oven to 425°F (220°C). Punch down the dough and divide it into smaller pieces. Roll each piece into a rope, then twist it into a pretzel shape.
- Prepare a pot of boiling water and add the baking soda. Boil each pretzel for about 30 seconds on each side, then remove them carefully with a slotted spoon, and place them on a baking sheet. Don’t forget to sprinkle them with salt if you’re going for a savory twist!
- Place the baking sheet in the oven and bake for about 15-20 minutes or until golden brown. Trust me; the smell will make your kitchen feel like a bakery.
Nutrition
Notes
- Use Warm Water: The water should feel like a warm bath but not too hot. It helps activate the yeast correctly.
- Don’t Skip the Rise Time: Letting the dough rise is crucial for texture. Patience will pay off.
- Experiment with Flavors: Feel free to tweak the sweet or savory options. Add diced jalapeños for a kick or cheese chunks for a surprise.
- Check Your Oven Temperature: Every oven is different. Keep an eye on your pretzels as they bake to avoid overcooking.
- Serve Hot and Fresh: The best bite of a pretzel is when it’s warm out of the oven. Serve them fresh for maximum enjoyment.
Tried this recipe?
Let us know how it was!Frequently Asked Questions
Conclusion
In the world of gluten-free treats, Pamela’s Gluten Free Pretzel stands out as a beloved classic. The chewy texture, combined with the ease of preparation, makes them a hit at any gathering.
As I shared my journey from initial curiosity to finally perfecting this recipe, I discovered the joy these pretzels bring to our family gatherings. Whether paired with a delicious dip or enjoyed straight from the oven, they are sure to warm hearts and fill bellies.
So, gather your ingredients, roll up your sleeves, and enjoy the delightful process of making Pamela’s Gluten Free Pretzels. I promise, you’ll be impressed with the results. Your taste buds will thank you!
You’ll also like these latest recipes!
Related Post
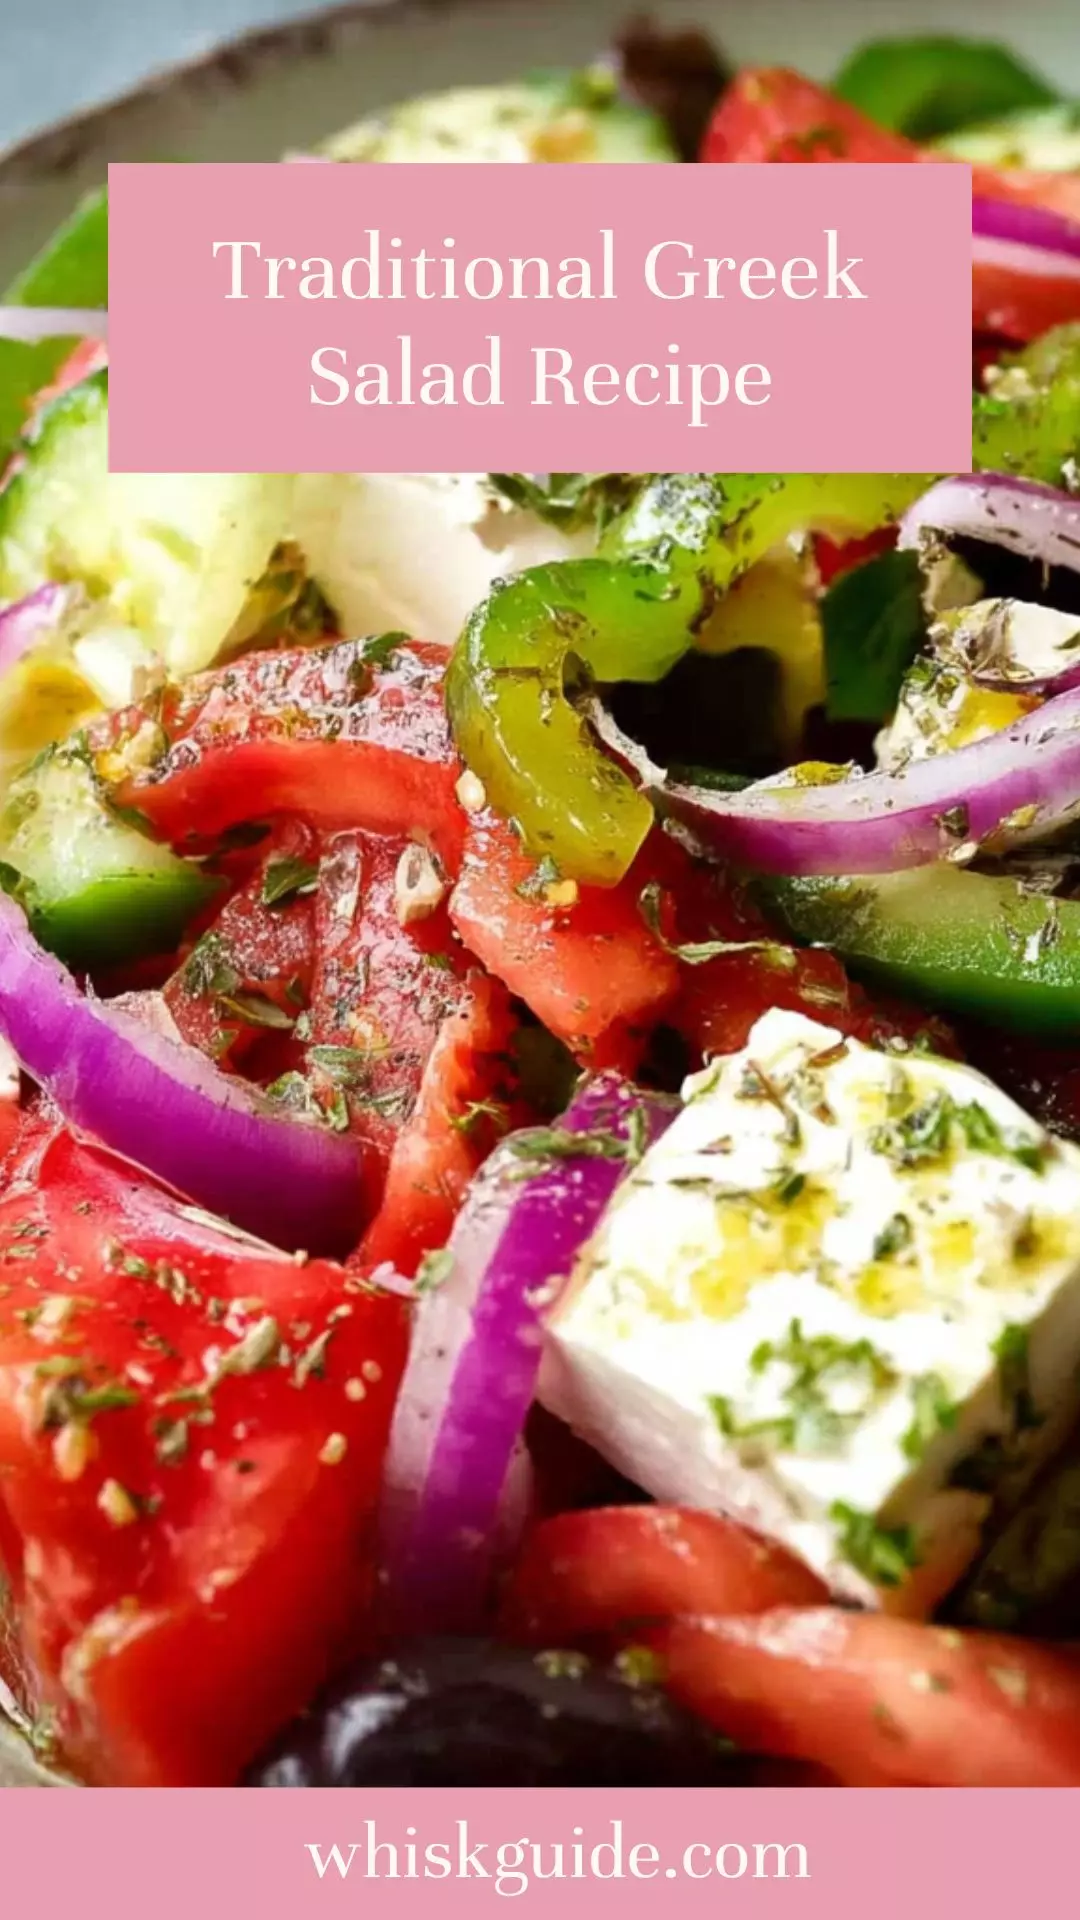
Traditional Greek Salad Recipe – Whisk GuideTraditional Greek Salad Recipe – Whisk Guide
A traditional Greek salad, with its fresh, vibrant ingredients like cucumbers, tomatoes, olives, and feta cheese, pairs wonderfully with several dishes that enhance its Mediterranean flavors. For a hearty addition,
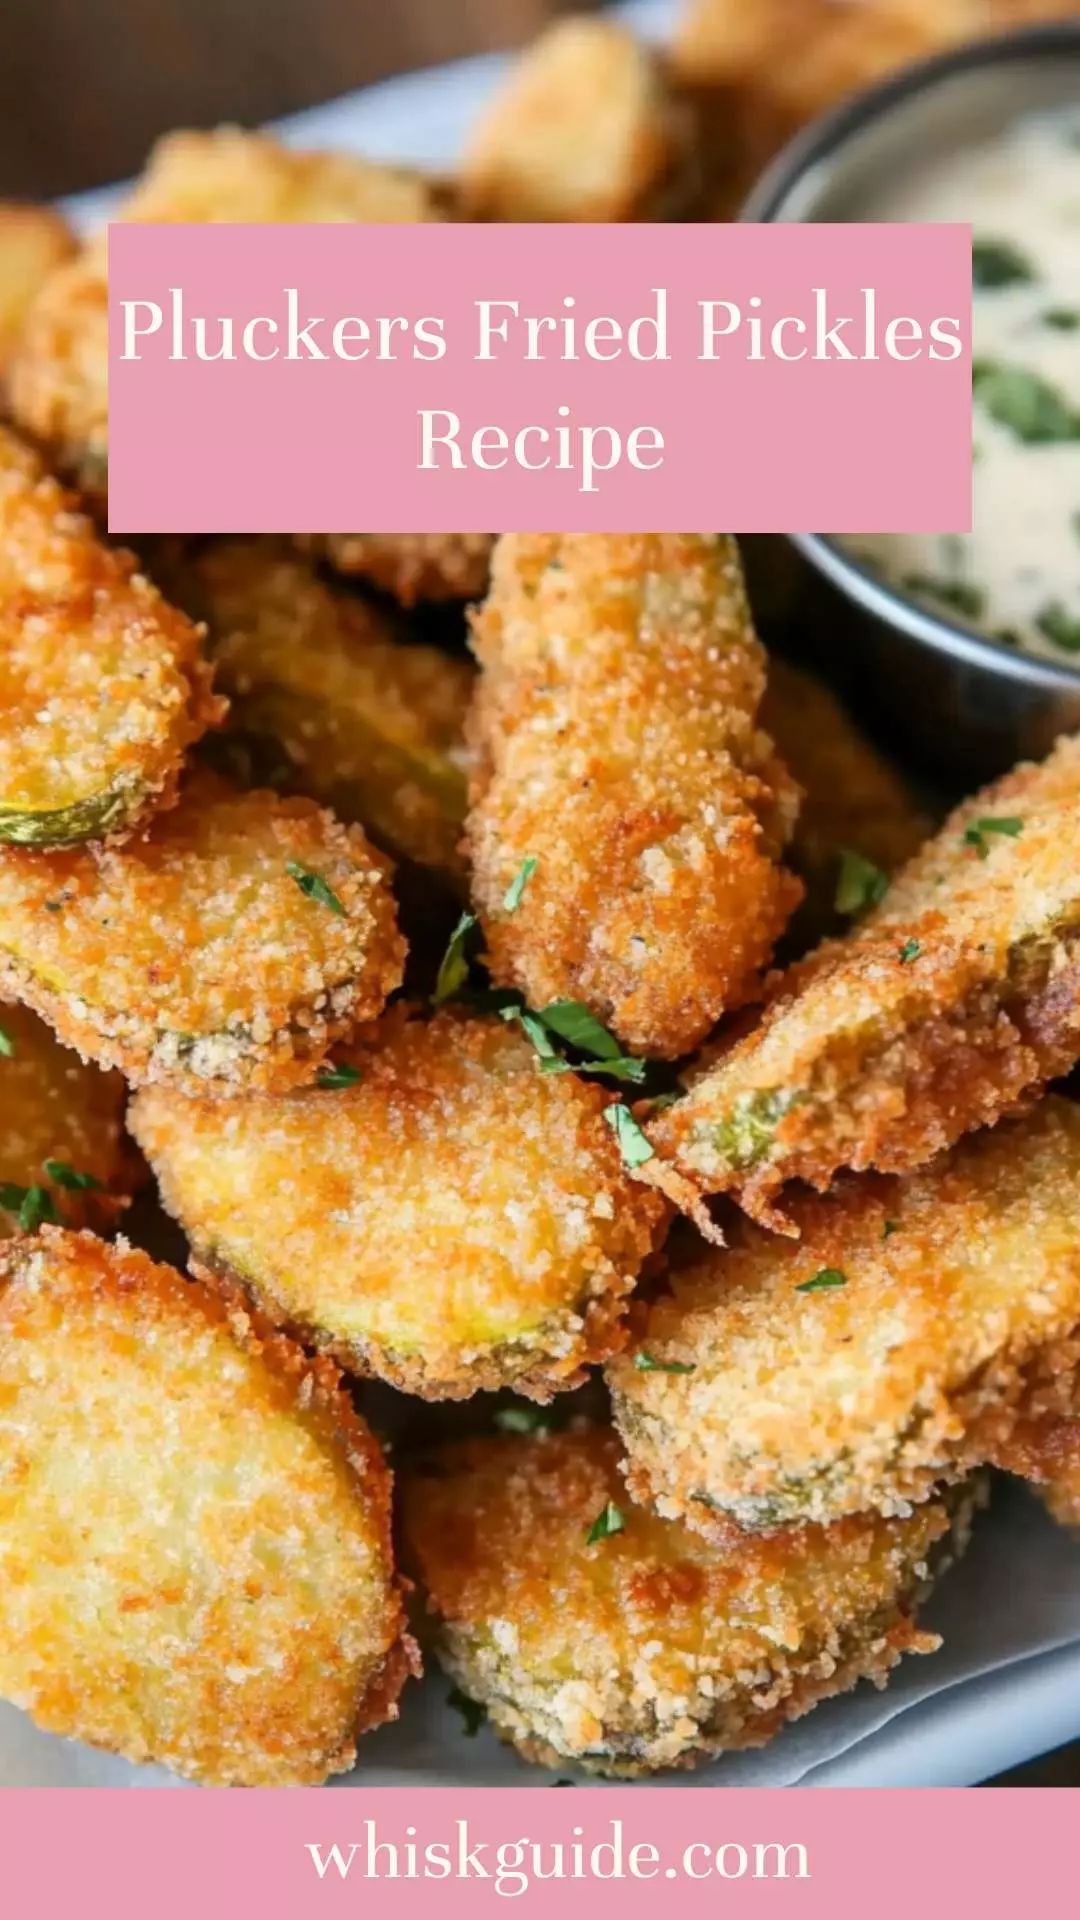
Pluckers Fried Pickles Recipe – Whisk GuidePluckers Fried Pickles Recipe – Whisk Guide
Imagine a sunny afternoon, laughter filling the air, and the tantalizing aroma of something delicious wafting through the backyard. As you host friends or family, everyone’s anticipation for the feast
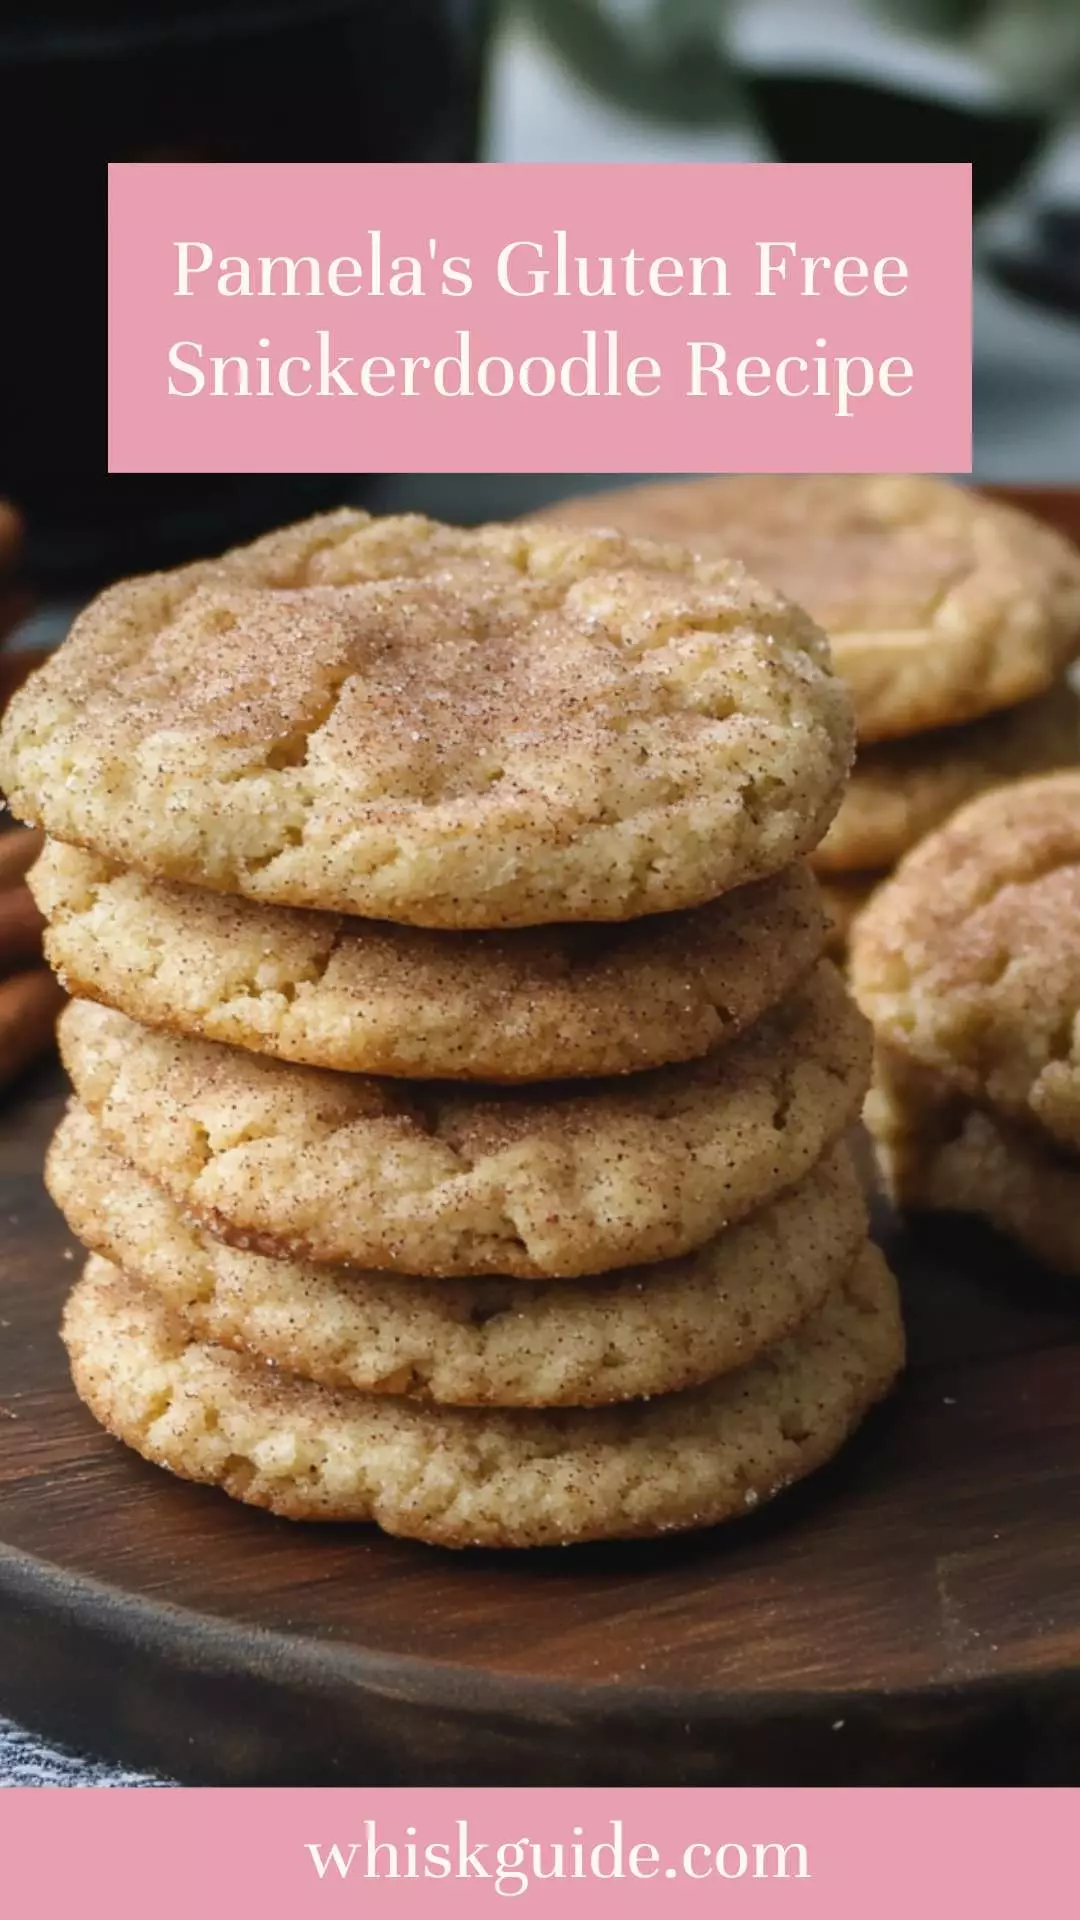
Pamela’s Gluten Free Snickerdoodle Recipe – Whisk GuidePamela’s Gluten Free Snickerdoodle Recipe – Whisk Guide
Imagine sitting on a cozy porch on a summer evening, laughter echoing around you as friends share stories. In the middle of it all, a plate of freshly baked Pamela’s