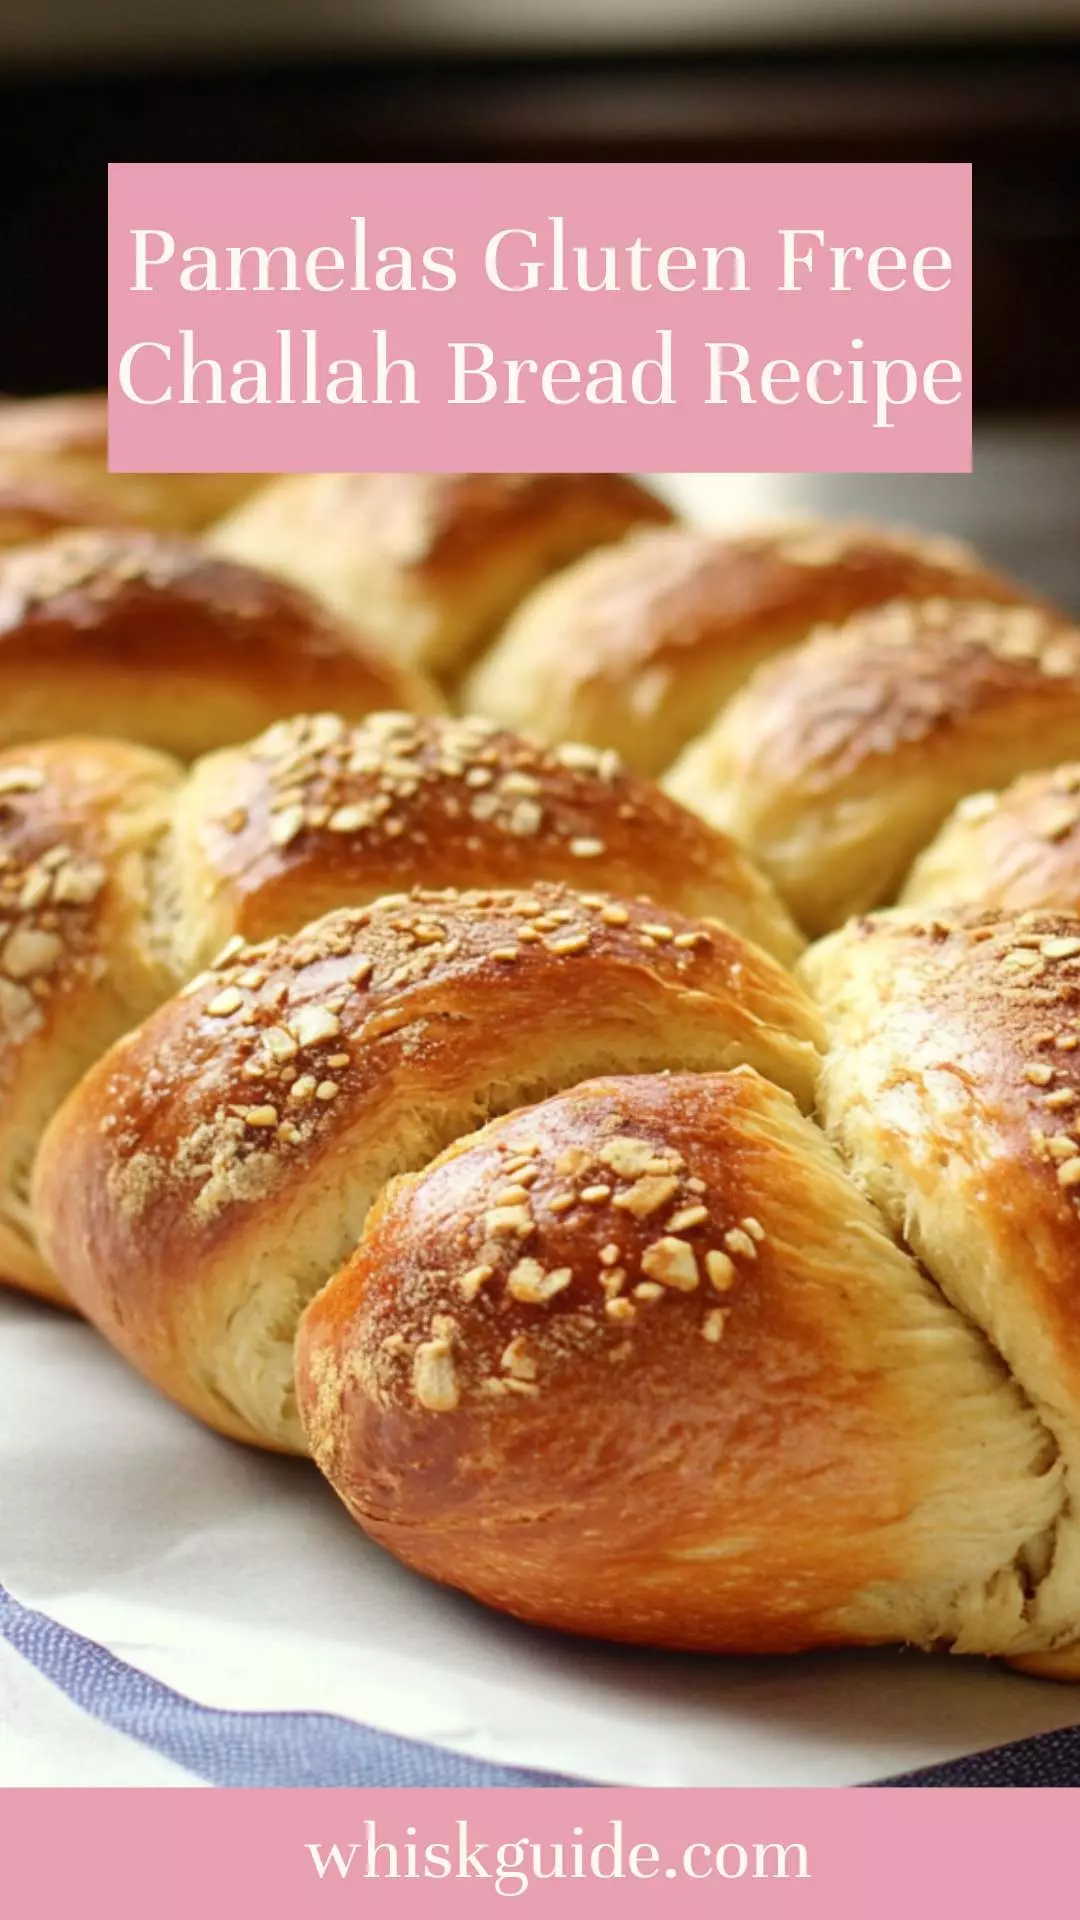
Pamelas Gluten Free Challah Bread Recipe – Whisk Guide
When I think about the warmth of freshly baked bread wafting through the air, my heart skips a beat. Bread isn’t just a side dish; it’s a cultural staple. Challah, for instance, carries traditions and is often a centerpiece at the Shabbat dinner table.
Connecting with family and friends over a slice of bread is a joy like no other. As someone who enjoys experimenting in the kitchen, I’ve found a gem with Pamela’s Gluten Free Challah Bread. It’s a delightful twist for those who need or prefer gluten-free options, without sacrificing flavor or texture.
The versatility of this bread really shines; it’s perfect with soups, as French toast for breakfast, or even on its own with a drizzle of honey.

What is Pamela’s Gluten Free Challah Bread?
Pamela’s Gluten Free Challah Bread is a wonderfully crafted recipe that mimics the classic, fluffy, and moist texture of traditional challah. This bread is made with Pamela’s Artisan Bread Flour Blend, which serves as an excellent alternative for those avoiding gluten.
You won’t believe how good it tastes, even for those who can eat regular bread. The balance of sweetness and the subtle richness from eggs and butter makes this recipe special.
Whether you’re preparing for holidays or just want a delicious loaf to enjoy, this gluten-free challah bread is always a welcome addition to the table.
The Ingredients
To create this marvelous bread, gather the following ingredients:
- 1 (7g) packet or 2¼ teaspoons dry active yeast
- ½ cup warm filtered water
- ¼ cup granulated sugar
- 3½ cups (525 g) or 1 (19 oz) package Pamela’s Artisan Bread Flour Blend
- 3 large eggs, room temperature
- ½ cup whole milk, lukewarm
- ¼ cup melted unsalted butter
- 1 teaspoon vanilla extract
- ¼ teaspoon sea salt, finely ground
- 1 egg yolk, for brushing the crust (optional)

How to Make Pamela’s Gluten Free Challah Bread?
Making this challah might seem intimidating, but it’s rather straightforward. The joy of kneading, the aroma during baking, and the final slice are all worth it. Let’s dive into the step-by-step guide.
Step 1: Prepare the Yeast Mixture
Begin by mixing the dry active yeast with the warm filtered water in a small bowl. Add the sugar and wait for about 5-10 minutes. The mixture should become frothy as the yeast activates. If it doesn’t foam, it may mean your yeast is old. No stress! Get some fresh yeast for the best results.
Step 2: Combine Dry Ingredients
In a large bowl, combine the Pamela’s Artisan Bread Flour Blend and salt. Whisk these together for a uniform mixture. Having all your dry ingredients well-blended ensures that the flavors are equally distributed throughout the bread.
Step 3: Mix Wet Ingredients
In another bowl, whisk together the room-temperature eggs, lukewarm milk, melted unsalted butter, and vanilla extract. This mixture should be smooth and well combined.
Step 4: Bring it All Together
Once your yeast is frothy, pour it into the wet ingredients. Stir to combine. Then gradually add the dry ingredient mixture. Use a sturdy wooden spoon or a spatula to mix until you form a shaggy dough that has absorbed most of the flour.
Step 5: Knead the Dough
This is where things get exciting! Now knead the dough in the bowl or on a clean countertop. Although gluten-free bread doesn’t require the same kneading as traditional bread, you’ll want to work in the flour until it becomes a cohesive, slightly sticky dough. This should take about 3-4 minutes.
Step 6: First Rise
Transfer your kneaded dough into a greased bowl, cover it with a clean kitchen towel or plastic wrap, and let it rise in a warm area for about an hour or until it’s noticeably puffed up.
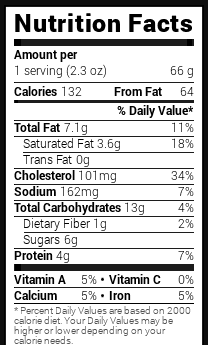
Step 7: Shape the Dough
Once the dough has risen, lightly flour your work surface with gluten-free flour. Divide the dough into three equal sections. Roll each section into a long, equal-length strand. Pinch the ends together, and braid the strands. This classic shaping adds charm and tradition.
Step 8: Second Rise
Place the braided dough gently on a parchment-lined baking sheet. Cover it again and let it rise for another 30 minutes. This step allows it to puff up beautifully before going into the oven.
Step 9: Preheat the Oven
As your dough rises for the second time, preheat your oven to 375°F (190°C).
Step 10: Brush and Bake
Optional but oh-so-rewarding! Brush the top of your braided loaf with the egg yolk mixed with a bit of water for that golden finish. Bake for about 25-30 minutes, or until the bread has a nice golden brown hue. The kitchen will smell divine.
Step 11: Cool and Serve
Allow the bread to cool on a wire rack. This will help maintain its texture and prevent sogginess. Slice and serve!
Notes
Here are some quick tips to enhance your bread-making:
- Use Fresh Ingredients: Always check the expiration dates on your yeast and flour. Fresh ingredients make a significant difference in baking.
- Room Temperature Ingredients: Allow eggs and milk to come to room temperature for better mixing and incorporation.
- Don’t Rush the Rise: Yeast needs time to work. Patience is key; allow it to rise in a warm spot.
- Experiment with Sweetness: Feel free to add raisins or other dried fruits for added sweetness and texture.
- Monitor the Bread: Oven temperatures vary. Use a thermometer to check the internal temperature of the bread; it should read at least 190°F (88°C) when done.
Storage Tips
Storing your bread properly extends its life and freshness:
- Room Temperature: Keep your challah in an airtight container at room temperature for up to three days.
- Refrigeration: If you need it to last longer, wrap it well and store it in the fridge. Just remember that refrigeration can dry it out.
- Freezing: For extended storage, slice the challah and freeze it in an airtight bag for up to three months. Thaw it overnight at room temperature when you’re ready to use it.

Nutrition Information
pamelas gluten free challah bread recipe nutrition facts
Serving Suggestions
When it comes to enjoying this bread, your options are plentiful! Here are some ideas you might find irresistible:
- Start Your Day with French Toast: Prepare a classic French toast with eggs and milk, soaking slices of challah until coated. Cook on a skillet until golden brown, and drizzle with maple syrup. Breakfast goals achieved.
- Make a Sandwich: Looking for a unique twist? Turn it into a sandwich with roasted turkey, cranberry sauce, and a leaf of lettuce. The bread’s sweetness balances savory ingredients wonderfully.
- Serve with Soup: Pair it with a hot bowl of butternut squash soup for a hearty meal. The soft texture of the bread complements the creamy soup.
- Enjoy with Jam or Honey: Spread some almond butter or honey on a slice. The sweetness of the toppings pairs perfectly with the subtle sweetness of the bread.
- Baking with Nutella: There’s nothing like putting a twist on a classic. Make a Nutella and banana sandwich with thick slices of this challah. The melted chocolate paired with banana slices is a little slice of heaven.
What Other Substitutes Can I Use in Pamela’s Gluten Free Challah Bread?
If you want to get creative or don’t have all the ingredients on hand, here are some alternatives:
- Other Gluten-Free Flour Blends: Use another high-quality gluten-free flour blend in place of Pamela’s. Just make sure it has xanthan gum, as this helps provide structure.
- Honey or Maple Syrup: Substitute granulated sugar with these natural sweeteners for a different taste. Adjust the liquid ingredients a bit since these are liquid sweeteners.
- Dairy-Free Milk: Almond, soy, or oat milk can replace whole milk for a dairy-free option. Just ensure it’s lukewarm for consistent results.
- Coconut Oil: In place of butter, use melted coconut oil for a dairy-free version with a slight coconut flavor.
- Flax Eggs: If you’re looking for egg alternatives, mix 1 tablespoon of ground flaxseed with 3 tablespoons of water. Let it sit for a few minutes until it thickens. Use this as a substitute for eggs.
Pamelas Gluten Free Challah Bread Recipe
Ingredients
Equipment
Method
- Begin by mixing the dry active yeast with the warm filtered water in a small bowl. Add the sugar and wait for about 5-10 minutes. The mixture should become frothy as the yeast activates. If it doesn’t foam, it may mean your yeast is old. No stress! Get some fresh yeast for the best results.
- In a large bowl, combine the Pamela’s Artisan Bread Flour Blend and salt. Whisk these together for a uniform mixture. Having all your dry ingredients well-blended ensures that the flavors are equally distributed throughout the bread.
- In another bowl, whisk together the room-temperature eggs, lukewarm milk, melted unsalted butter, and vanilla extract. This mixture should be smooth and well combined.
- Once your yeast is frothy, pour it into the wet ingredients. Stir to combine. Then gradually add the dry ingredient mixture. Use a sturdy wooden spoon or a spatula to mix until you form a shaggy dough that has absorbed most of the flour.
- This is where things get exciting! Now knead the dough in the bowl or on a clean countertop. Although gluten-free bread doesn’t require the same kneading as traditional bread, you’ll want to work in the flour until it becomes a cohesive, slightly sticky dough. This should take about 3-4 minutes.
- Transfer your kneaded dough into a greased bowl, cover it with a clean kitchen towel or plastic wrap, and let it rise in a warm area for about an hour or until it’s noticeably puffed up.
- Once the dough has risen, lightly flour your work surface with gluten-free flour. Divide the dough into three equal sections. Roll each section into a long, equal-length strand. Pinch the ends together, and braid the strands. This classic shaping adds charm and tradition.
- Place the braided dough gently on a parchment-lined baking sheet. Cover it again and let it rise for another 30 minutes. This step allows it to puff up beautifully before going into the oven.
- As your dough rises for the second time, preheat your oven to 375°F (190°C).
- Optional but oh-so-rewarding! Brush the top of your braided loaf with the egg yolk mixed with a bit of water for that golden finish. Bake for about 25-30 minutes, or until the bread has a nice golden brown hue. The kitchen will smell divine.
- Allow the bread to cool on a wire rack. This will help maintain its texture and prevent sogginess. Slice and serve!
Nutrition
Notes
- Use Fresh Ingredients: Always check the expiration dates on your yeast and flour. Fresh ingredients make a significant difference in baking.
- Room Temperature Ingredients: Allow eggs and milk to come to room temperature for better mixing and incorporation.
- Don’t Rush the Rise: Yeast needs time to work. Patience is key; allow it to rise in a warm spot.
- Experiment with Sweetness: Feel free to add raisins or other dried fruits for added sweetness and texture.
- Monitor the Bread: Oven temperatures vary. Use a thermometer to check the internal temperature of the bread; it should read at least 190°F (88°C) when done.
Tried this recipe?
Let us know how it was!Frequently Asked Questions
Conclusion
Pamela’s Gluten Free Challah Bread not only fulfills a need for gluten-free choices but does so with flair. It embodies the essence of comforting bread while being completely inclusive. Each bite carries a touch of warmth, community, and deliciousness.
Whether paired with a meal, enjoyed with jam, or savored on its own, this bread makes every occasion special. I look forward to many more kitchen adventures with this delightful recipe, and I hope you do too! So roll up your sleeves, grab those ingredients, and bring a taste of tradition to your home.
You’ll also like these latest recipes!
Related Post

Pamelas Gluten Free Scones Recipe – Whisk GuidePamelas Gluten Free Scones Recipe – Whisk Guide
Before diving into the delightful world of Pamela’s gluten-free scones, let’s explore the wonderful accompaniments that can elevate your scone experience. These scones are incredibly versatile and pair beautifully with
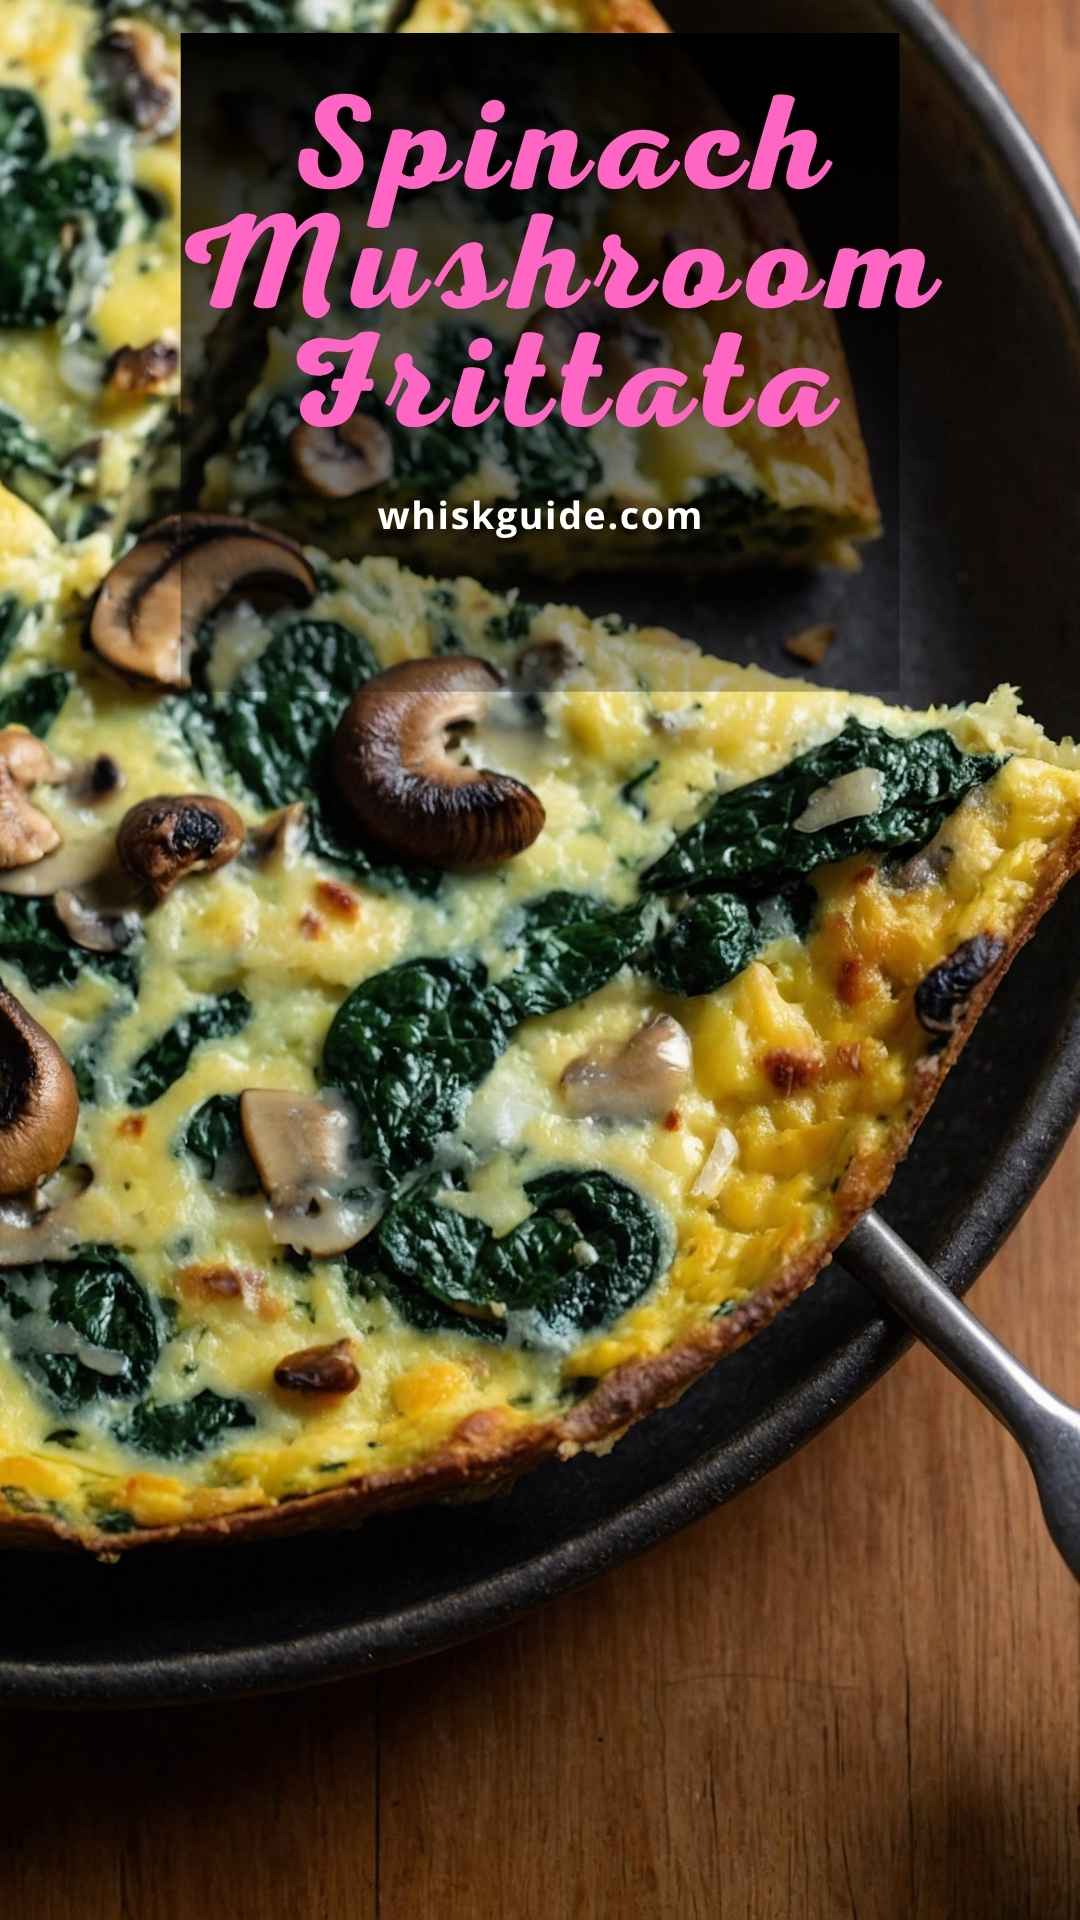
Spinach Mushroom Frittata – Whisk GuideSpinach Mushroom Frittata – Whisk Guide
Spinach Mushroom Frittata is savory and rich, and pairing it with the right sides makes the meal truly memorable. These options add freshness, texture, and a touch of sweetness. A
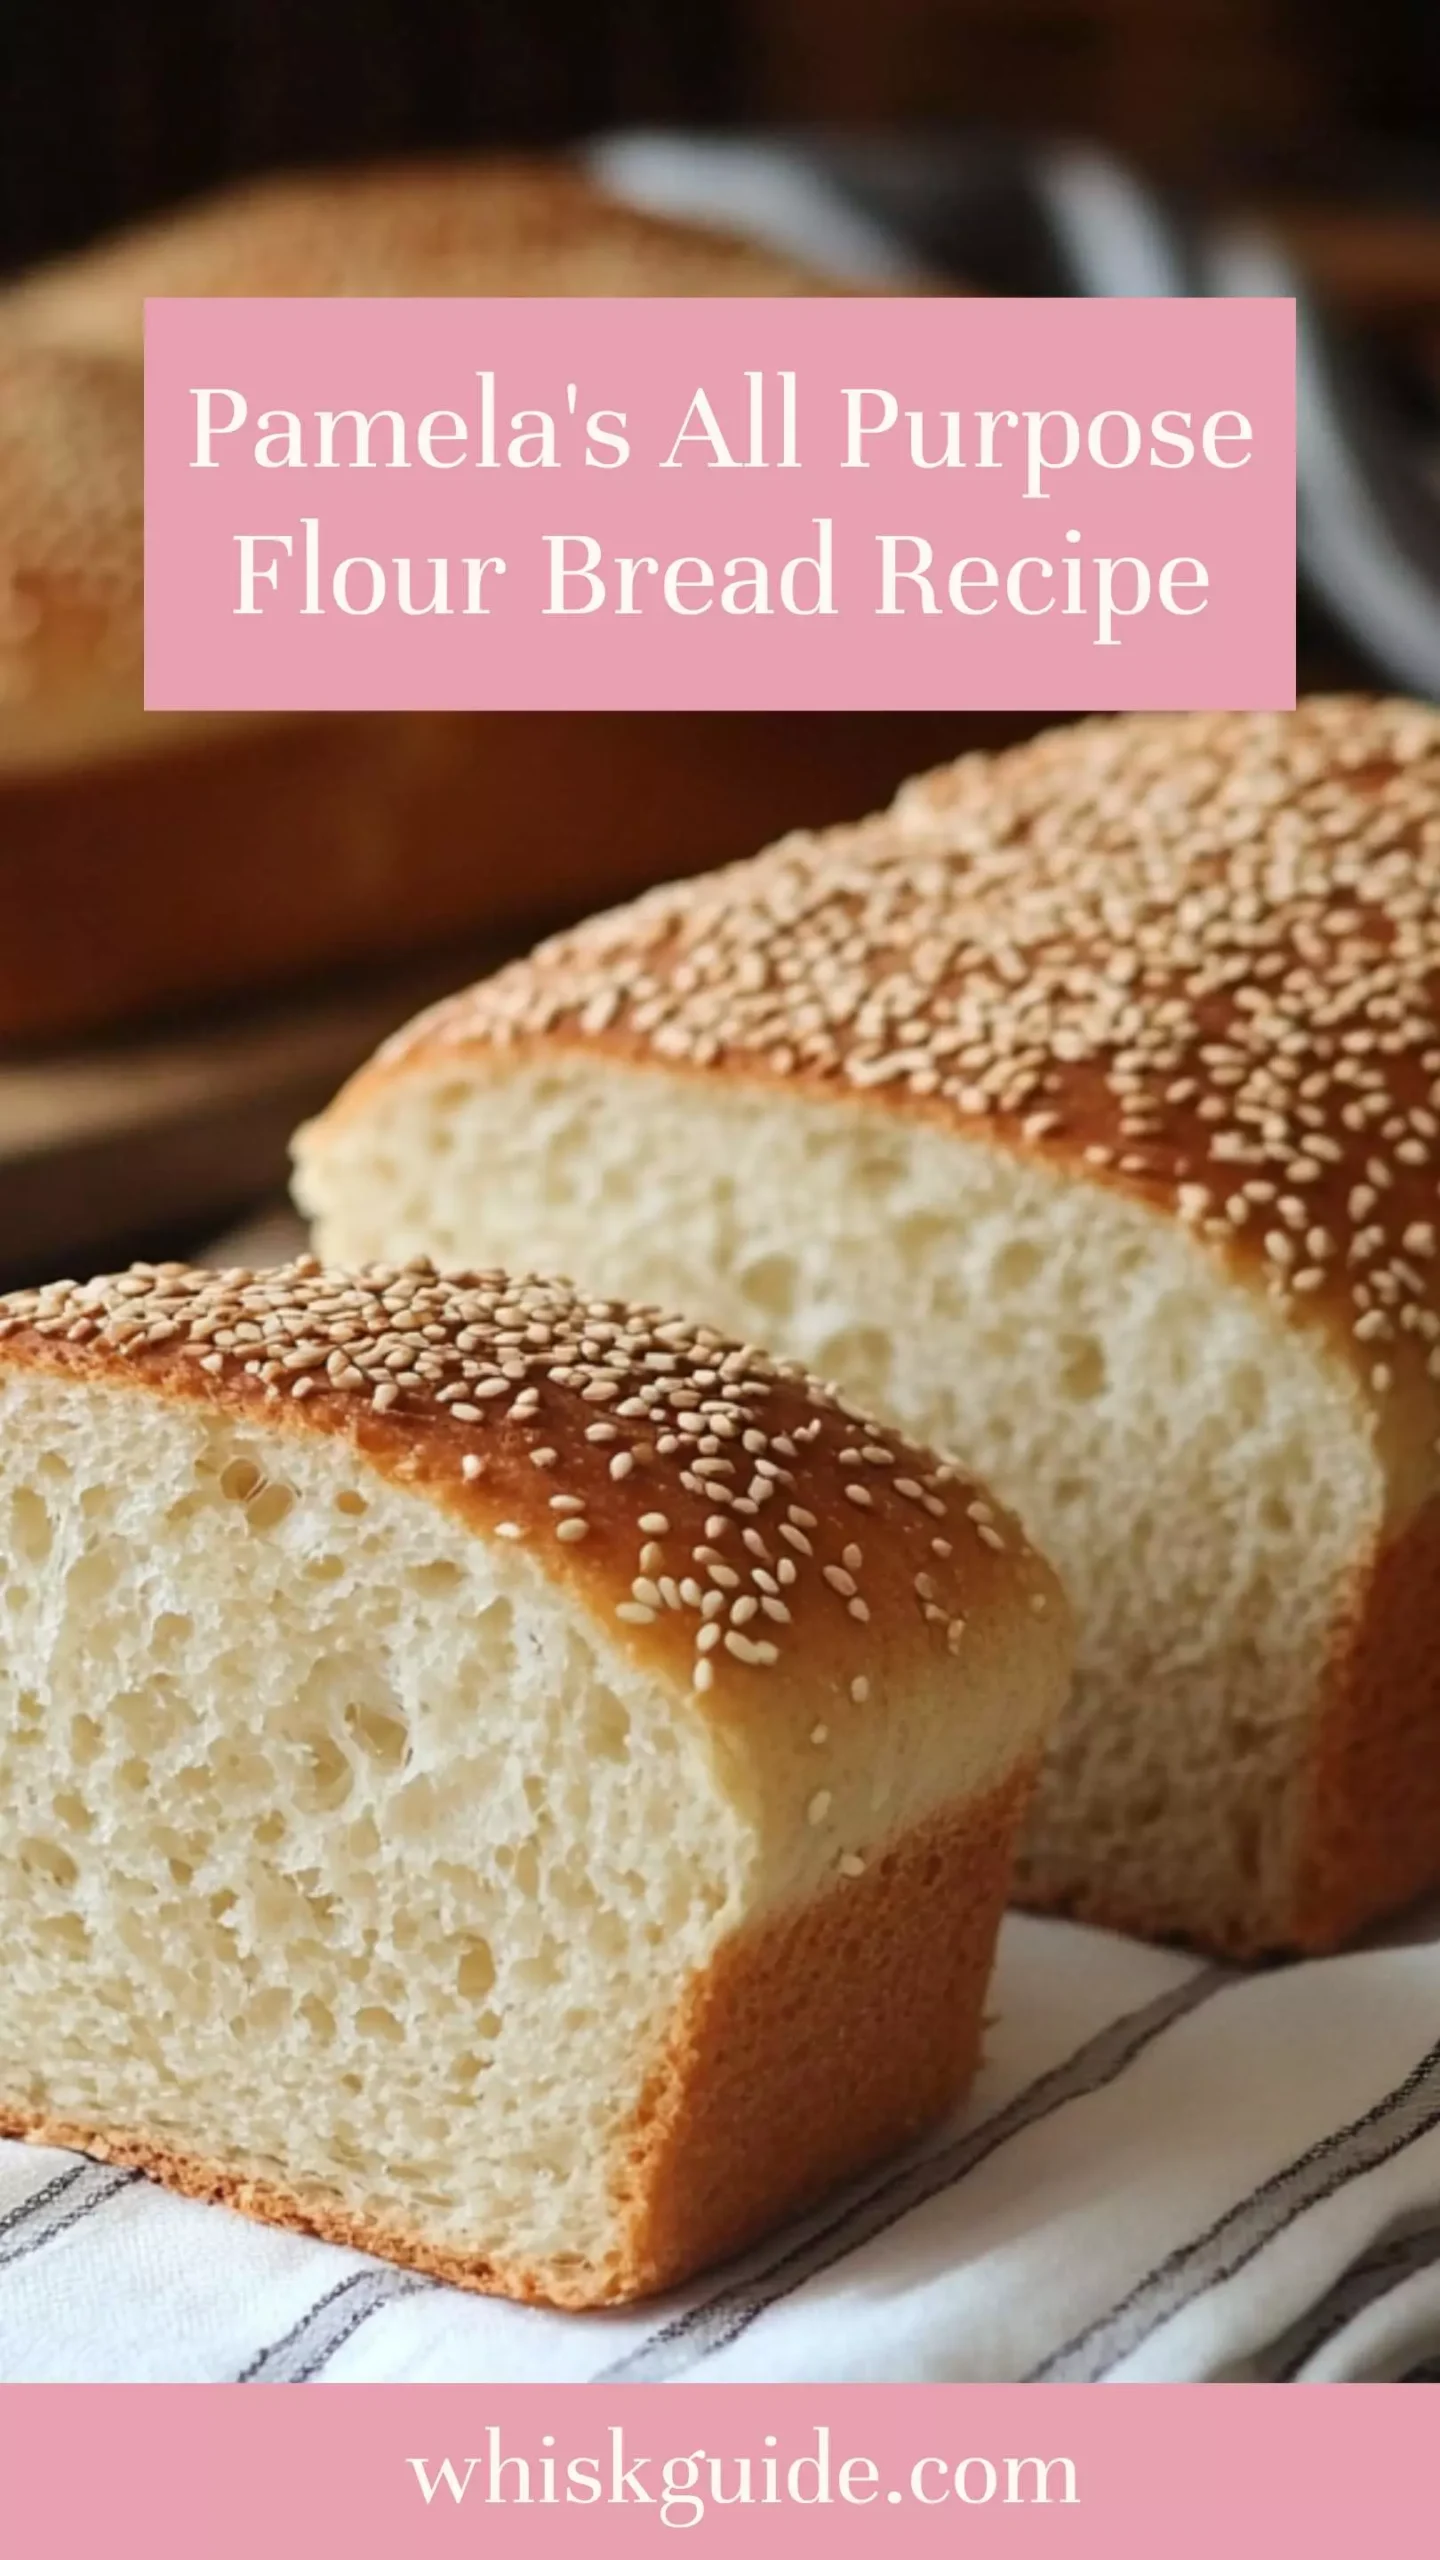
Pamela’s All Purpose Flour Bread Recipe – Whisk GuidePamela’s All Purpose Flour Bread Recipe – Whisk Guide
Bread has a unique charm. It’s not just about slicing it and slapping on some butter. This recipe opens the door to creativity. Pair it with homemade jam, olive oil