2 Cups Flour Bread Recipe – Whisk Guide
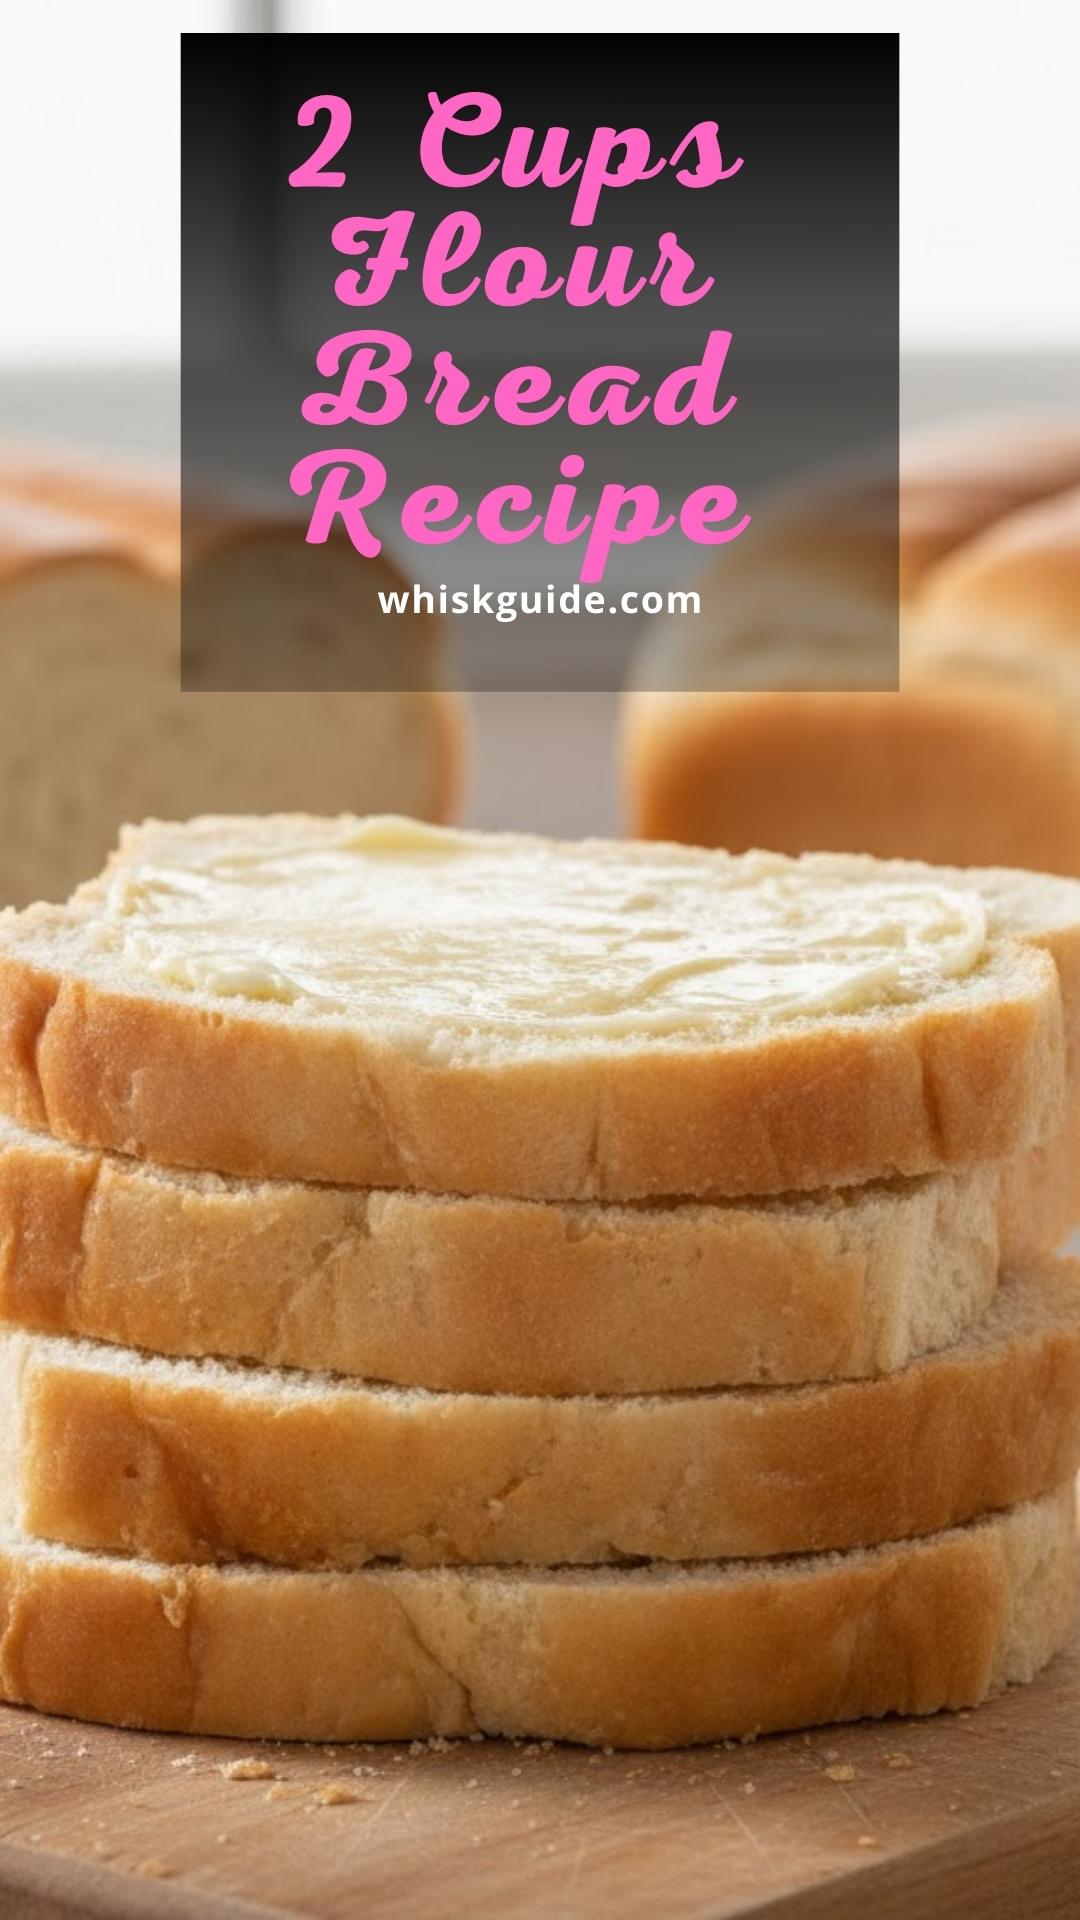
Fresh bread is a staple I can’t resist. There’s something magical about the smell of bread baking in the oven or a bread machine that instantly feels like home. This 2 cups flour bread recipe is the perfect accompaniment to a cozy soup, a hearty salad, or even on its own, slathered with butter.
Picture this: you slice into the loaf, and a cloud of warmth wafts up—just the right texture for holding together a mouth-watering sandwich or pairing with a lovely dip at a gathering. Believe me, I can’t think of a better way to show off at dinner parties!

Do you long for the aroma of freshly baked bread wafting through your home without the fuss? This 2 cups flour bread recipe, created for bread machines, makes it all possible. With just a few simple ingredients and minimal active time, you’ll create a loaf that’s beautifully fluffy, subtly sweet, and effortlessly enjoyable.
You Might Like These Recipes!
Avocado Bread Better Than TikTok Recipe
Homemade Vegan Cornbread Recipe
What is 2 Cups Flour Bread Recipe?
This recipe is a foundational bread that results in a delightful and straightforward loaf, made primarily from 2 cups of flour. The mixture incorporates active dry yeast and warm water, and by utilizing the convenience of a bread machine, you get perfectly baked bread with little effort. It’s a fantastic introduction for those who are new to baking bread at home!
Why This Recipe Works?
The balance of ingredients is the main reason this recipe succeeds. The yeast activates in the warm water, enabling the dough to rise effectively, while the sugar is a quick energy source for the yeast to create those lovely bubbles of air, making your bread rise high and fluffy. The use of oil ensures a tender crumb, making every slice a treat.
How Does It Taste Like?
Expect a soft, slightly sweet bread with a light, airy texture. The crust can get a lovely golden hue, giving it an enticing crunch while the inside remains chewy and satisfying—perfect for sandwiches or as a side to any meal. The subtle sweetness from the sugar adds just enough flavor without overpowering the overall profile.
What Sets This Recipe Apart from Other 2 Cups Flour Bread Recipe Variations?
While many bread recipes may require a longer list of ingredients or complex techniques, this one shines because of its simplicity. It emphasizes ease while still delivering on flavor and texture. Additionally, with the option to tweak ingredients slightly for personal taste or dietary preferences, it stands out as adaptable and accessible for everyone.
The Ingredients

To create your perfectly fluffy bread, gather the following:
– 1 cup warm water (about 110°F or 45°C)
– 2 tablespoons extra virgin olive oil (adds a wonderful flavor)
– 1/4 cup granulated sugar
– 2 1/2 teaspoons active dry yeast
– 3 cups all-purpose or bread flour (either works well!)
– 3/4 teaspoon fine sea salt
– Optional: 1 teaspoon garlic powder (adds subtle depth)
Ingredients From : butterwithasideofbread.com
How to Make 2 Cups Flour Bread Recipe?
Baking bread might seem intimidating, but with this simple recipe and a bread machine, you’ll be well on your way to creating something incredible. Let’s break down the steps involved in making this delicious bread.
Instructions
Step 1: Combine Water and Oil

In a measuring cup, pour your warm water and add the olive oil. This combination will set the stage for your yeast to work their magic. Ensure the water is warm—not hot—to protect the yeast’s life.
Step 2: Add Dry Ingredients

In the bread pan, start layering your dry ingredients. Pour in the flour first, followed by the granulated sugar and the sea salt. Make a small crater in the center of this dry mixture where you’ll introduce the yeast.
Step 3: Add the Yeast

Sprinkle the active dry yeast into the well you created in the flour mix. This step helps the yeast reach the moisture and heat, kick-starting the fermentation process and allowing it to activate.
Step 4: Place the Bread Pan in the Machine

Carefully place the bread pan back in your bread machine. Close the lid securely to keep all that warm air in and select the setting for a basic white bread loaf. Many machines have a setting that usually takes about 3.5 hours to complete, so get ready for the delicious aroma that will fill your space!
Step 5: Let It Cool
Once the bread machine beeps and tells you it’s finished, remove the bread pan carefully. Allow your creation to cool for a few minutes before gently removing the loaf from the pan. A touch of butter brushed over the top while it cools adds a nice finish. Enjoy warm or let it cool entirely to slice later!
Notes
– Use Fresh Yeast: Make sure your yeast is fresh in order to get a good rise. Old yeast can lead to flat bread.
– Experiment with Add-ins: Feel free to incorporate herbs or spices, nuts, or seeds to personalize your bread to your liking.
– Perfect Warm Water: Use a thermometer to check your water’s temperature, ensuring you’re in the sweet spot for yeast activation.
– Be Careful Not to Overmix: When adding ingredients, mix gently to maintain the integrity of the dough.
– Cool Completely Before Storing: This helps prevent sogginess and keeps the crust crispy.
How Do You Store This 2 Cups Flour Bread Recipe?
To store your homemade bread, ensure it cools completely, then wrap it in plastic wrap or place it in a resealable bag. It can be stored at room temperature for up to three days. To keep it fresher for longer, slice it up and store it in the freezer, where it can last up to three months. Just pop a slice straight from the freezer into the toaster when you’re ready to enjoy it!
Sides For 2 Cups Flour Bread Recipe
– Hearty Soup: This bread pairs wonderfully with minestrone or tomato soup, soaking up all the delicious flavors.
– Salads: Serve alongside a fresh salad, like a Greek salad, for a balanced meal.
– Dips: Spread some hummus or roasted red pepper dip for a delightful appetizer or snack.
– Cheese Board: Create a small cheese and cured meat platter to accompany your bread.
– Egg Dishes: Enjoy with scrambled eggs or as a base for a breakfast egg sandwich.
What Alternatives Can You Use For the Ingredients If They Are Not Present in Your Kitchen?
– Warm Water: You can use milk to create a richer bread with slightly different flavor.
– Vegetable Oil: Substitute with melted coconut oil or canola oil for a similar effect.
– Granulated Sugar: Honey or maple syrup can be fantastic alternatives; just reduce the amount slightly.
– All-Purpose Flour: If you want a gluten-free option, try a gluten-free baking blend that measures 1:1.
– Sea Salt: Table salt works, but it’s best to reduce the amount slightly to prevent any overwhelming saltiness.
2 Cups Flour Bread Recipe
Ingredients
Equipment
Method
- In a measuring cup, pour your warm water and add the olive oil. This combination will set the stage for your yeast to work their magic. Ensure the water is warm—not hot—to protect the yeast’s life.
- In the bread pan, start layering your dry ingredients. Pour in the flour first, followed by the granulated sugar and the sea salt. Make a small crater in the center of this dry mixture where you’ll introduce the yeast.
- Sprinkle the active dry yeast into the well you created in the flour mix. This step helps the yeast reach the moisture and heat, kick-starting the fermentation process and allowing it to activate.
- Carefully place the bread pan back in your bread machine. Close the lid securely to keep all that warm air in and select the setting for a basic white bread loaf. Many machines have a setting that usually takes about 3.5 hours to complete, so get ready for the delicious aroma that will fill your space!
- Once the bread machine beeps and tells you it’s finished, remove the bread pan carefully. Allow your creation to cool for a few minutes before gently removing the loaf from the pan. A touch of butter brushed over the top while it cools adds a nice finish. Enjoy warm or let it cool entirely to slice later!
Nutrition
Notes
Tried this recipe?
Let us know how it was!FAQs
1. Can I make this without a bread machine?
Absolutely! You can combine the ingredients and knead the dough by hand or with a mixer until smooth, then let it rise in a warm place until doubled in size. Shape your loaf, let rise again, and bake in a preheated oven at 350°F (175°C) for 30-35 minutes.
2. How can I tell if my bread is done?
A good test is to tap on the bottom of the loaf; if it sounds hollow, it’s ready! Additionally, the crust should be a lovely golden brown.
3. Can I add whole grains to this recipe?
Yes, feel free to substitute a portion of the all-purpose flour with whole wheat flour for added fiber and nutrients. Just be prepared for a denser bread.
4. What’s the best way to enjoy this bread?
This bread is excellent when toasted lightly with butter, used for sandwiches, or served with soups. It’s versatile and can complement many meals!
5. Is this recipe safe for children?
Yes! This bread recipe is made with simple ingredients, and kids will enjoy the fun of helping mix and watch the bread rise. Just supervise them as they help!
Conclusion
Baking bread doesn’t have to be a complicated ordeal. This 2 cups flour bread recipe is a fantastic entry point for anyone looking to explore the world of homemade bread. With minimal effort and a few common ingredients, you can create something that rivals any bakery.
So go ahead, give this easy recipe a try, and enjoy the cozy delight of homemade bread straight from your kitchen!
You Might Also Like These Latest Recipes!
Related Post
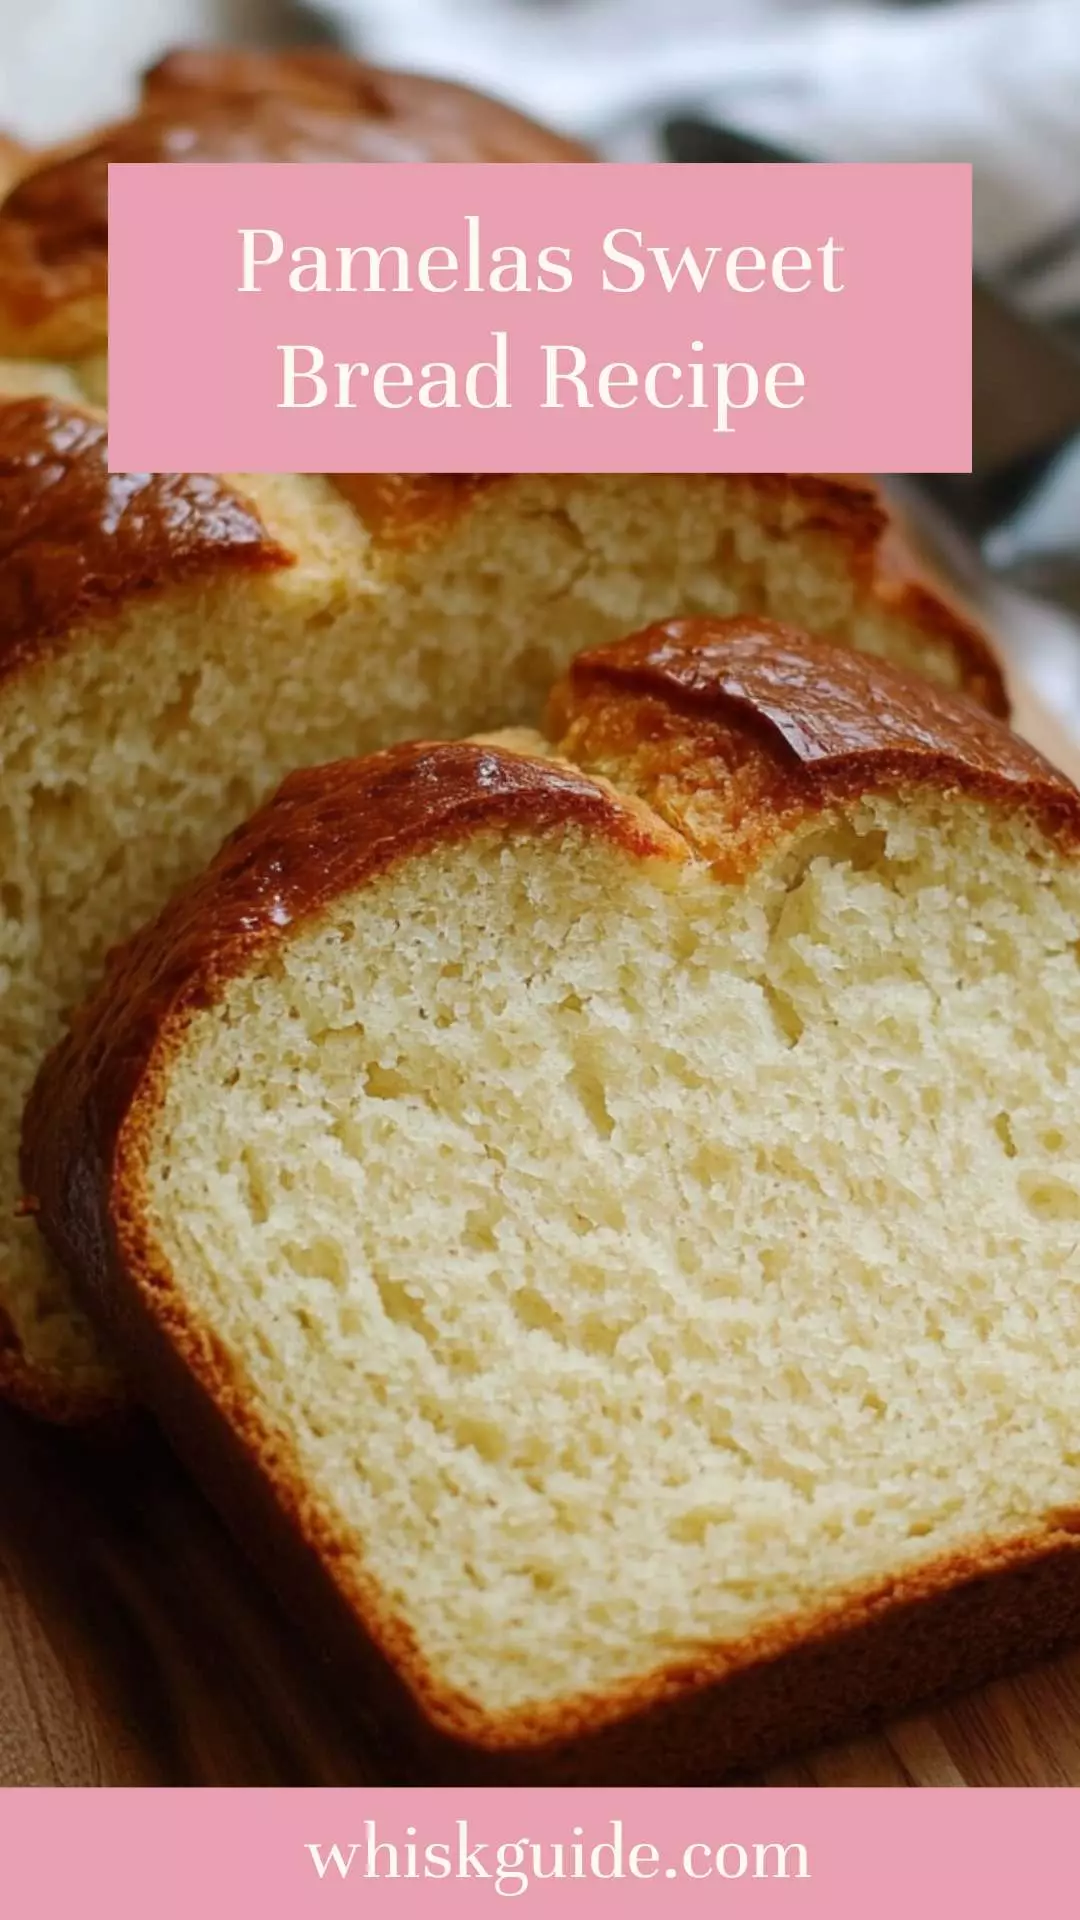
Pamelas Sweet Bread Recipe – Whisk GuidePamelas Sweet Bread Recipe – Whisk Guide
Before diving into the delightful nuances of Pamela’s Sweet Bread, let’s talk about what can make this dish shine even brighter. Imagine serving it alongside a warm cup of coffee
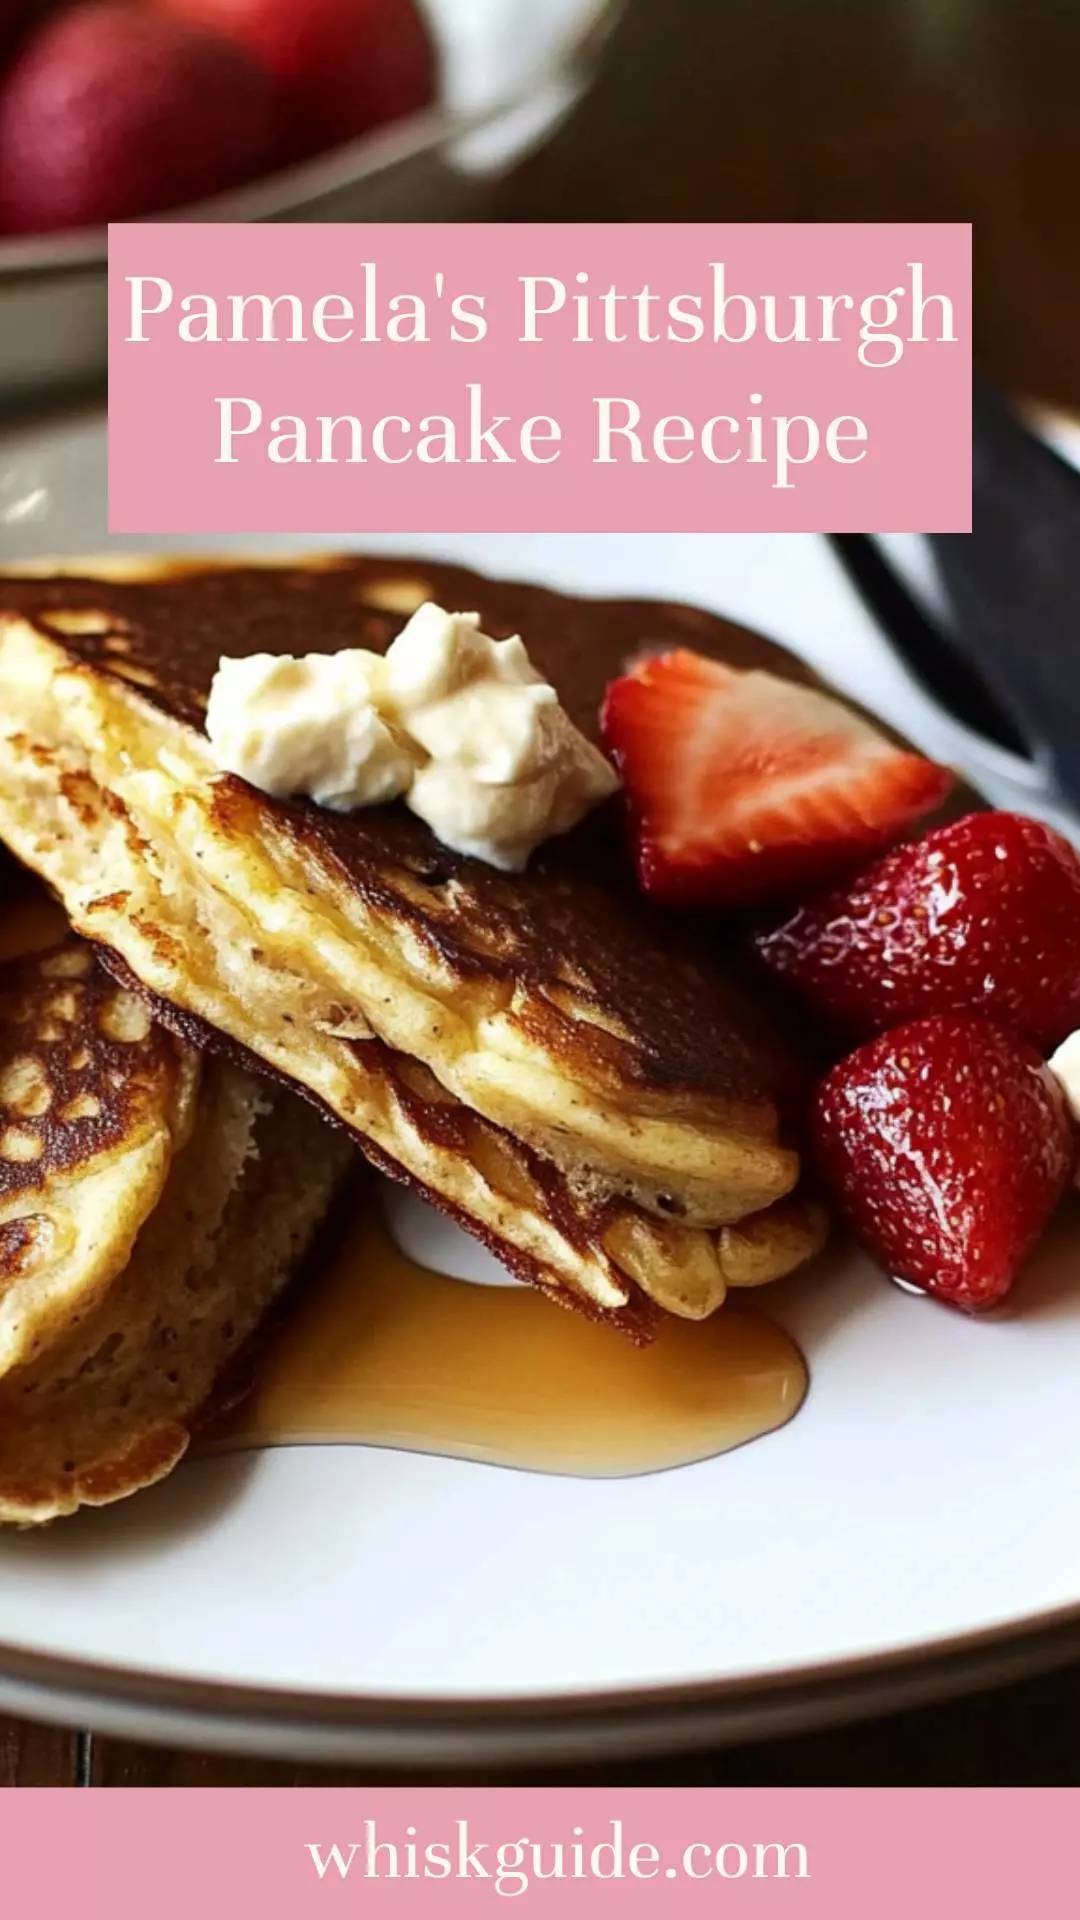
Pamela’s Pittsburgh Pancake Recipe – Whisk GuidePamela’s Pittsburgh Pancake Recipe – Whisk Guide
When we think about pancakes, syrup often springs to mind first. But if you want to take your eating experience a notch higher, consider pairing Pamela’s Pittsburgh pancakes with a
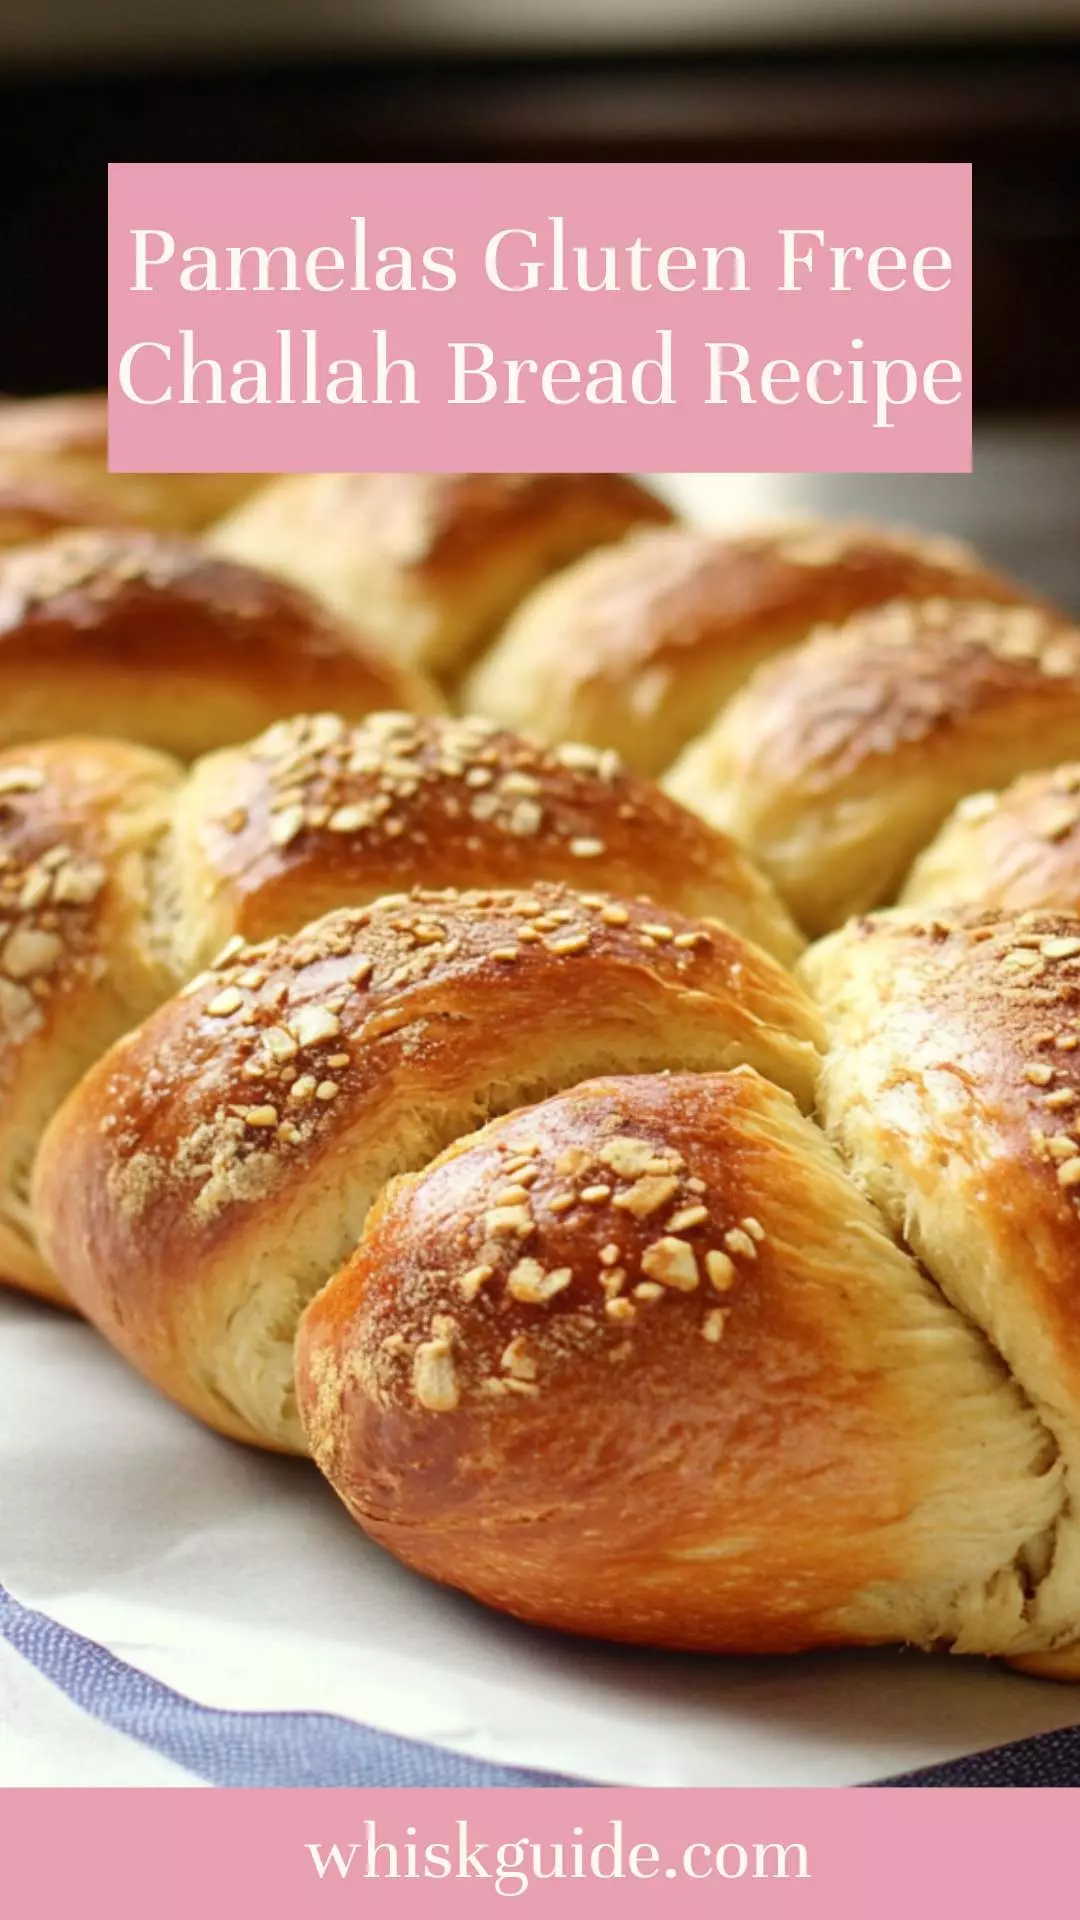
Pamelas Gluten Free Challah Bread Recipe – Whisk GuidePamelas Gluten Free Challah Bread Recipe – Whisk Guide
When I think about the warmth of freshly baked bread wafting through the air, my heart skips a beat. Bread isn’t just a side dish; it’s a cultural staple. Challah,