Pamela’s Gluten Free Chocolate Cake Recipe – Whisk Guide

If you’re gearing up to serve Pamela’s Gluten-Free Chocolate Cake, let’s talk about what pairs nicely with it. Imagine a scoop of creamy vanilla ice cream melting onto a warm slice of cake, or perhaps a generous dollop of freshly whipped cream with a sprinkle of chocolate shavings on top.
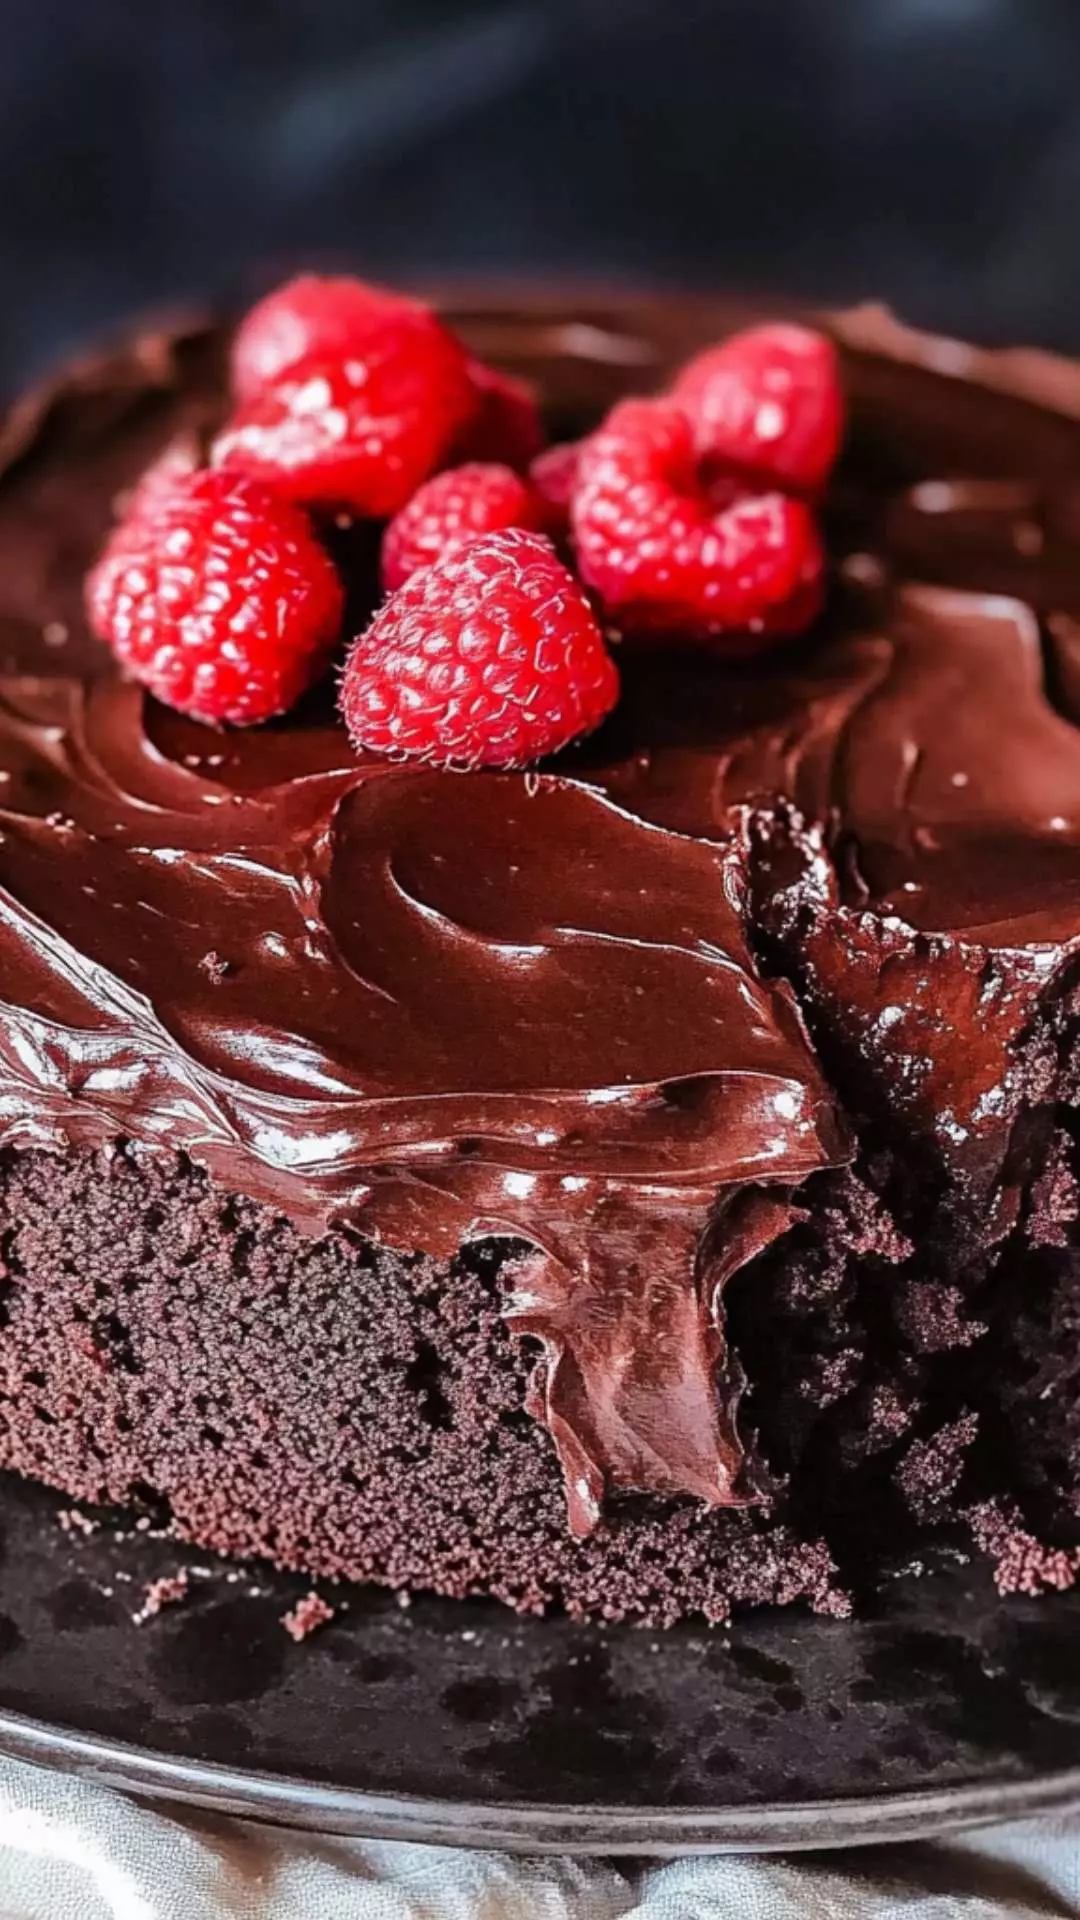
Fresh berries can also add a pop of color and a tangy contrast to the cake’s rich flavor. As the cake cools, consider brewing a strong cup of coffee or tea to enhance the chocolate’s depth. If you’re feeling adventurous, even a glass of red wine can create a harmonizing experience, complementing this delightful dessert perfectly.

I still remember the first time I bit into a slice of gluten-free chocolate cake. It was a revelation! My expectations were low because most gluten-free desserts I’ve tried in the past seemed to lack flavor or depth. However, Pamela’s Gluten-Free Chocolate Cake changed everything for me. This cake is not just for those avoiding gluten; it’s for anyone with a love for rich, moist, and utterly delightful chocolate desserts.
In this blog post, I’ll take you through my journey of mastering this recipe. I will share insights, troubleshooting tips, and my personal experience to make your baking adventure as enjoyable as possible. Ready to dive in? Let’s explore Pamela’s delightful creation together!
What Is Pamela’s Gluten-Free Chocolate Cake?
Pamela’s gluten-free chocolate cake is a simple yet sophisticated dessert that packs a punch. Utilizing a blend of gluten-free flour and high-quality cocoa powder, this recipe produces a moist cake that is equally satisfying. It’s perfect for birthdays, holidays, or just a special treat after a long day. Best of all, it’s straightforward, allowing even novice bakers to create something truly special.
How Does It Taste?
Let’s talk about the taste. This cake is decadence defined! Each bite reveals intense chocolate flavors, complemented by a light, spongy texture. The rich chocolate frosting adds an extra layer of indulgence, harmonizing beautifully with the cake. It’s sweet but not overwhelmingly so, making it a delightful treat for chocolate lovers. Honestly, it’s difficult to believe this cake is gluten-free.
Why You’ll Love This?
You’ll adore this cake for several reasons. Firstly, it suits a variety of dietary needs without sacrificing flavor. Secondly, the ingredients are simple and easy to find, saving you unnecessary trips to specialty stores. Additionally, it’s versatile; you can serve it plain, with frosting, or even with your favorite toppings for added flair. Finally, it’s a guaranteed crowd-pleaser! Expect smiles—and maybe a few surprised faces—when your guests discover it’s gluten-free.
Ingredients
Before we begin, let’s gather the essentials. Here’s what you’ll need:
Cake Ingredients:
- 2 large eggs
- 1 cup whole organic milk
- 1/2 cup extra-virgin olive oil
- 2 teaspoons pure vanilla extract
- 1 cup boiling hot water
- 2 cups raw cane sugar
- 1-3/4 cups gluten-free all-purpose flour blend (ensure it contains leavening agents)
- 3/4 cup HERSHEY’S Cocoa Powder
- 1 teaspoon sea salt
- 1/4 teaspoon baking powder
- 1/4 teaspoon baking soda
Perfectly Chocolate Frosting:
- 1/2 cup (1 stick) grass-fed butter
- 2/3 cup HERSHEY’S Cocoa Powder
- 3 cups powdered cane sugar
- 1/3 cup whole organic milk
- 1 teaspoon pure vanilla extract
- 1/2 cup finely chopped walnuts (for added texture and depth)
- 1/4 cup brewed strong coffee

Step-by-Step Directions
Step 1: Preheat Your Oven
Before you dive into mixing, preheat your oven to 350°F (175°C). This ensures that the cake bakes evenly.
Step 2: Mix Wet Ingredients
In a large bowl, whisk together the eggs, milk, olive oil, and vanilla extract. This combination adds moisture and flavor to your cake. Ensure everything is thoroughly combined to avoid any lumps.
Step 3: Combine Dry Ingredients
In another bowl, sift together the gluten-free flour, cocoa powder, baking powder, baking soda, and sea salt. Sifting helps to aerate and combine the dry ingredients properly. Plus, it prevents lumps from forming in your cake.
Step 4: Unite Wet and Dry
Gradually blend the dry ingredients into the wet mixture. Stir gently; you’re looking for a smooth batter. Pay attention to the consistency—it should be slightly runny.
Step 5: Add Boiling Water
Here’s where the magic happens. Carefully pour in the boiling water, stirring continuously. This technique keeps the batter silky and yields a moist cake.
Step 6: Pour and Bake
Grease two 9-inch round cake pans and divide the batter evenly between them. Place the pans in your preheated oven. Bake for 30-35 minutes, or until a toothpick inserted into the center comes out clean.
Step 7: Cool the Cakes
Once baked, remove the pans from the oven and let them cool on wire racks for about 10 minutes. After that, carefully take the cakes out of the pans and allow them to cool completely.
Step 8: Make the Frosting
While your cakes cool, prepare the frosting. Cream the softened butter in a bowl, gradually adding in the cocoa powder and powdered sugar. Pour in the milk and vanilla, mixing until smooth and creamy. Add the chopped walnuts for an exciting crunch.
Step 9: Frost the Cake
Once the cakes are completely cool, it’s time to assemble. Place one layer on a serving plate. Spread frosting generously on top, then gently place the second layer on top of the frosted layer. Finish by frosting the top and sides of the cake as desired.
Step 10: Serve and Enjoy!
Slice up your creation and serve it with your choice of toppings. Revel in the joy on your guests’ faces as they enjoy this gluten-free delight!
Tips for Making Pamela’s Gluten-Free Chocolate Cake
- Check Your Flour: Ensure your gluten-free flour blend contains xanthan gum or other leavening agents for the best texture.
- Don’t Overmix: When combining wet and dry ingredients, mix until just combined; overmixing can lead to a dense texture.
- Measure Accurately: Baking is science. Use the scoop and level method for flour to avoid too much flour in your recipe.
- Cool Completely: Make sure your cakes are completely cooled before frosting to prevent melting and sliding.
- Taste Test: Always taste your frosting before spreading it on the cake. Adjust sweetness and cocoa according to your preference.

Nutrition Information
pamela’s gluten free chocolate cake recipe nutrition facts

How Do You Store This Cake?
Storing your cake correctly ensures it remains moist and delicious. Here’s what to do:
- At Room Temperature: Wrap the cake in plastic wrap to keep it fresh. It typically lasts 2-3 days.
- In the Refrigerator: For prolonged freshness, store your cake in an airtight container for up to a week.
- Freezing: Slice your cake and wrap each piece tightly in plastic wrap and aluminum foil. It can last in the freezer for up to 3 months.
What Other Substitutes Can You Use in Pamela’s Gluten-Free Chocolate Cake Recipe?
- Almond Milk: Substitute the whole milk with unsweetened almond milk for a nuttier flavor.
- Coconut Oil: Use melted coconut oil instead of olive oil for a subtle coconut taste.
- Honey or Maple Syrup: Replace raw cane sugar with honey or maple syrup for a different sweetness profile.
- Dairy-Free Butter: If you’re looking for a dairy-free option, use a dairy-free butter alternative in the frosting.
- Chia Eggs: For a vegan version, replace each egg with 1 tablespoon of chia seeds mixed with 2.5 tablespoons of water. Let it sit until it forms a gel-like consistency.
Pamela’s Gluten Free Chocolate Cake Recipe
Ingredients
Equipment
Method
- Before you dive into mixing, preheat your oven to 350°F (175°C). This ensures that the cake bakes evenly.
- In a large bowl, whisk together the eggs, milk, olive oil, and vanilla extract. This combination adds moisture and flavor to your cake. Ensure everything is thoroughly combined to avoid any lumps.
- In another bowl, sift together the gluten-free flour, cocoa powder, baking powder, baking soda, and sea salt. Sifting helps to aerate and combine the dry ingredients properly. Plus, it prevents lumps from forming in your cake.
- Gradually blend the dry ingredients into the wet mixture. Stir gently; you’re looking for a smooth batter. Pay attention to the consistency—it should be slightly runny.
- Here’s where the magic happens. Carefully pour in the boiling water, stirring continuously. This technique keeps the batter silky and yields a moist cake.
- Grease two 9-inch round cake pans and divide the batter evenly between them. Place the pans in your preheated oven. Bake for 30-35 minutes, or until a toothpick inserted into the center comes out clean.
- Once baked, remove the pans from the oven and let them cool on wire racks for about 10 minutes. After that, carefully take the cakes out of the pans and allow them to cool completely.
- While your cakes cool, prepare the frosting. Cream the softened butter in a bowl, gradually adding in the cocoa powder and powdered sugar. Pour in the milk and vanilla, mixing until smooth and creamy. Add the chopped walnuts for an exciting crunch.
- Once the cakes are completely cool, it’s time to assemble. Place one layer on a serving plate. Spread frosting generously on top, then gently place the second layer on top of the frosted layer. Finish by frosting the top and sides of the cake as desired.
- Slice up your creation and serve it with your choice of toppings. Revel in the joy on your guests’ faces as they enjoy this gluten-free delight!
Nutrition
Notes
- Check Your Flour: Ensure your gluten-free flour blend contains xanthan gum or other leavening agents for the best texture.
- Don’t Overmix: When combining wet and dry ingredients, mix until just combined; overmixing can lead to a dense texture.
- Measure Accurately: Baking is science. Use the scoop and level method for flour to avoid too much flour in your recipe.
- Cool Completely: Make sure your cakes are completely cooled before frosting to prevent melting and sliding.
- Taste Test: Always taste your frosting before spreading it on the cake. Adjust sweetness and cocoa according to your preference.
Tried this recipe?
Let us know how it was!Frequently Asked Questions
Conclusion
Pamela’s gluten-free chocolate cake recipe has earned its place in my dessert rotation. It’s easy, indulgent, and packed with flavors that everyone can appreciate. With a little preparation and care, you can create a dessert that’ll impress even the most discerning chocolate lovers. So, the next time you’re in the mood for something sweet, remember this cake—it’s a treat that’s sure to delight! Happy baking!
You’ll also like these latest recipes!
Related Post
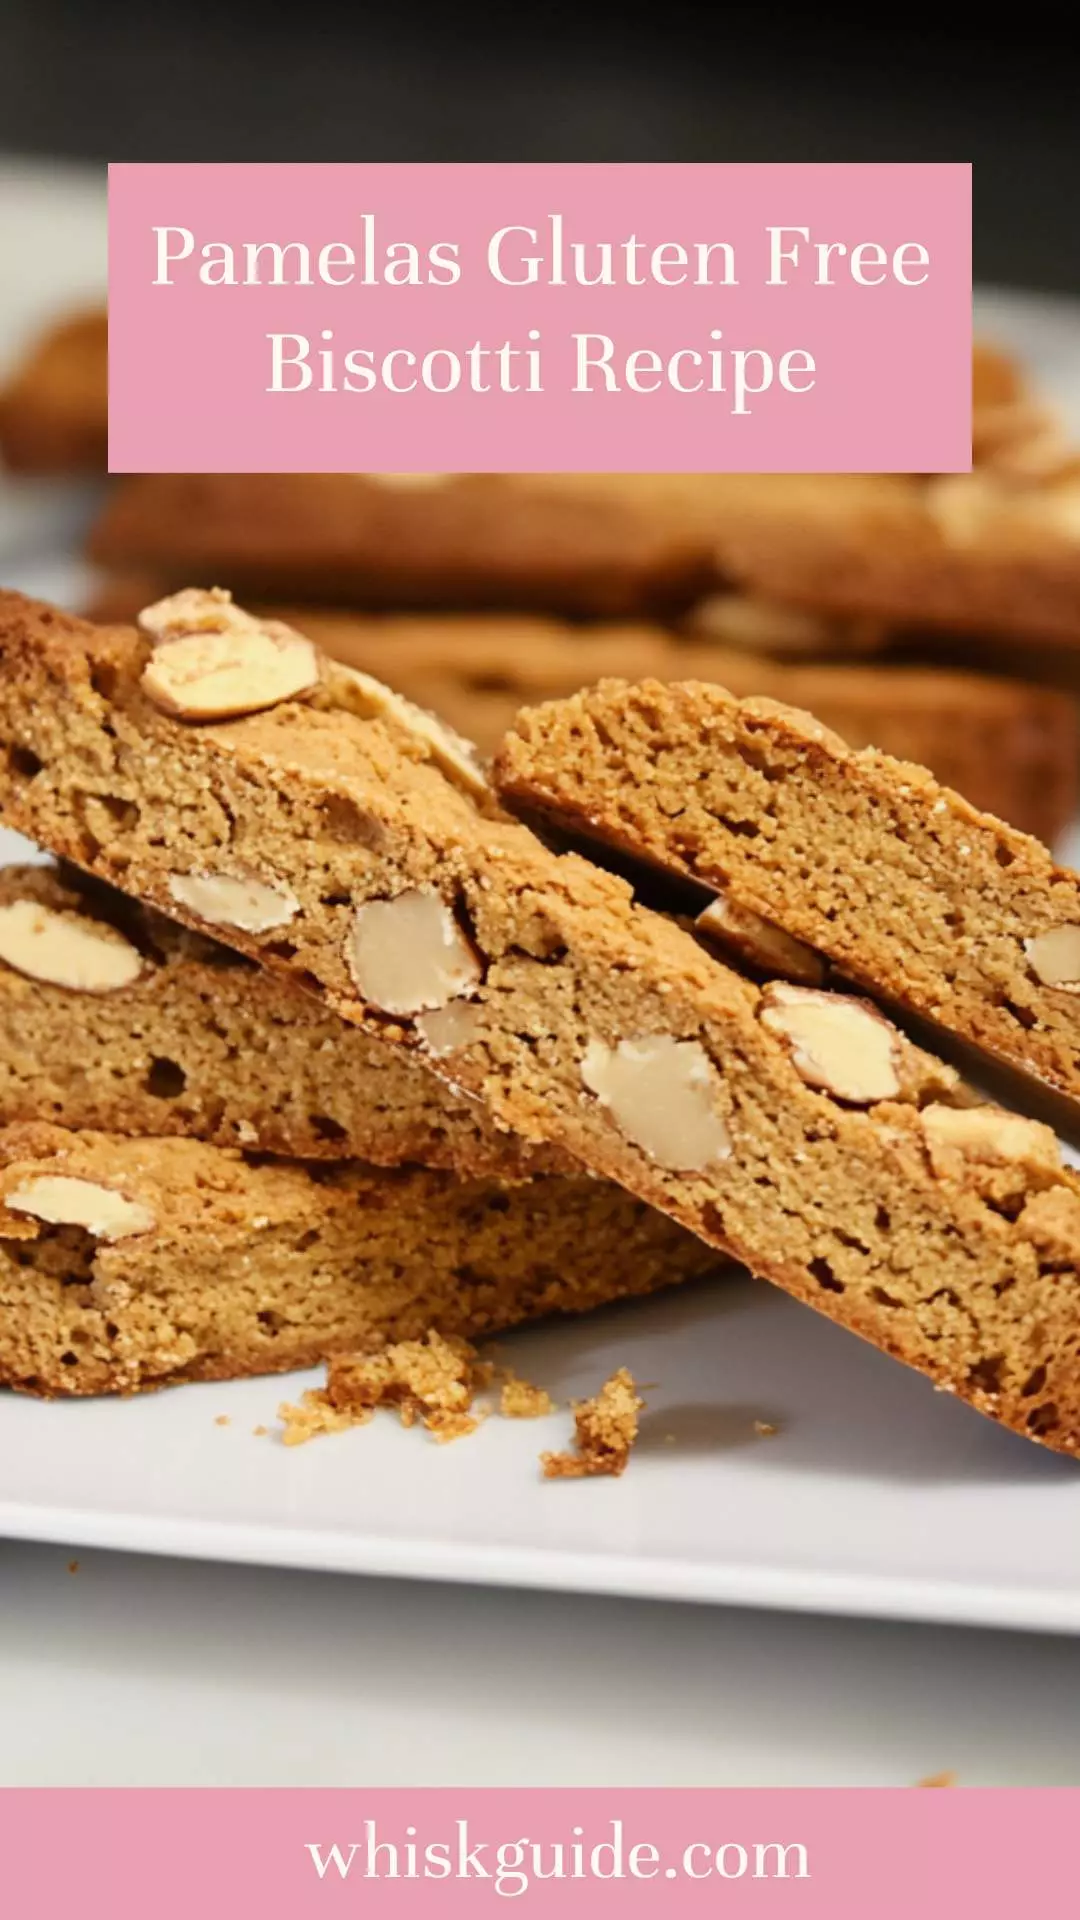
Pamelas Gluten Free Biscotti Recipe – Whisk GuidePamelas Gluten Free Biscotti Recipe – Whisk Guide
Ah, biscotti. Just saying the word takes me back to sun-drenched afternoons in a cozy Italian café, the aroma of fresh coffee wafting through the air as I savored each
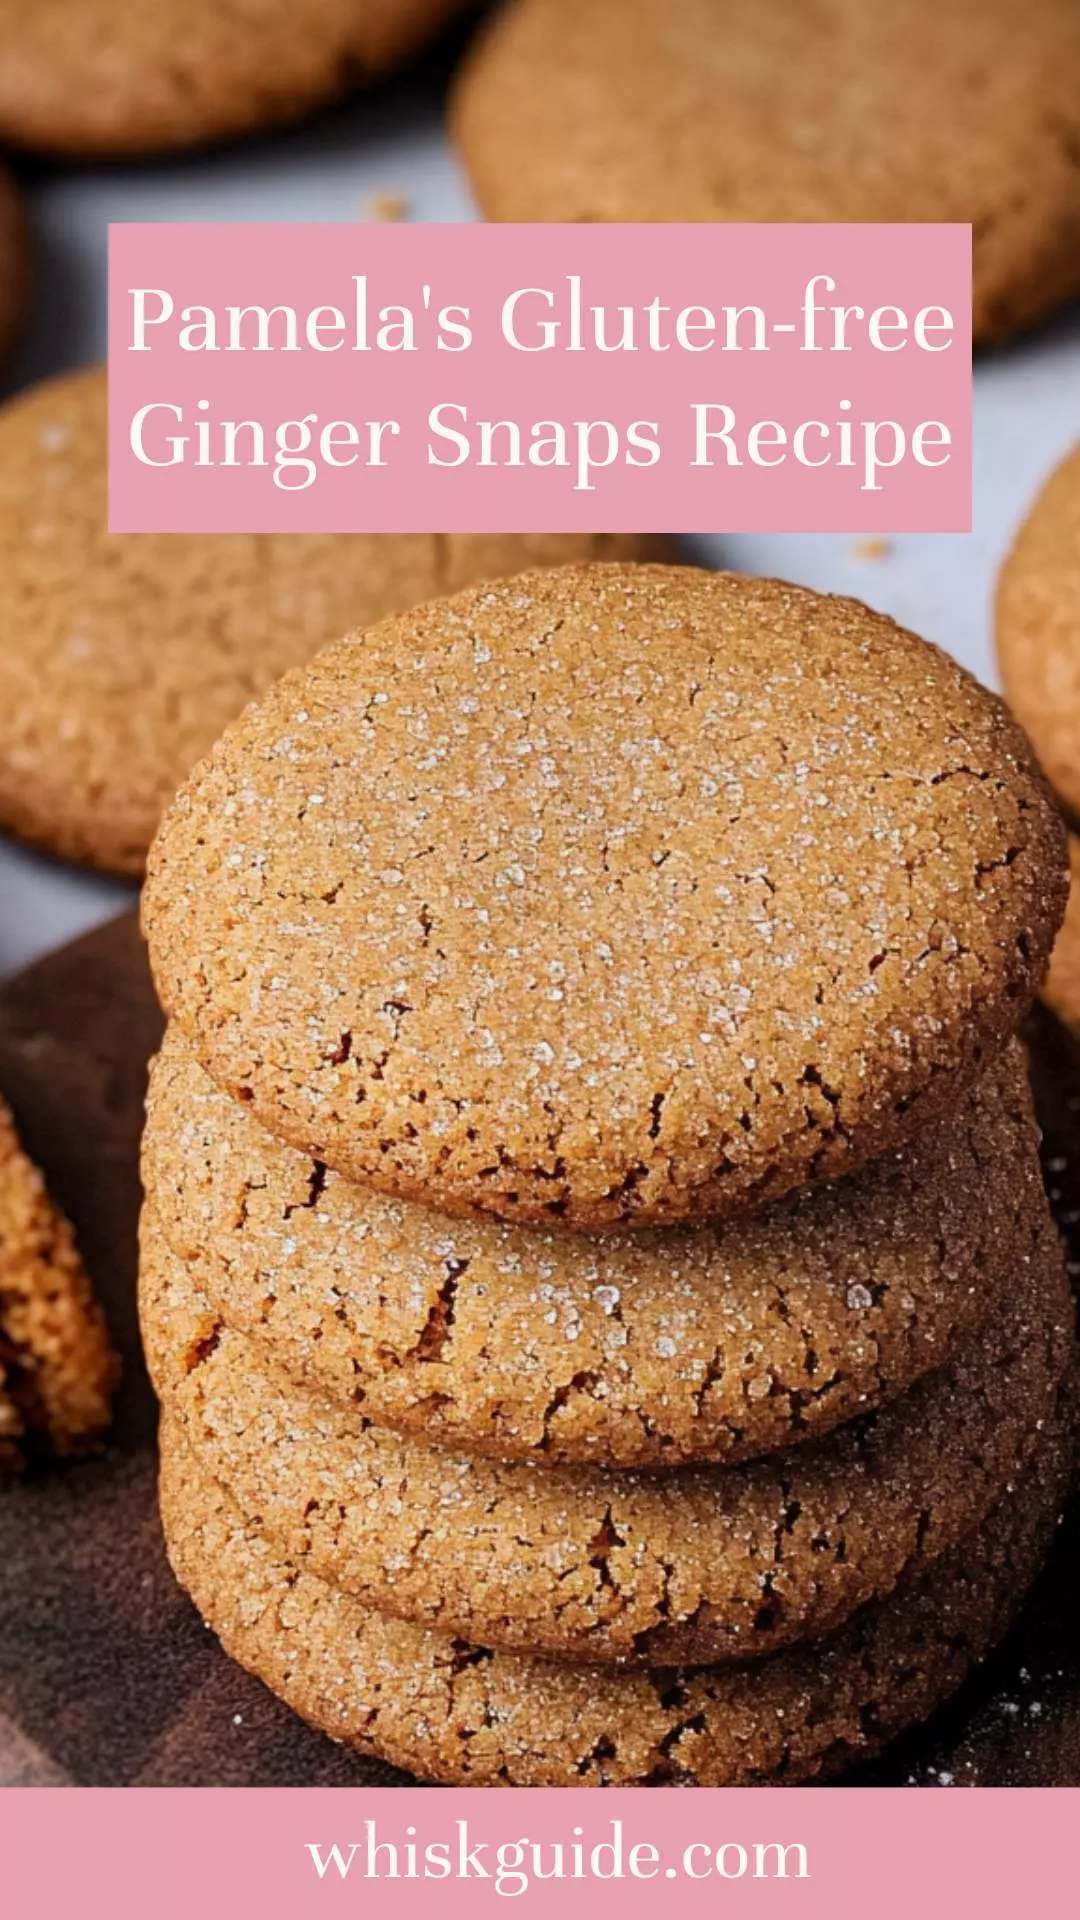
Pamela’s Gluten-free Ginger Snaps Recipe – Whisk GuidePamela’s Gluten-free Ginger Snaps Recipe – Whisk Guide
Before we dive into the tantalizing world of Pamela’s gluten-free ginger snaps, let’s take a moment to think about what complements these delightful cookies. Imagine pairing them with a warm
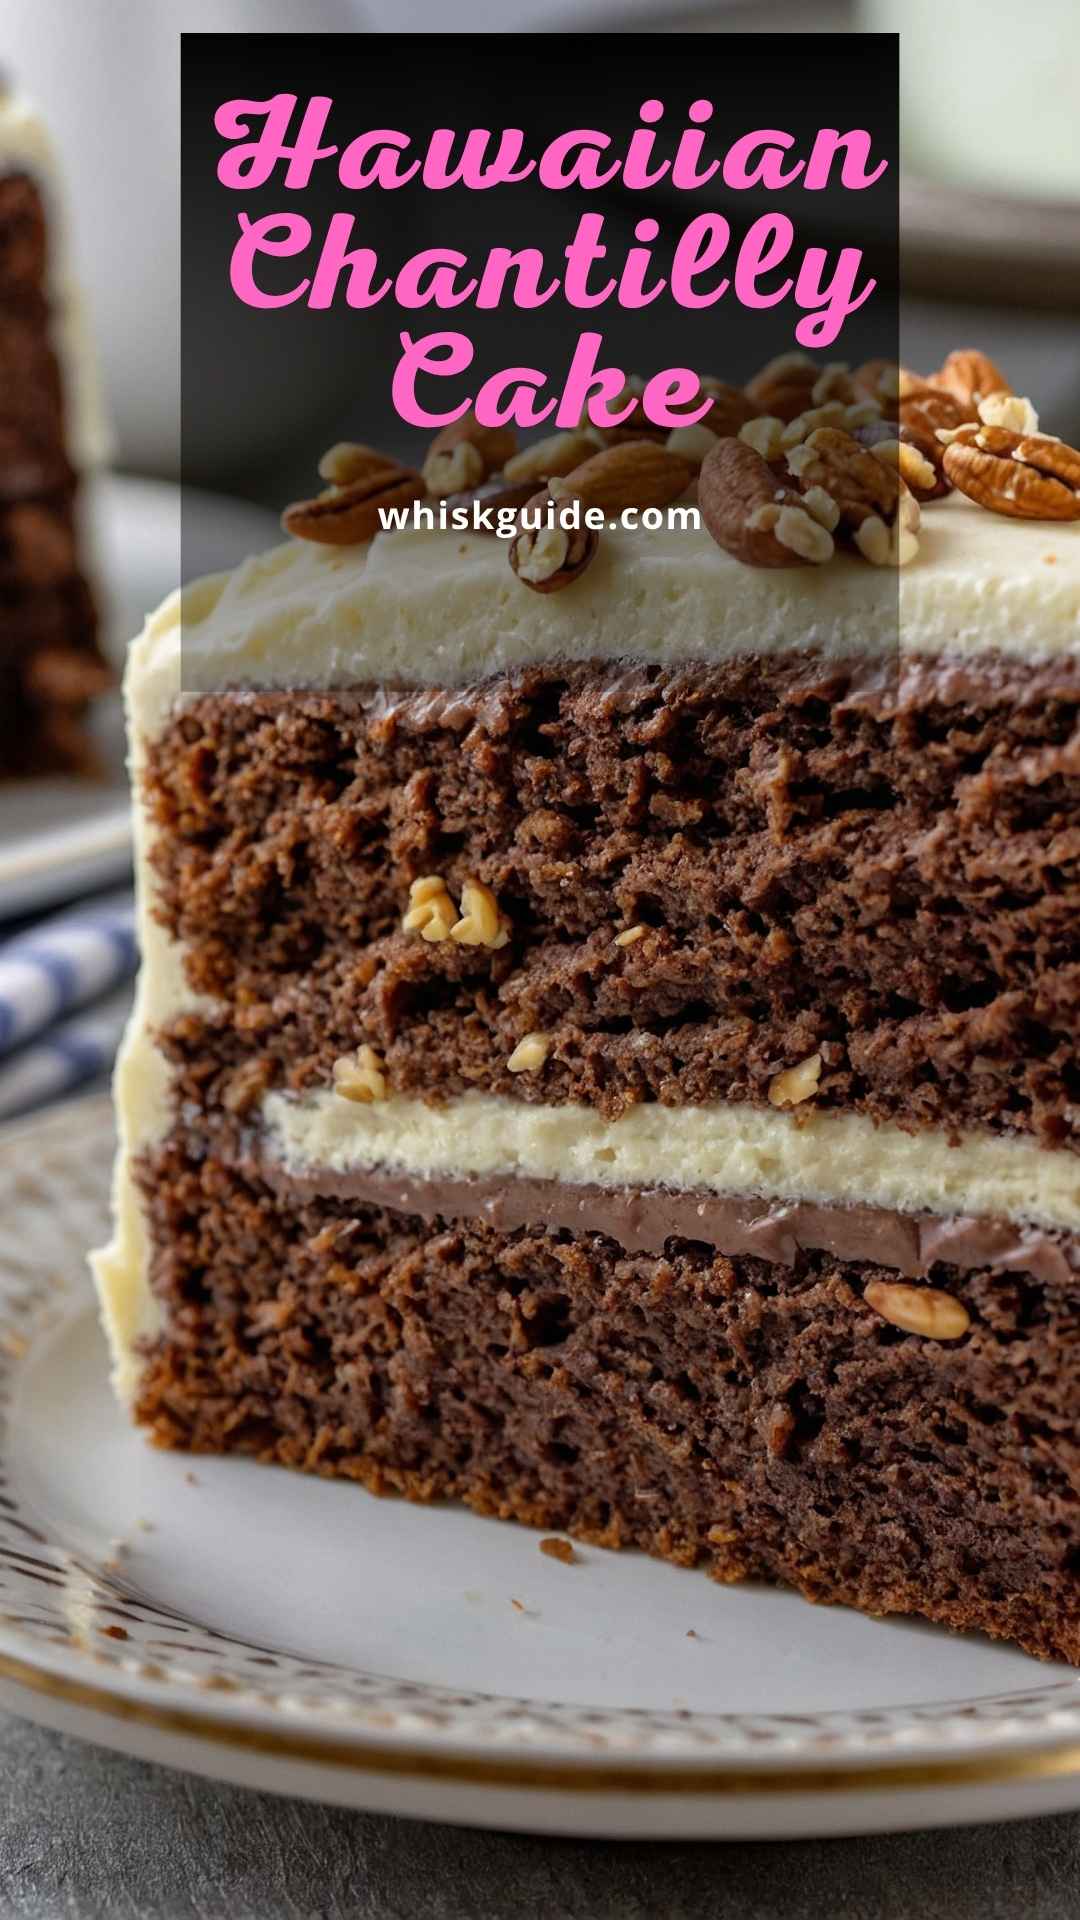
Hawaiian Chantilly Cake Recipe – Whisk GuideHawaiian Chantilly Cake Recipe – Whisk Guide
Hawaiian Chantilly Cake is a delightful dessert bursting with flavor. To elevate your experience, consider pairing it with a tropical fruit salad. Juicy mangoes, pineapples, and strawberries respectively complement the