Go Back
+ servings
pamela's gluten free chocolate cake
Pamela Dunlap

Pamela's Gluten Free Chocolate Cake Recipe

I still remember the first time I bit into a slice of gluten-free chocolate cake. It was a revelation! My expectations were low because most gluten-free desserts I've tried in the past seemed to
Prep Time 10 minutes
Cook Time 40 minutes
Total Time 50 minutes
Servings: 12
Course: Dessert
Cuisine: American
Calories: 284

Ingredients
  

  • 2 large eggs
  • 1 cup whole organic milk
  • 1/2 cup extra-virgin olive oil
  • 2 teaspoons pure vanilla extract
  • 1 cup boiling hot water
  • 2 cups raw cane sugar
  • 1-3/4 cups gluten-free all-purpose flour blend ensure it contains leavening agents
  • 3/4 cup HERSHEY'S Cocoa Powder
  • 1 teaspoon sea salt
  • 1/4 teaspoon baking powder
  • 1/4 teaspoon baking soda
  • "PERFECTLY CHOCOLATE" Chocolate Frosting:
  • 1/2 cup 1 stick grass-fed butter
  • 2/3 cup HERSHEY'S Cocoa Powder
  • 3 cups powdered cane sugar
  • 1/3 cup whole organic milk
  • 1 teaspoon pure vanilla extract
  • 1/2 cup finely chopped walnuts for added texture and depth
  • 1/4 cup brewed strong coffee

Equipment

  • Oven
  • Large bowl

Method
 

  1. Before you dive into mixing, preheat your oven to 350°F (175°C). This ensures that the cake bakes evenly.
  2. In a large bowl, whisk together the eggs, milk, olive oil, and vanilla extract. This combination adds moisture and flavor to your cake. Ensure everything is thoroughly combined to avoid any lumps.
  3. In another bowl, sift together the gluten-free flour, cocoa powder, baking powder, baking soda, and sea salt. Sifting helps to aerate and combine the dry ingredients properly. Plus, it prevents lumps from forming in your cake.
  4. Gradually blend the dry ingredients into the wet mixture. Stir gently; you’re looking for a smooth batter. Pay attention to the consistency—it should be slightly runny.
  5. Here’s where the magic happens. Carefully pour in the boiling water, stirring continuously. This technique keeps the batter silky and yields a moist cake.
  6. Grease two 9-inch round cake pans and divide the batter evenly between them. Place the pans in your preheated oven. Bake for 30-35 minutes, or until a toothpick inserted into the center comes out clean.
  7. Once baked, remove the pans from the oven and let them cool on wire racks for about 10 minutes. After that, carefully take the cakes out of the pans and allow them to cool completely.
  8. While your cakes cool, prepare the frosting. Cream the softened butter in a bowl, gradually adding in the cocoa powder and powdered sugar. Pour in the milk and vanilla, mixing until smooth and creamy. Add the chopped walnuts for an exciting crunch.
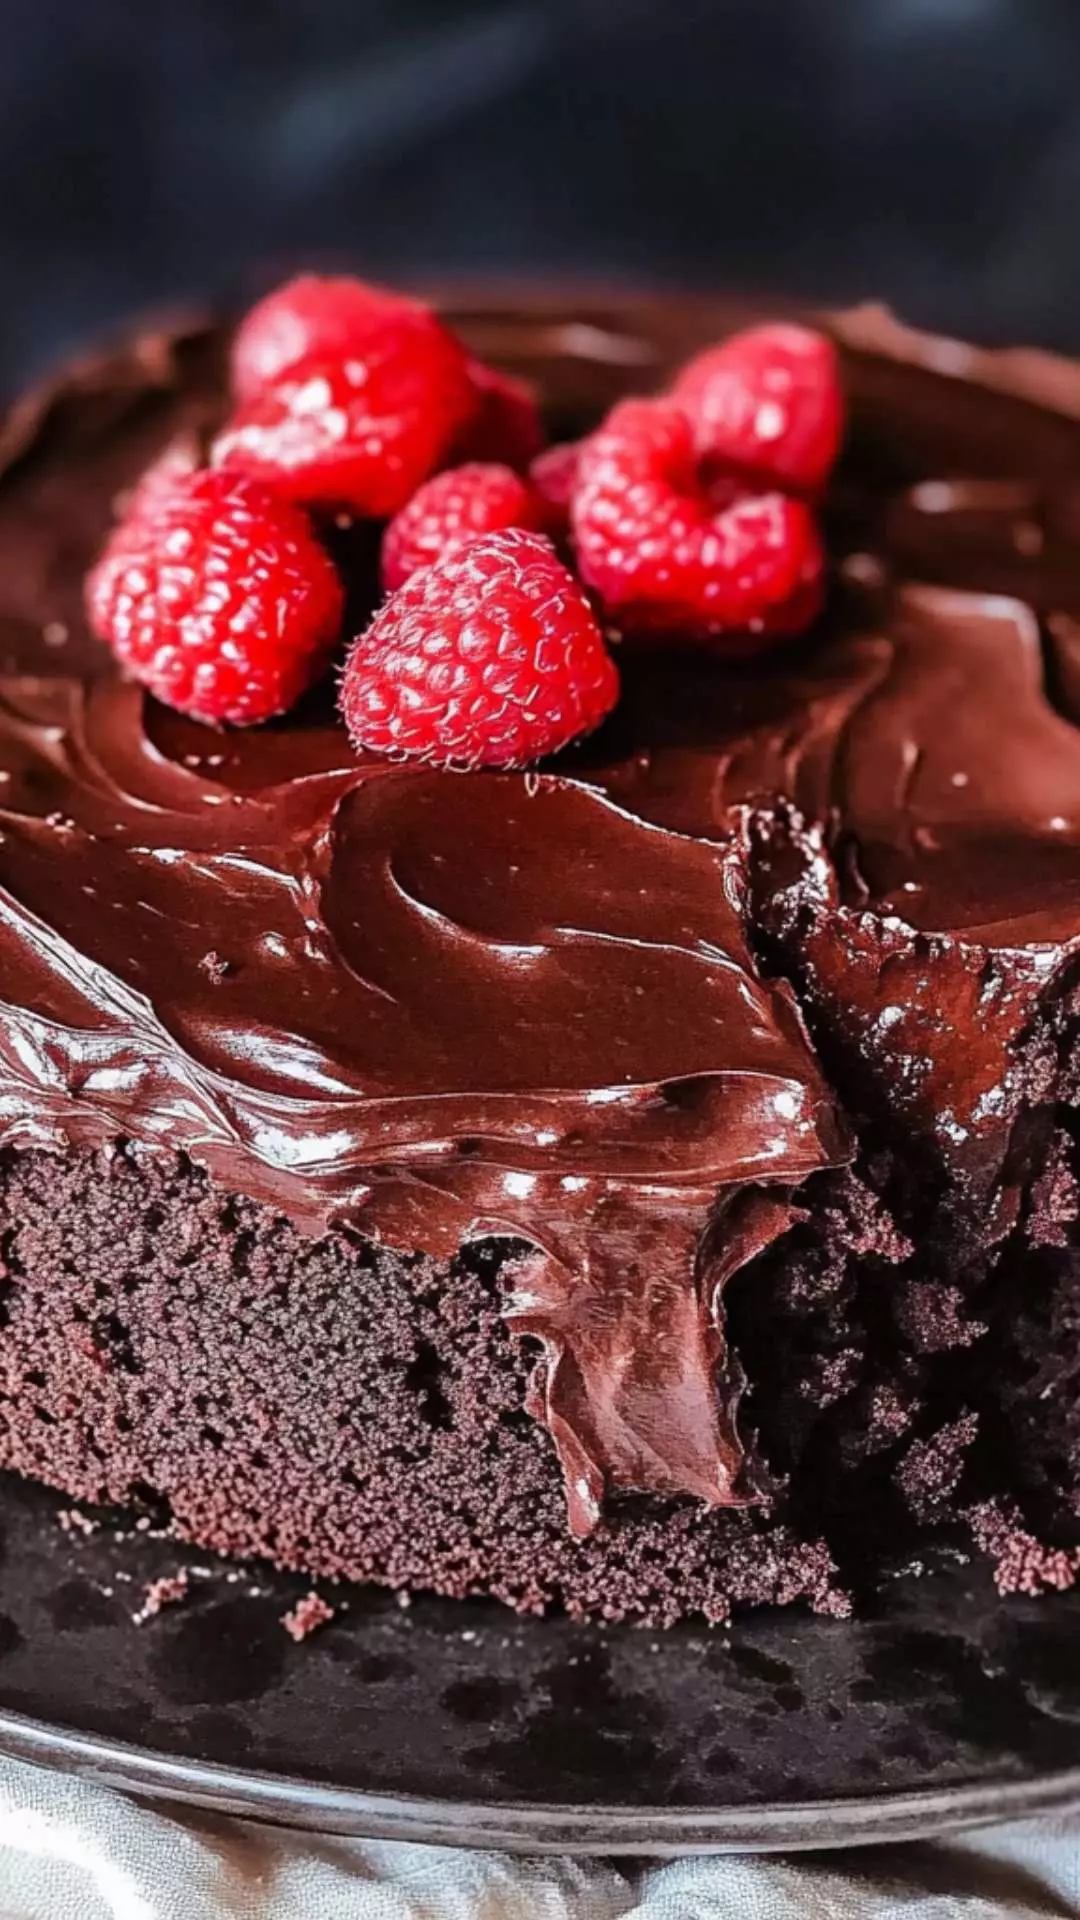
  9. Once the cakes are completely cool, it’s time to assemble. Place one layer on a serving plate. Spread frosting generously on top, then gently place the second layer on top of the frosted layer. Finish by frosting the top and sides of the cake as desired.
  10. Slice up your creation and serve it with your choice of toppings. Revel in the joy on your guests’ faces as they enjoy this gluten-free delight!

Nutrition

Calories: 284kcal

Notes

  • Check Your Flour: Ensure your gluten-free flour blend contains xanthan gum or other leavening agents for the best texture.
  • Don’t Overmix: When combining wet and dry ingredients, mix until just combined; overmixing can lead to a dense texture.
  • Measure Accurately: Baking is science. Use the scoop and level method for flour to avoid too much flour in your recipe.
  • Cool Completely: Make sure your cakes are completely cooled before frosting to prevent melting and sliding.
  • Taste Test: Always taste your frosting before spreading it on the cake. Adjust sweetness and cocoa according to your preference.

Tried this recipe?

Let us know how it was!