Ingredients
Equipment
Method
Step 1: Prepare the Chicken
- First things first, let's preheat the oven to 375°F (190°C). I season my chicken breasts generously with salt and pepper, ensuring that every bite will be flavorful. In a grill pan or skillet heated over medium, I drizzle some olive oil and lay the chicken breasts down. Cook them for about 6-8 minutes on each side, or until they're cooked through and have nice grill marks. Once done, I remove them from the heat, let them rest for a few minutes, and then shred the meat using two forks.
Step 2: Mix the Cheese Filling
- In a medium bowl, I combine the ricotta, cottage cheese, mozzarella, and one cup of Parmesan cheese. Next, I crack in the eggs and sprinkle in the minced parsley, making sure to add some salt, black pepper, and the shredded chicken as well. For a silkier consistency, if my mixture feels too thick, I splash in a bit of the heavy cream. I mix everything together until it’s well combined and creamy, then set it aside.
Step 3: Create the Alfredo Sauce
- Moving on to the sauce! In a large skillet over medium heat, I melt the butter. Once melted, I sprinkle in the flour and whisk it together, cooking until the roux is golden brown. I then slowly pour in both the milk and heavy cream, continuing to whisk to avoid lumps. This part is crucial; I keep stirring for a few minutes until the sauce thickens. Afterward, I toss in the minced garlic, another cup of Parmesan, salt, pepper, and the fresh basil. I make sure to taste it and adjust the seasonings to my liking.
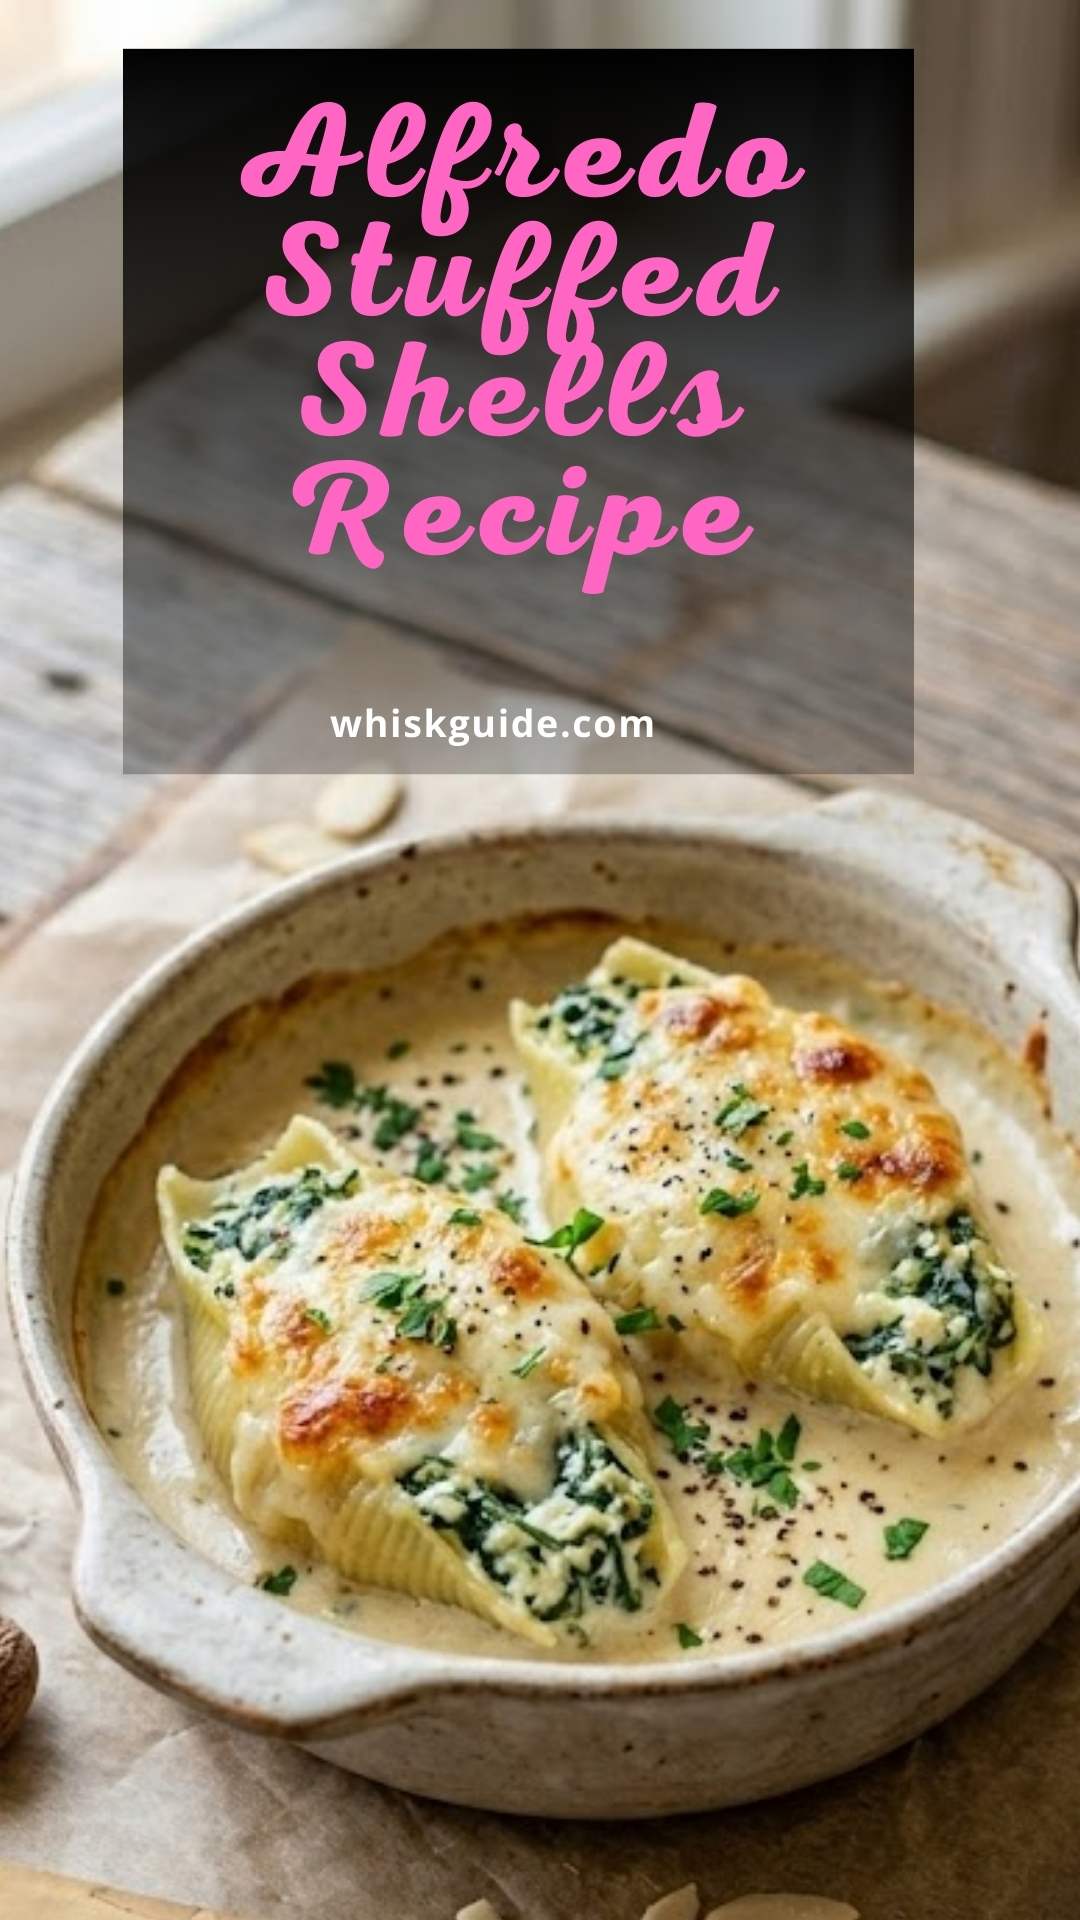
Step 4: Assemble the Dish
- Now comes the fun part! I pour one cup of the warm Alfredo sauce into the bottom of a 9x13 inch baking dish. Using a spoon, I generously fill each jumbo shell with the cheesy chicken mixture and lay them face down in the dish. Once they are all nestled in, I pour the remaining sauce over the top and sprinkle on extra mozzarella and Parmesan for that delightful crispy topping.
Step 5: Bake to Perfection
- Finally, I cover the dish with aluminum foil and pop it in the oven for about 25-30 minutes until the cheese is melty and bubbly. As the fragrance wafts through my kitchen, I can hardly wait to dive in! I serve these stuffed shells with a fresh side salad to balance out the richness.
Nutrition
Notes
- Make sure to cook your pasta shells al dente, as they will finish cooking in the oven.
- Consider adding a layer of sautéed spinach into the cheese mixture for added color and nutrients.
- If you like a little heat, add a pinch of red pepper flakes to the sauce.
- Feel free to prepare the filling ahead of time and assemble before baking for an easy weeknight dinner.
- Don’t skip the resting time for the chicken; it makes shredding easier and results in a juicier filling.