Ingredients
Equipment
Method
Step 1: Toast the Nuts
- First up, we need to toast those nuts! Preheat your oven to 300°F (149°C). Line a large baking sheet with parchment paper or a silicone mat for easy cleanup. Spread out your chopped pecans (or walnuts) evenly on the sheet. Bake them in the oven for about 6 to 8 minutes or until you can smell their delightful aroma. It’s essential to shake the pan halfway through baking so they toast evenly. When they're done, let ‘em cool for about 10 to 15 minutes.
Step 2: Prepare the Cake Pans
- Now, crank the oven temperature up to 350°F (177°C). Grab two or three 9-inch round cake pans. Grease them with non-stick spray, and then line each with a round of parchment paper—this extra step ensures your cakes lift out perfectly after baking. Grease the parchment paper, too.
Step 3: Make the Cake Batter
- In a large bowl, combine the brown sugar, granulated sugar, vegetable oil, eggs, applesauce, and vanilla extract. Whisk until everything is well combined and smooth, leaving no lumps of brown sugar behind. In another large bowl, whisk together the flour, baking powder, baking soda, salt, cinnamon, ginger, nutmeg, and cloves. Gradually pour the wet ingredients into the dry mixture. Using a spatula or wooden spoon, gently fold everything together until just combined. Be careful not to over-mix—you don’t want a dense cake! Lastly, fold in the grated carrots, along with 1 cup of your toasted nuts.
Step 4: Bake the Cakes
- Spoon the batter evenly into the prepared cake pans. When baking in three pans, you’ll want to check for doneness around the 20 to 25-minute mark. If you’re using two pans, it might take about 30 to 35 minutes. A toothpick inserted in the center should come out clean when the cakes are ready.
Step 5: Cool the Cakes
- Let the cakes cool in their pans on a cooling rack for about an hour. After that, take a butter knife and gently run it around the edges to release the cakes. Flip them out onto the rack and peel off the parchment paper. The cakes need to cool completely before we dive into frosting them!
Step 6: Make the Frosting
- Get ready for the best part—the cream cheese frosting! In a large bowl (or using a stand mixer with a paddle attachment), beat the softened cream cheese and butter together on medium-high speed for around 2 minutes, until it’s super smooth. Scrape down the bowl as needed. Next, add the confectioners’ sugar, vanilla, and a pinch of salt. Beat on low speed for about 30 seconds to avoid a sugar cloud, then crank it up to high and mix for about 3 minutes until creamy and perfect. If it seems too thin, sprinkle in more confectioners’ sugar; if it’s too thick, a splash of milk will do wonders.
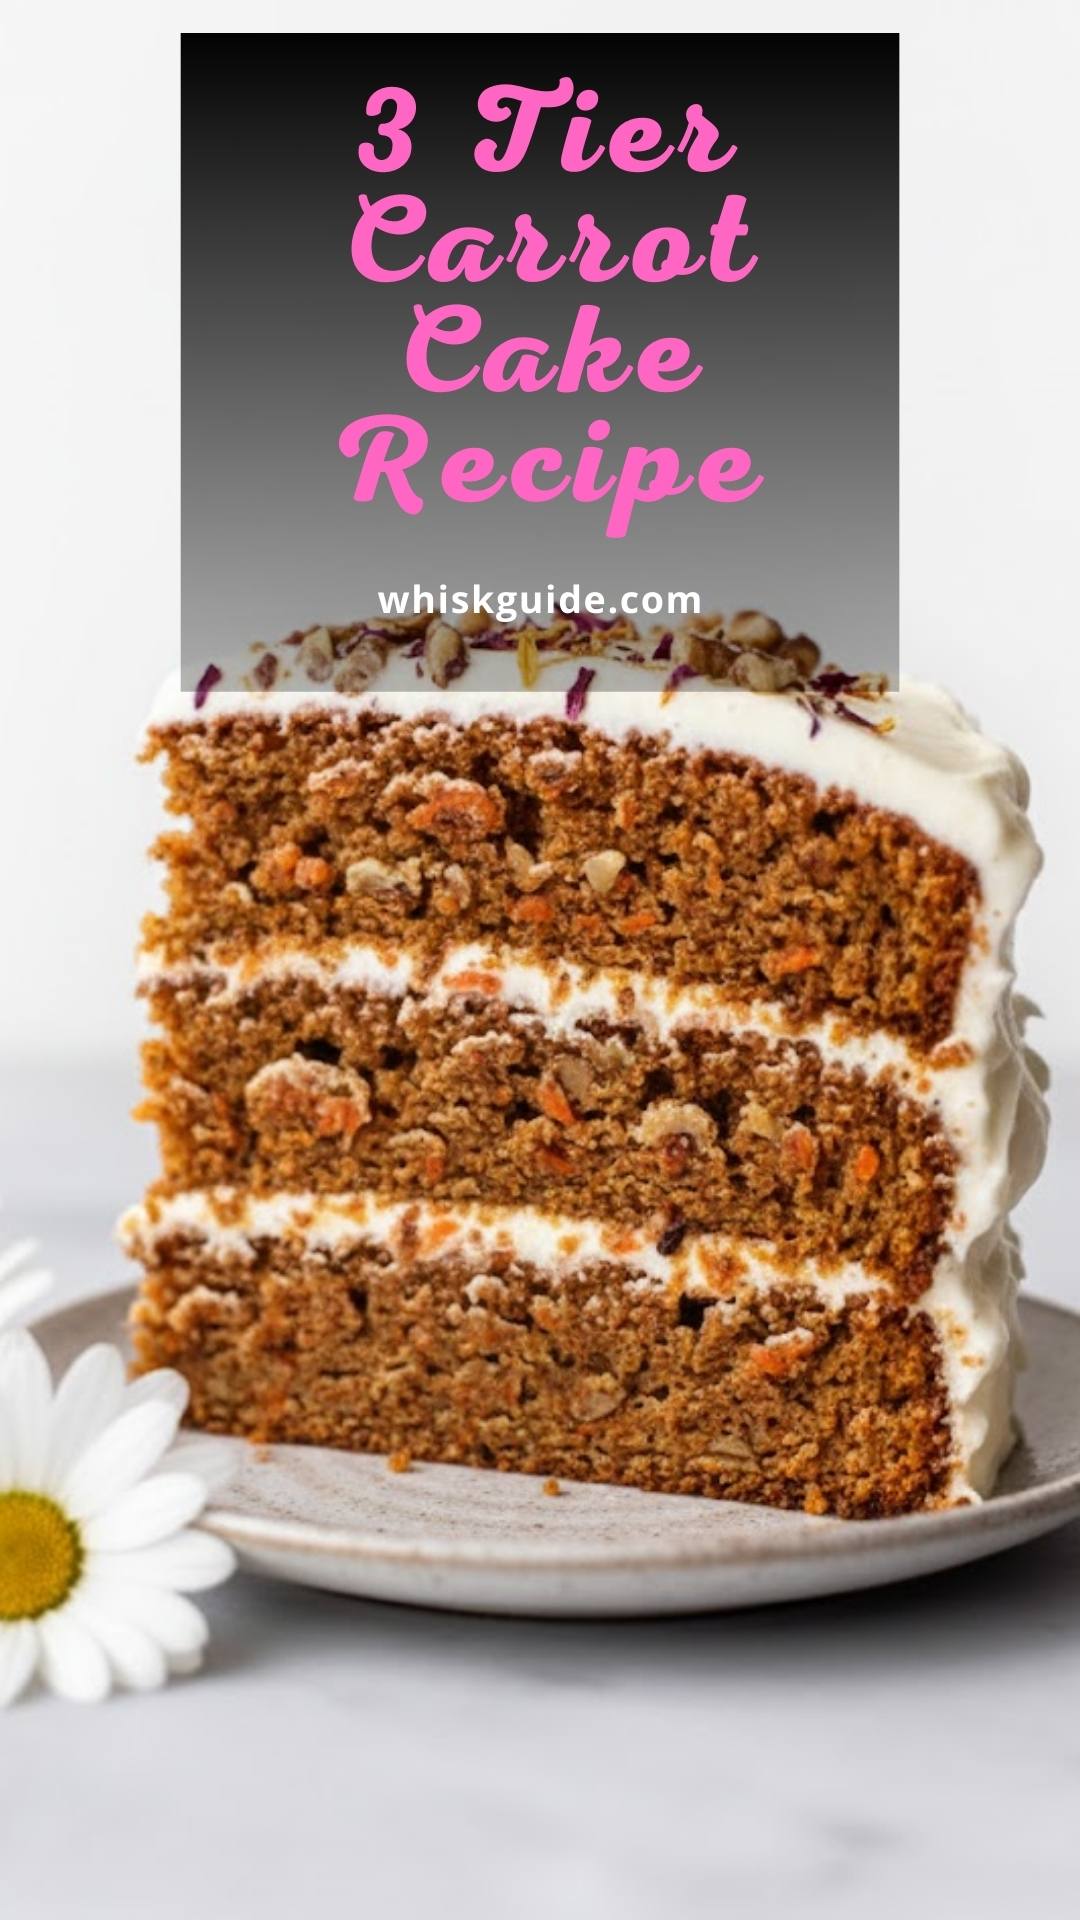
Step 7: Assemble the Cake
- To get started on the assembly, take a serrated knife or a cake leveler and slice a thin layer off the top of each cake—this step creates a flat surface. Place the first cake layer on your serving plate or turntable. Spread about 3/4 to 1 cup of frosting evenly on top. Then, add the next cake layer upside down and frost it similarly. Finally, place your third layer right side up and cover the entire cake with the remaining frosting. Get festive by garnishing the top with the leftover toasted nuts!
Step 8: Chill the Cake
- For the best cutting experience, refrigerate the cake for at least 20 minutes. If you plan to chill it longer than 4 hours, take it out about 2 hours before serving to let it come back toward room temperature. Wrap any leftover cake tightly and store it in the fridge for up to 5 days.
Nutrition
Notes
- Use Room Temperature Ingredients: Bring your eggs and butter to room temperature for a smoother batter.
- Don’t Skip the Nuts: Toasting the nuts enhances their flavor. It’s a small step that makes a big difference.
- Level the Cakes: Always level your cakes before frosting for a beautiful finish. Uneven layers can lead to a lopsided cake!
- Experiment with Spices: Feel free to tweak the spice measurements to suit your taste, making it as spicy or mild as you like.
- Storing Leftovers: If you have any cake leftover, wrap it well to keep it fresh.