Ingredients
Equipment
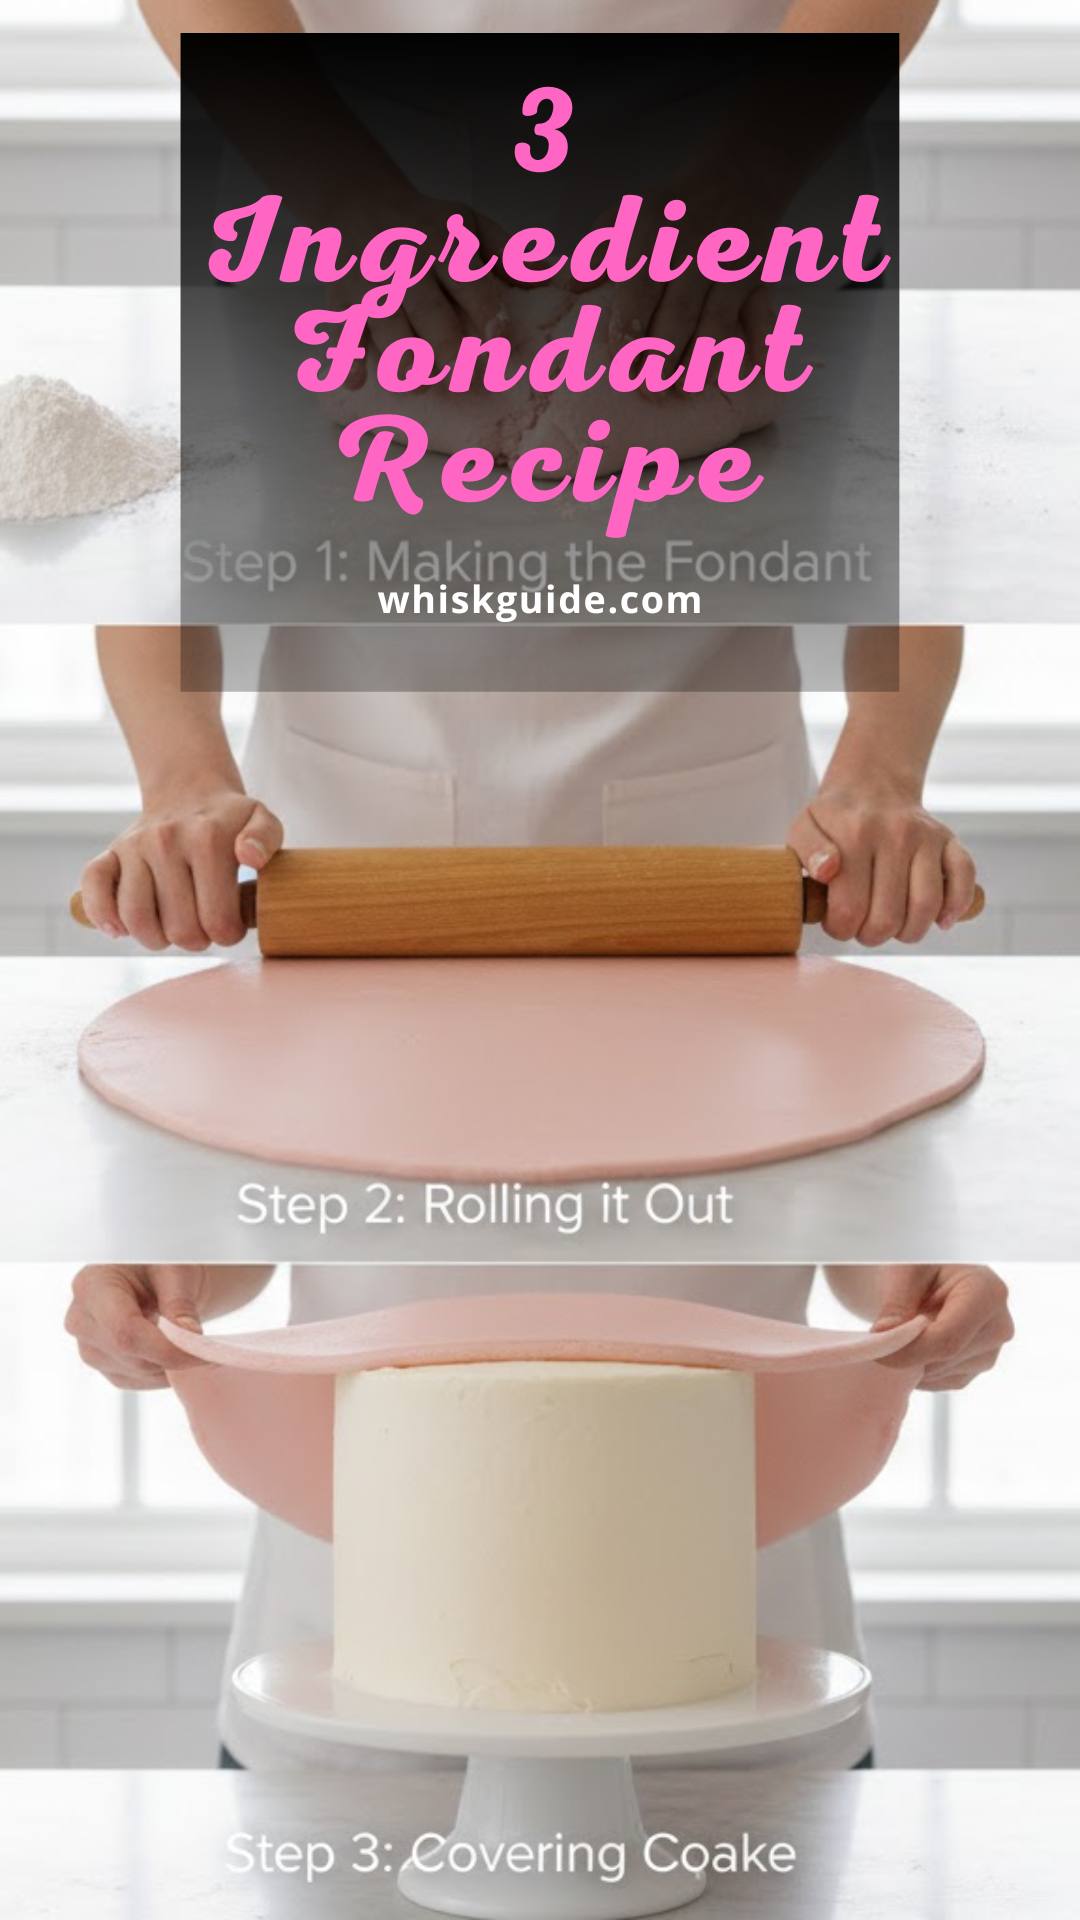
Method
Step 1: Melt the Marshmallows
- Start by melting the mini marshmallows with the water. You can opt for a double boiler or just use your microwave. If you’re using a microwave, pop the bowl in for 30 seconds at a time. After each interval, give it a quick stir. Once melted, let it sit aside for a moment.
Step 2: Incorporate the Sugar
- If you’re using a mixer, pour in about three-quarters of your powdered sugar into the mixing bowl. Then add the melted marshmallow mixture on top. Mix it on low speed until you see it come together into a somewhat dense ball. If it’s still too sticky for your liking, don't be shy—add more powdered sugar gradually.
- If mixing by hand, stir in three-quarters of the powdered sugar into the marshmallow mix. You’ll work in the remaining sugar by kneading it with your hands on a counter dusted with powdered sugar.
Step 3: Kneading Time
- No matter the mixing method, it’s knead time! Dump the mixture onto your clean countertop and sprinkle more sugar around it. Now, let’s really get into it—knead that dough for about 7 minutes. You want it to be soft and shiny; if it feels dry, add a half tablespoon of water at a time until it regains that sweet, pliable quality.
Step 4: Adding Color
- Want to jazz it up? Grab some food coloring! Add just a tiny bit with a toothpick into the fondant, and then knead it again for about 7 minutes. Keep working until the color is evenly distributed. If it feels dry, just follow the same advice as earlier—add that water!
Step 5: Storage for Later Use
- When you're ready to store your fondant for future projects, treat your creation with care. Lightly grease the outside with oil, wrap it tightly in plastic wrap, and place it in a ziplock bag. This ensures it stays moist and ready when you are.
Step 6: Rolling and Shaping
- Now comes the fun part! Roll your fondant out on a surface dusted with icing sugar. Make sure to keep moving it around so it doesn’t stick. Once it’s rolled to your desired thickness, you can shape it into fun decorations like hearts or flowers. If you're doing cut-outs like hearts, let them air-dry a bit to firm up before decorating your cake.
Step 7: Serve and Impress
- Once your fondant is ready and may it adorn your cake, you’ll be amazed at the transformation. It can last for weeks when stored properly, making it the perfect last-minute addition to bring your baked goods to the next level.
Nutrition
Notes
- Use quality mini marshmallows for the best flavor.
- Adjust the amount of water based on the humidity of your kitchen.
- Greasing your hands helps prevent sticking during kneading.
- Make fondant a day or two ahead for the best, freshest results.
- Experiment with different flavors in the fondant to match your cake theme!