Step 1: Prepare the Dough
- In a large mixing bowl or the bowl of a stand mixer combine the warm water, active dry yeast, and a pinch of honey. Give it a little stir and let it sit for about 5 to 10 minutes. Keep an eye on it—you want to see it foam and bubble up. This is the yeast working its magic. If it remains flat, you'll need fresh yeast.
Step 2: Mix in Ingredients
- Once your yeast is frothy add in the remaining honey, salt, canola oil, and 3 cups of flour. Stir until everything is combined.
Step 3: Add More Flour
- Now gradually add another cup of flour, mixing to incorporate. If you’re using a stand mixer, continue mixing while adding more flour, about ½ cup at a time. You want the dough to begin pulling away from the sides of the bowl. It should feel smooth and elastic but may still stick slightly to your finger. If it’s too sticky, add a little flour—just a bit at a time!
Step 4: Knead the Dough
- Knead the dough for about 4-5 minutes on medium speed with the mixer or 5-8 minutes by hand on a floured surface. You’re looking for a soft pliable dough that feels great to touch.
Step 5: First Rise
- Take a large bowl and grease it lightly with oil or non-stick spray. Place your dough in the bowl and turn it so it gets coated all around. Cover it with a dish towel or plastic wrap then set it in a warm spot to rise until it's doubled in size. This typically takes about 1 and a half hours.
Step 6: Prepare the Baking Pans
- While the dough is rising spray two 9x5 inch bread pans with non-stick cooking spray. For extra safety, you can line the bottoms with parchment paper if you'd like.
Step 7: Shape the Dough
- When the dough has risen punch it down to release any trapped air. Divide it into equal portions—two pieces. Shape each piece into a log, making sure it fits snugly into the prepared pans.
Step 8: Second Rise
- Cover the loaves with a lightweight towel or the same plastic wrap and allow them to rise again for about 45 minutes to an hour. At this point, you want them to rise about an inch above the edges of the pans.
Step 9: Bake
- Preheat your oven to 350°F 175°C. Once the dough has finished rising, pop the loaves in the oven and bake for about 30 to 33 minutes. You’re looking for a golden-brown top. If you tap the top lightly, it should sound hollow.
Step 10: Cool the Bread
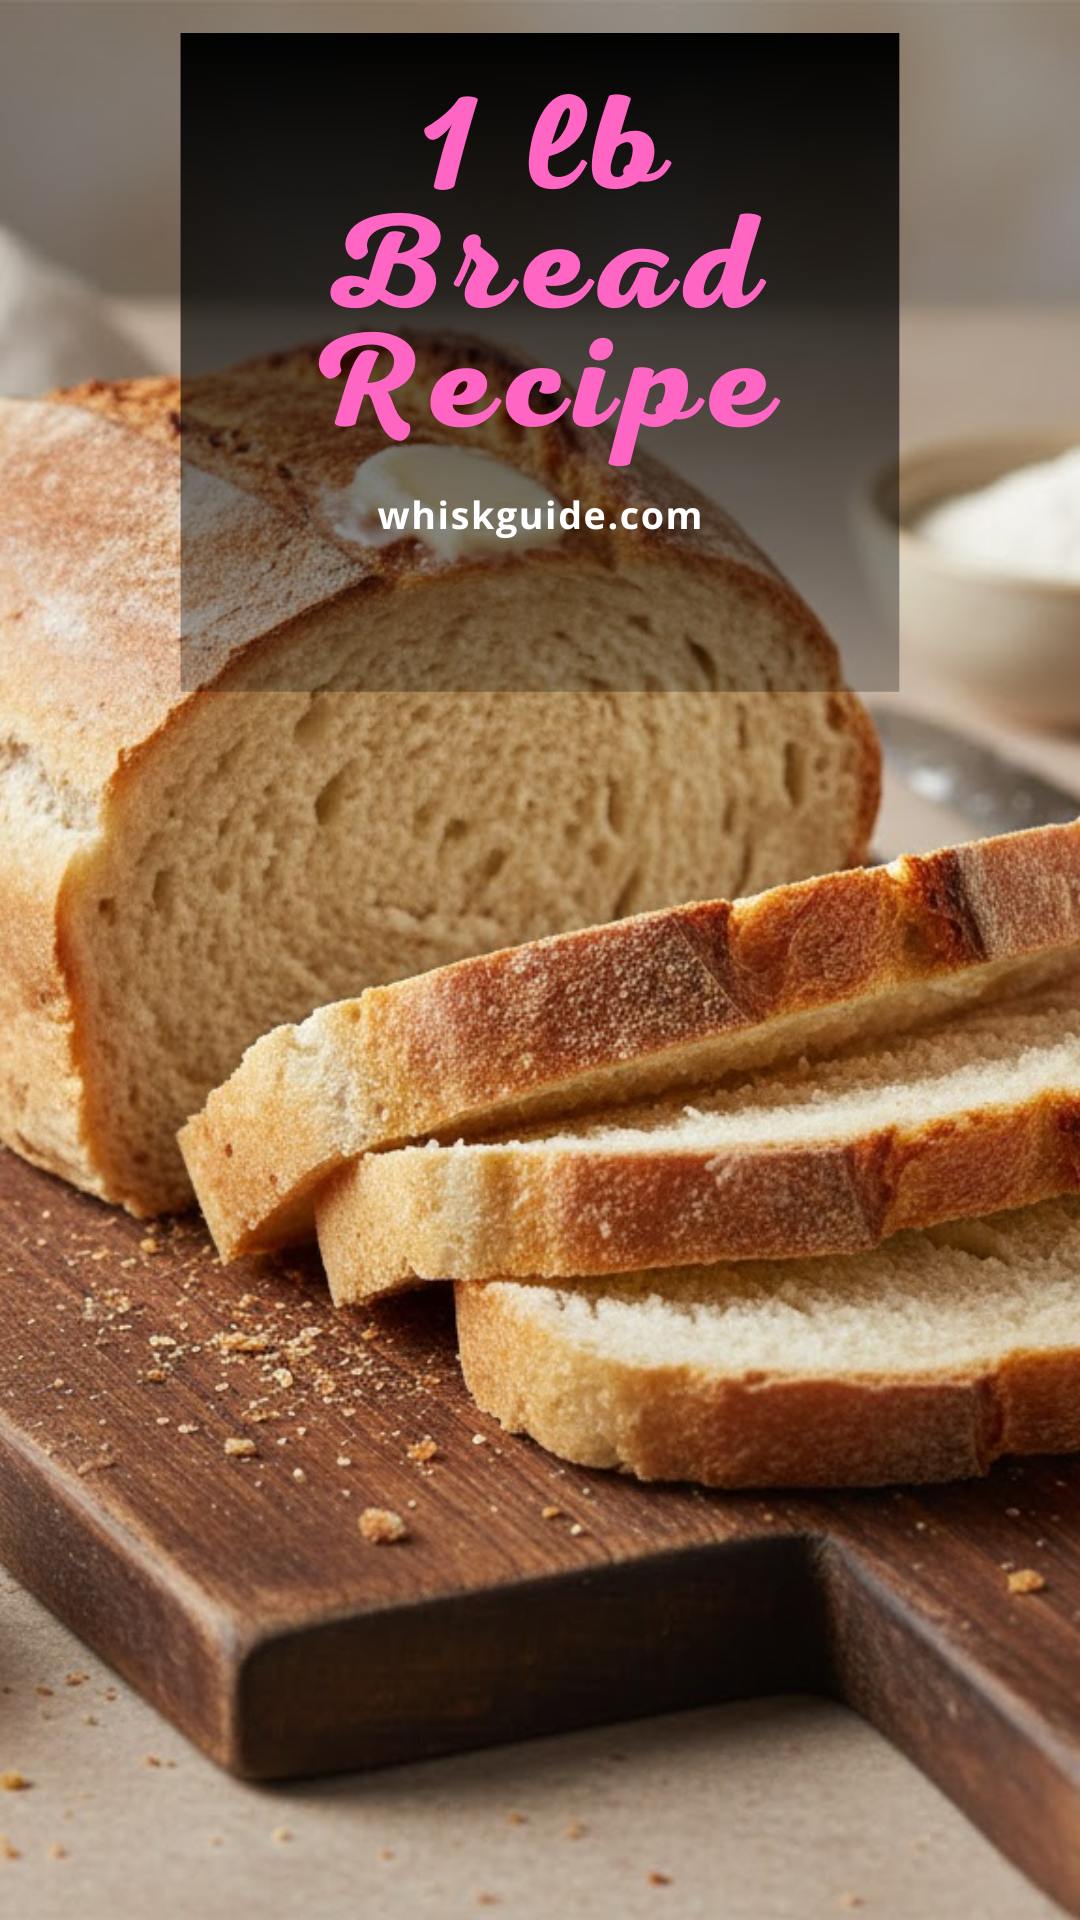
- Once baked carefully remove the loaves from the pans and transfer them to a wire cooling rack. For a little extra flavor, brush the tops with melted butter. Allow the bread to cool for at least 10 minutes before slicing.