Pamela’s Gluten Free Graham Cracker Crust Recipe – Whisk Guide

Before we dive deep into the details of Pamela’s gluten-free graham cracker crust recipe, let’s consider what to enjoy alongside this delightful crust. Think about rich, creamy cheesecakes that melt in your mouth. Alternatively, a tangy lemon or lime filling can beautifully contrast with the sweetness of the crust.
Fruit-based desserts, like a delicate strawberry or raspberry mousse, also shine when nestled within this graham cracker base. If you’re feeling adventurous, why not try a no-bake chocolate pie? The combination is simply unbeatable.

Growing up, I often watched my grandma whip up her famous pies in the kitchen. The aroma wafting through the house was enough to draw the entire family to the table. Fast forward a few years, and I found myself in a similar predicament, but this time, things were different.
As a registered dietitian, I began prioritizing dietary needs while still wanting to preserve the nostalgic feel of home-baked desserts. That’s when I stumbled upon Pamela’s gluten-free graham cracker crust recipe. It captured the essence of our beloved family pies without sacrificing flavor or texture.
What is Pamela’s Gluten-Free Graham Cracker Crust?
Pamela’s gluten-free graham cracker crust is a fantastic alternative for those avoiding gluten. It utilizes Pamela’s Honey Grahams, which are not just gluten-free but also free from artificial flavors.
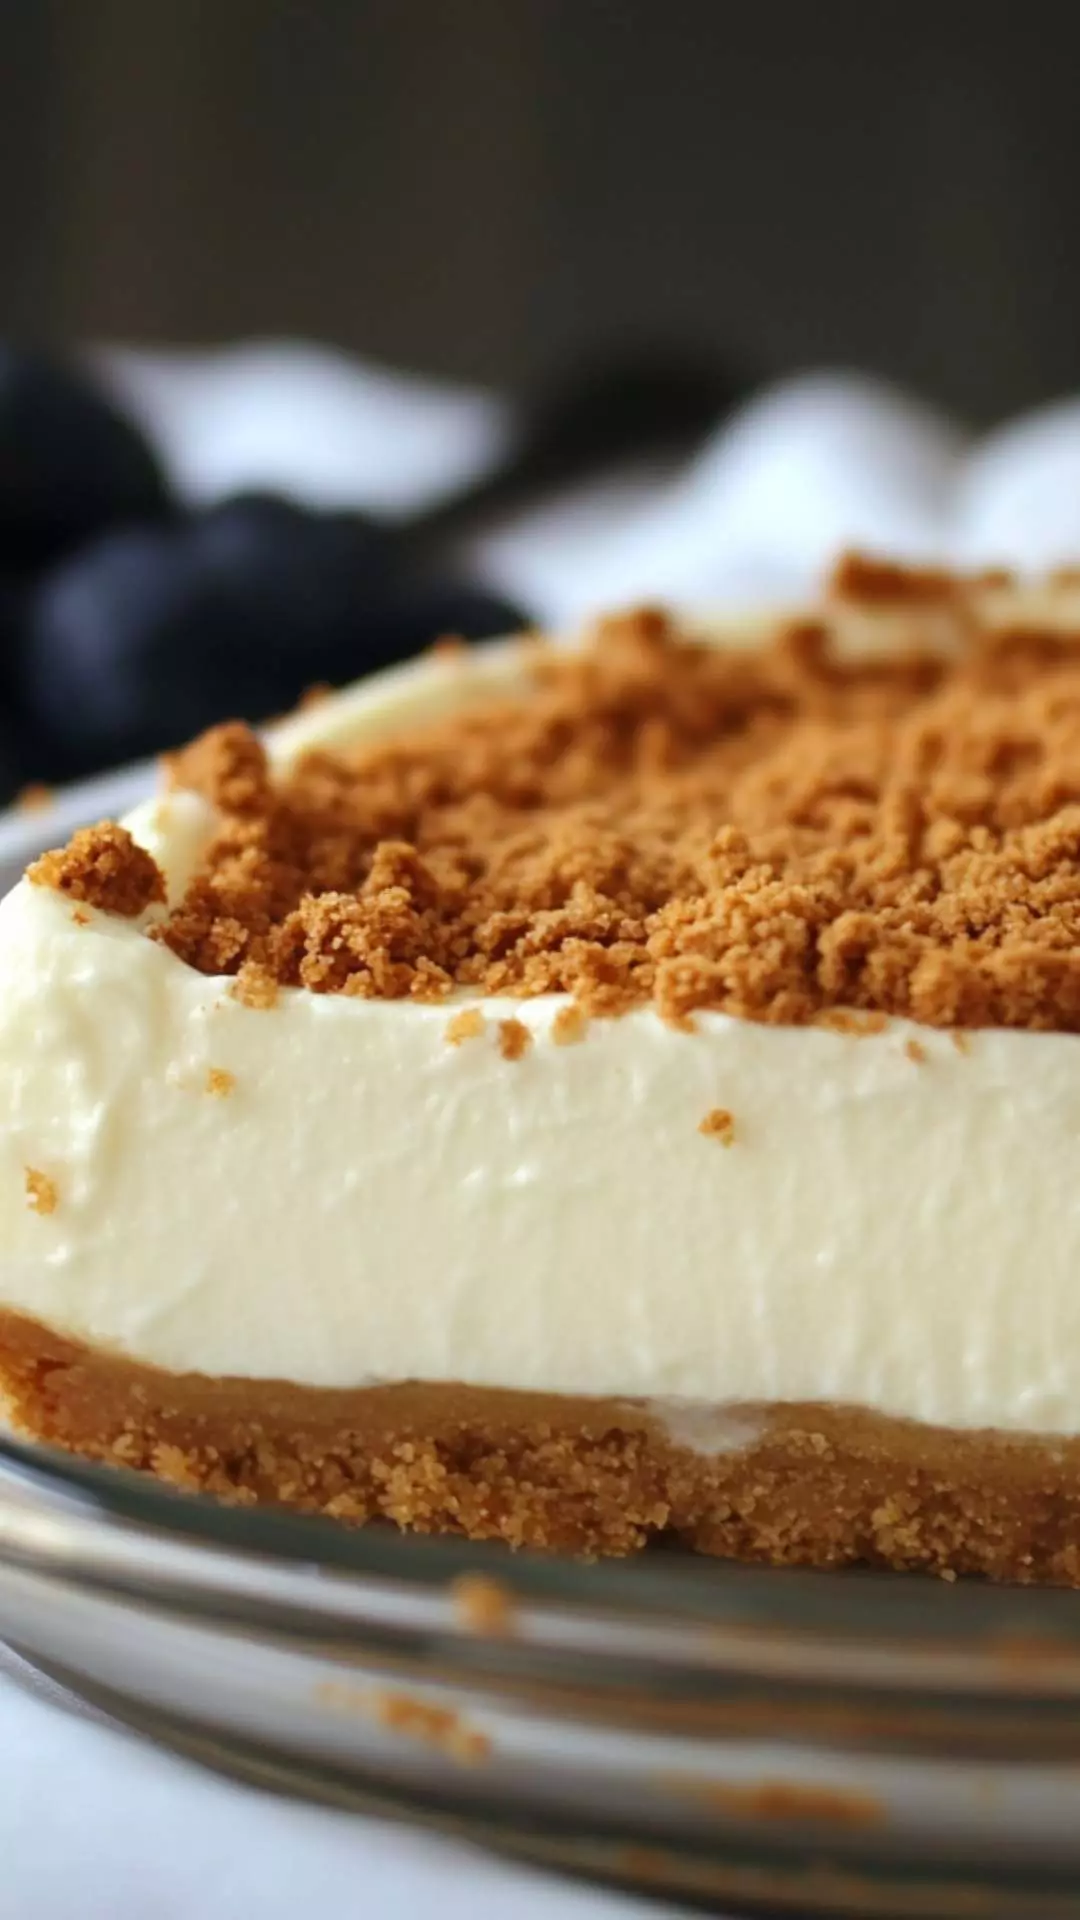
The recipe marries a few simple ingredients: graham crackers, sugar, butter, cinnamon, and a touch of vanilla extract. The results? A sweet, crumbly base perfect for pies, cheesecakes, or even as a standalone snack.
What is the Flavor Profile of This Dish?
Imagine the warm sweetness of honey touching your palate, intermingling with subtle notes of vanilla and a hint of cinnamon. The texture is just right—not too crumbly, but not overly dense. This crust holds up beautifully, providing a contrast to silky fillings. Whether you opt for chocolate, fruit, or creamy fillings, they all enhance the overall flavor journey.
Why You’ll Love This
Let’s talk about why this recipe is a must-try. First, it’s gluten-free, which makes it accessible to many who have dietary restrictions. Second, it’s ridiculously easy to make. You can whip this up in under 15 minutes, setting aside time for whatever delicious filling you wish to add. Also, the versatility is unmatched. This crust pairs wonderfully with both sweet and savory fillings, making it a home-cooking staple. Lastly, it carries that wonderful nostalgia I mentioned earlier, bringing back memories of family gatherings and festive occasions.
Ingredients
Gathering the right ingredients makes a world of difference. Here’s what you’ll need:
- 1 box of Pamela’s Honey Grahams (1¾ cups) or 1 box of Pamela’s Mini Honey Grahams (about 1⅔ cups)
- 4 tablespoons granulated sugar
- 6 tablespoons unsalted butter, melted
- ¼ teaspoon vanilla extract
- ¼ teaspoon ground cinnamon

Step by Step Instructions
Step 1: Preheat Your Oven
First things first—preheat your oven to 350°F (175°C). This is key for ensuring your crust bakes evenly.
Step 2: Crush the Graham Crackers
Take the box of Pamela’s Honey Grahams and crush them into fine crumbs. You can do this by placing the crackers in a zip-lock bag and using a rolling pin. Alternatively, a food processor can make this even quicker.
Step 3: Combine Ingredients
In a medium mixing bowl, combine the graham cracker crumbs, sugar, and ground cinnamon. Mix these dry ingredients together until well combined.
Step 4: Add Wet Ingredients
Next, pour in the melted butter and vanilla extract. Stir until all the crumbs are evenly coated and the mixture resembles wet sand.
Step 5: Press Into Pan
Transfer the crumb mixture into a pie pan or tart pan. Using your fingers or the bottom of a measuring cup, press the crumbs firmly into the bottom and along the sides of the pan, ensuring a uniform thickness.
Step 6: Bake
Place the pan in the preheated oven and bake for approximately 8-10 minutes. Just keep an eye on it; you want the crust to be golden but not burnt.
Step 7: Cool
Once baked, remove from the oven and let it cool. This step is crucial if you’re adding a filling that doesn’t require further baking.
Tips & Tricks
- Use a dairy-free butter alternative if you’re making this vegan. It works just as well!
- Experiment with flavors by mixing in some cocoa powder or crushed nuts to the crumb mixture.
- Make it ahead of time. This crust can be made a day in advance and stored in the refrigerator.
- Use a springform pan for easier removal if preparing a cheesecake.
- Press the crumbs tightly. A well-packed crust holds its shape better and has a great crunch.

Nutrition Information
pamela’s gluten free graham cracker crust recipe nutrition facts

How Can You Store This Pamela’s Gluten-Free Graham Cracker Crust Recipe?
Once your crust has cooled completely, you can store it in several ways. If it’s unfilled, wrap it tightly in plastic wrap or place it in an airtight container. This will keep it fresh for up to a week. If you’ve already filled it, cover with plastic wrap and refrigerate. It’s best consumed within 3-4 days.
Alternative Ingredient Suggestions
Sometimes, you might discover that you’re missing a few ingredients. Not to worry! Here are some alternatives you can use:
- Nut butter. Instead of melted butter, consider using almond or peanut butter for a nutty flavor. It adds a different dimension to the crust.
- Honey or maple syrup can substitute granulated sugar. However, if you choose this route, you might need to adjust the amount of butter to maintain the crust’s texture.
- Graham cracker alternatives. If Pamela’s Honey Grahams aren’t available, look for other gluten-free graham crackers. The key here is to ensure they have a similar sweetness and texture, or you can make your own using gluten-free oats or cookies.
Pamela’s Gluten Free Graham Cracker Crust Recipe
Ingredients
Equipment
Method
- First things first—preheat your oven to 350°F (175°C). This is key for ensuring your crust bakes evenly.
- Take the box of Pamela’s Honey Grahams and crush them into fine crumbs. You can do this by placing the crackers in a zip-lock bag and using a rolling pin. Alternatively, a food processor can make this even quicker.
- In a medium mixing bowl, combine the graham cracker crumbs, sugar, and ground cinnamon. Mix these dry ingredients together until well combined.
- Next, pour in the melted butter and vanilla extract. Stir until all the crumbs are evenly coated and the mixture resembles wet sand.
- Transfer the crumb mixture into a pie pan or tart pan. Using your fingers or the bottom of a measuring cup, press the crumbs firmly into the bottom and along the sides of the pan, ensuring a uniform thickness.
- Place the pan in the preheated oven and bake for approximately 8-10 minutes. Just keep an eye on it; you want the crust to be golden but not burnt.
- Once baked, remove from the oven and let it cool. This step is crucial if you’re adding a filling that doesn’t require further baking.
Nutrition
Notes
- Use a dairy-free butter alternative if you’re making this vegan. It works just as well!
- Experiment with flavors by mixing in some cocoa powder or crushed nuts to the crumb mixture.
- Make it ahead of time. This crust can be made a day in advance and stored in the refrigerator.
- Use a springform pan for easier removal if preparing a cheesecake.
- Press the crumbs tightly. A well-packed crust holds its shape better and has a great crunch.
Tried this recipe?
Let us know how it was!FAQs
Conclusion
In the landscape of gluten-free baking, Pamela’s graham cracker crust stands out as a gem. It offers a delightful foundation for your favorite desserts while accommodating dietary needs. The ease of preparation combined with its flavor makes it a go-to in my kitchen.
Whether you’re hosting a summer gathering or just want a quick treat, this crust can meet the challenge. Dive into the world of flavor, texture, and pure indulgence. Trust me; your taste buds will thank you!
You’ll also like these latest recipes!
Related Post
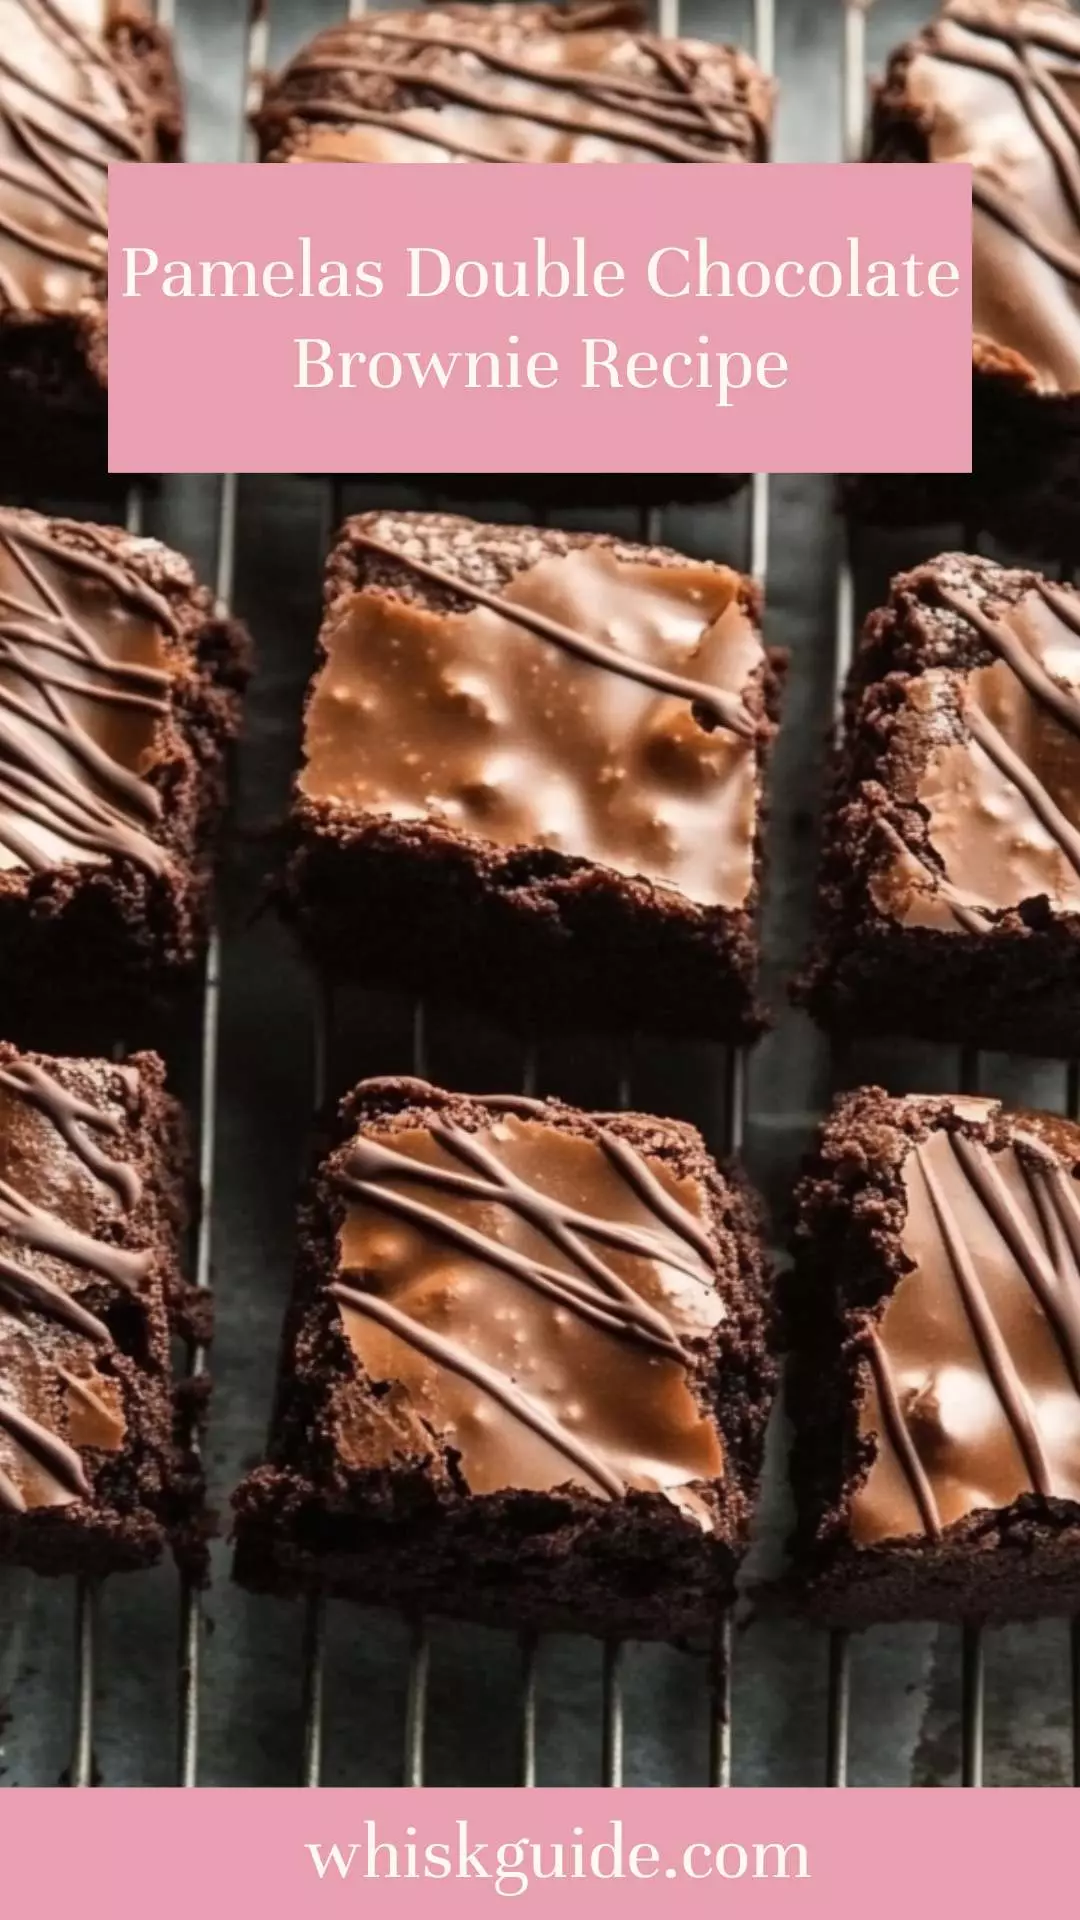
Pamelas Double Chocolate Brownie Recipe – Whisk GuidePamelas Double Chocolate Brownie Recipe – Whisk Guide
As a food lover, I believe that a good brownie can transform an ordinary day into something special. When it comes to the ultimate comfort food, nothing beats a rich,
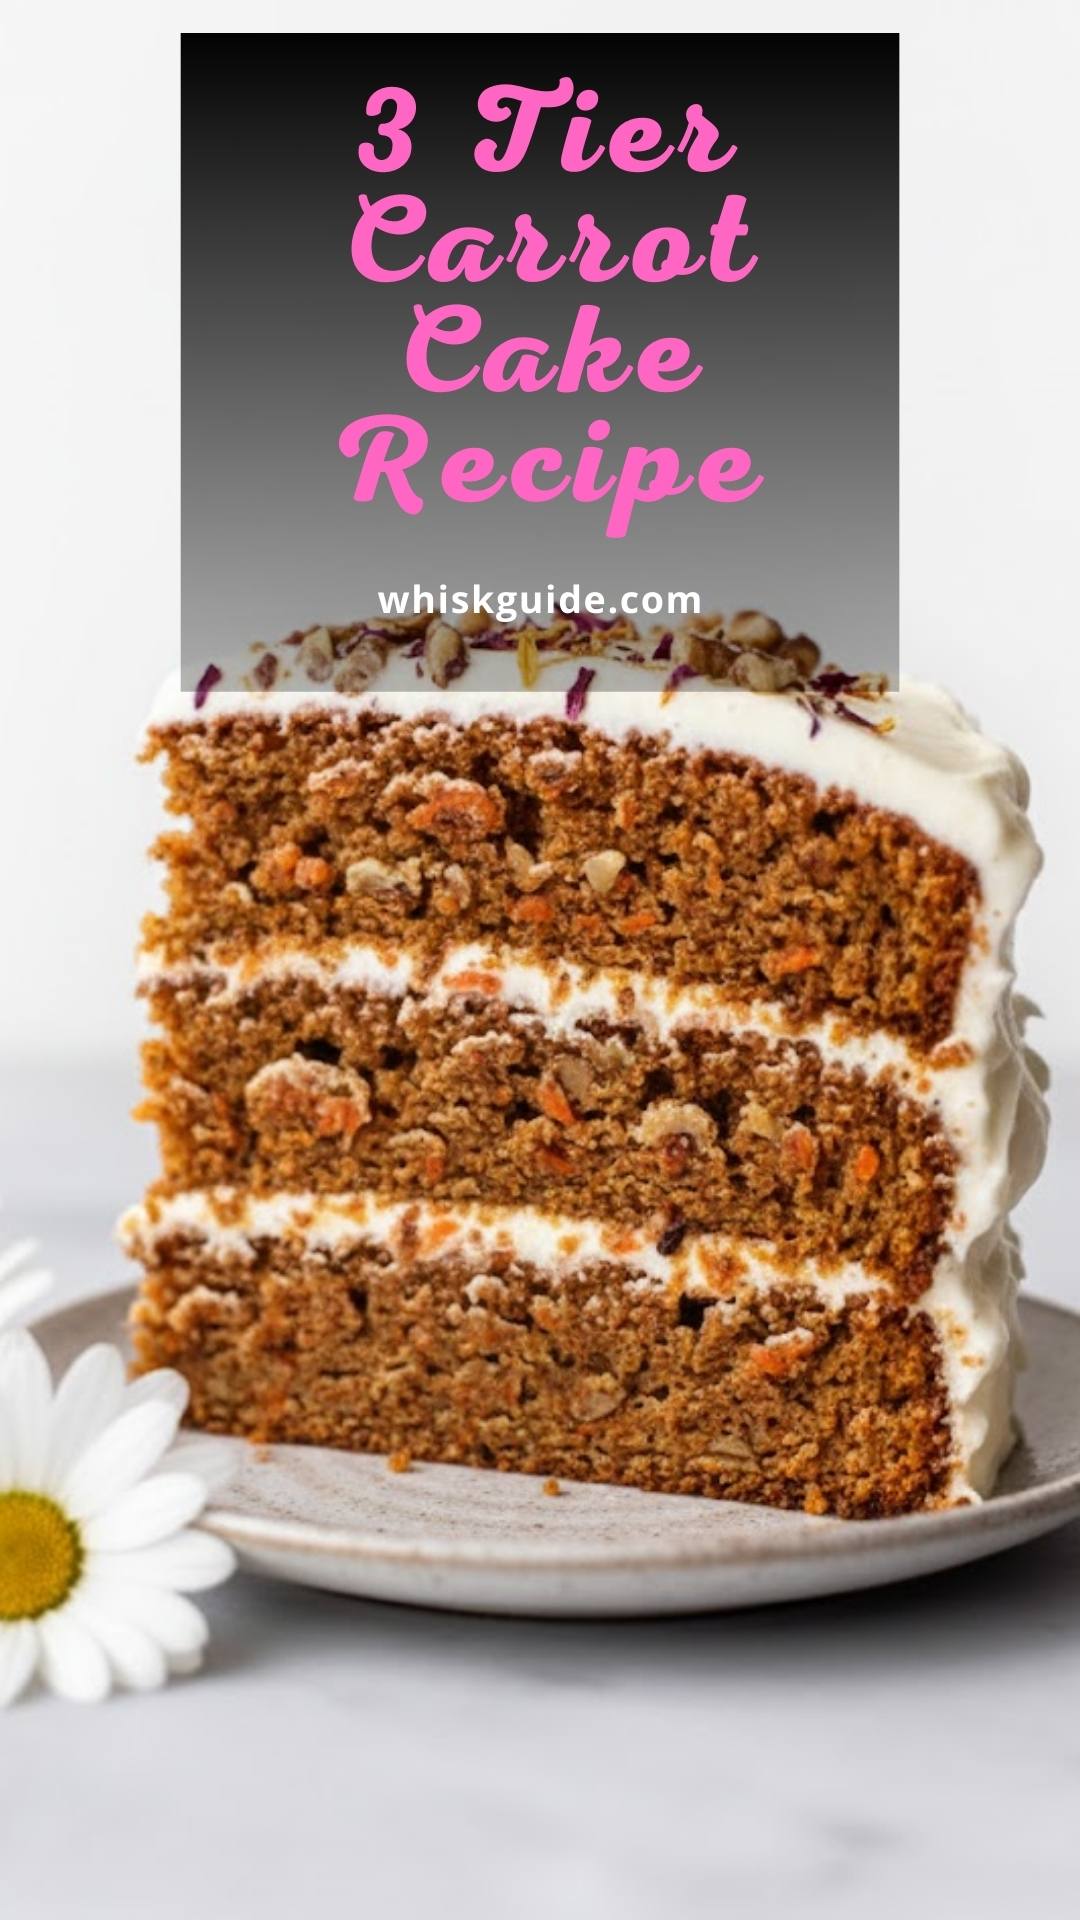
3 Tier Carrot Cake Recipe – Whisk Guide3 Tier Carrot Cake Recipe – Whisk Guide
Growing up, nothing made my heart sing quite like a three-tier carrot cake. I remember my birthday parties, where my mom would insist on serving that towering masterpiece. Friends would
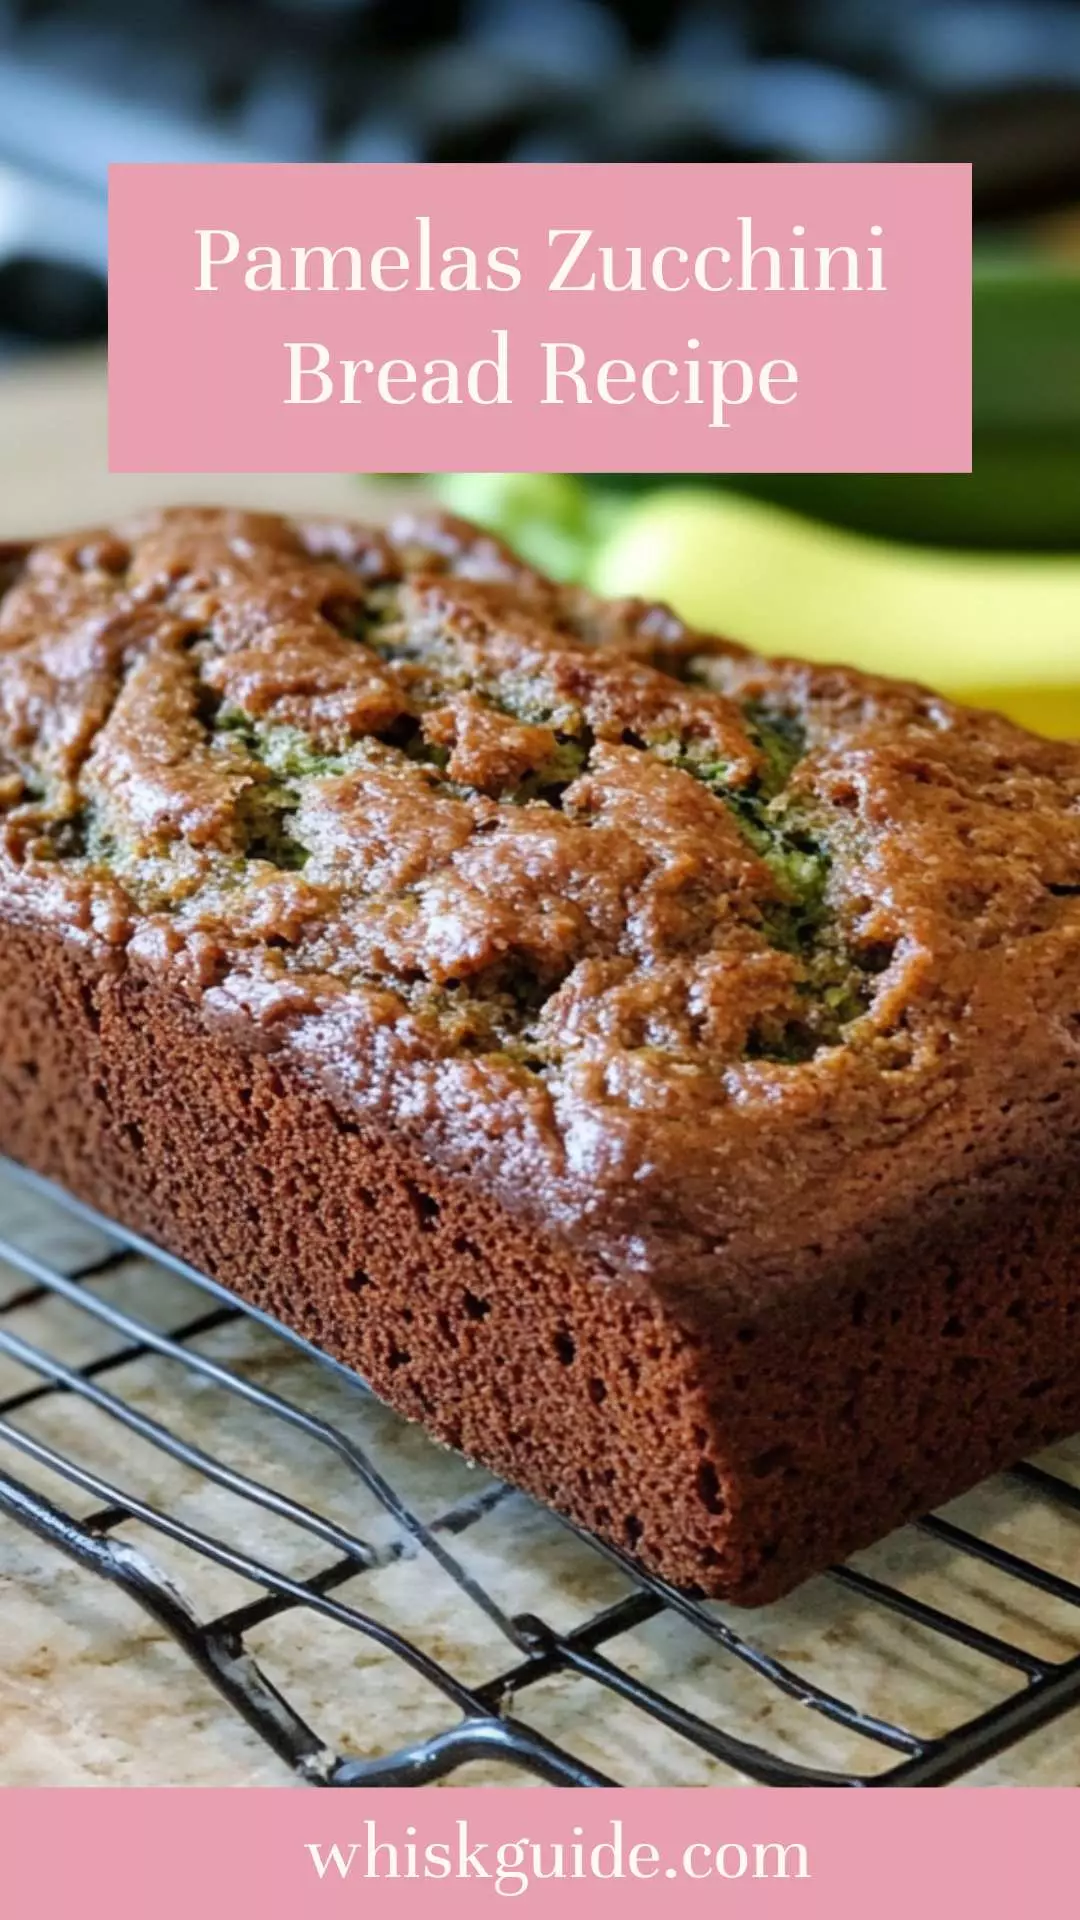
Pamelas Zucchini Bread Recipe – Whisk GuidePamelas Zucchini Bread Recipe – Whisk Guide
Before we dive into the delicious details of Pamela’s zucchini bread, let me set the stage for you. Picture a warm slice of zucchini bread topped with a dollop of