Pamelas Gluten Free Scones Recipe – Whisk Guide

Before diving into the delightful world of Pamela’s gluten-free scones, let’s explore the wonderful accompaniments that can elevate your scone experience. These scones are incredibly versatile and pair beautifully with a variety of delightful additions.
First, consider slathering a generous amount of homemade jam on a warm scone. Raspberry or strawberry jam provides sweet-tart flavors that perfectly balance the richness of the scone, creating a harmonious taste experience.
For a more indulgent option, treat yourself to clotted cream. This rich, velvety cream adds a luxurious texture that enhances the overall enjoyment of the scones.
Fresh fruit is another excellent choice. Serving your scones alongside fresh sliced strawberries, blueberries, or a mixed berry bowl brings a fruity freshness that brightens up the plate and adds a vibrant touch.
To complete your experience, pair your scones with a hot cup of herbal tea. This classic combination creates a true British tea experience, where the calming aroma of the tea complements the flavors in the scones, making it a perfect afternoon treat. Enjoy exploring these delightful pairings with Pamela’s gluten-free scones!

As a registered dietitian and food enthusiast, I’m all about creating recipes that are easy, healthy, and delicious. Pamela’s gluten-free scones are an incredible treat that anyone can whip up. These scones capture the essence of traditional baking while being kind to those with dietary restrictions.
I tried this recipe completely by chance. A close friend looking for gluten-free options introduced me to Pamela’s mix, and I was instantly intrigued. Not only can it create delicious baked goods, but they are also a breeze to make! So, roll up your sleeves, and let’s dive into this delightful recipe.
Why This Recipe Works?
Understanding why a recipe is successful can transform your baking experience. Here are the key reasons why Pamela’s gluten-free scones stand out:
1. Easy-to-Follow Instructions
The recipe provides clear and straightforward steps, making it accessible for bakers of any level. You don’t need to be a pro to create these delicious scones.
2. Balanced Texture and Flavor
Pamela’s Baking & Pancake Mix contains a blend of different flours, ensuring the scones rise beautifully and have a moist texture. The combination of sugar and cinnamon gives the scones a lovely sweetness, complementing any add-ins like cranberries.
3. Versatile Ingredients
This recipe allows you to customize based on what you have or what you prefer. You can easily switch up the fruits, nuts, or spices to create your unique version.
4. Healthier Option
By utilizing whole ingredients like nuts and dried fruits, these scones provide more nutrients than typical scones. It’s a sweet treat without the typical guilt!
How Does It Taste?
Pamela’s gluten-free scones deliver a delightful explosion of flavors. The sweet notes of sugar mingle effortlessly with the warmth of cinnamon, while the dried cranberries add a tangy pop. Picture this: you take a bite, and the scone crumbles yet stays moist. It’s comforting, reminiscent of cozy evenings spent with a cup of tea, and has a balanced sweetness that doesn’t overpower.
What Sets This Recipe Apart from Other Pamela’s Gluten-Free Scones Variations?
What makes this recipe a cut above the rest? It’s all about the subtleties. While many variations include basic ingredients, this one takes it further by incorporating dried cranberries and walnuts.
Adding these elements enhances texture, contributing crunch and chewiness. And the hint of orange zest? That’s your secret weapon. It brightens the overall flavor and transports your taste buds to sunny mornings.
The Ingredients
Here’s what you need to create these delightful scones:
- ¼ cup (4 tablespoons) chilled butter, diced into small pieces
- 1 large egg, lightly beaten
- ⅓ cup whole milk
- 2⅓ cups (327 g) Pamela’s Baking & Pancake Mix
- ⅓ cup + 1 tablespoon granulated sugar
- ½ teaspoon ground cinnamon
- 1 teaspoon baking powder
- ½ cup dried cranberries
- ¼ cup chopped walnuts
- 1 tablespoon finely grated orange zest (optional)
These ingredients work together to create a flavorful treat that’s as pleasing to the eye as it is to the palate.

Instructions
Step 1: Preheat Your Oven
Start by preheating your oven to 375°F (190°C). This step is crucial. An adequately heated oven ensures that your scones rise properly and develop a golden-brown crust.
Step 2: Prepare the Baking Sheet
Line a baking sheet with parchment paper. This little action prevents sticking and helps with easy cleanup later on.
Step 3: Mix the Dry Ingredients
In a large mixing bowl, combine the Pamela’s Baking & Pancake Mix, granulated sugar, ground cinnamon, and baking powder. Whisk them together thoroughly. This makes sure every bite has the right balance of sweetness and spice.
Step 4: Incorporate the Butter
Add the chilled, diced butter to your dry mixture. Using a pastry cutter or your fingers, work the butter into the dry mixture until it resembles coarse crumbs. The key is to incorporate the butter without melting it—pieces of butter will give the scones a flaky texture later.
Step 5: Add the Liquid Ingredients
In a separate bowl, whisk together the lightly beaten egg and whole milk. Pour this mixture into the dry ingredients. Gently stir until just combined. Over-mixing can lead to dense scones, so be gentle here.
Step 6: Fold in Mix-Ins
Now is the time to add your dried cranberries, walnuts, and optional orange zest. Use a spatula to fold these ingredients into the dough, distributing them evenly.
Step 7: Shape the Scones
On a floured surface, turn the dough out and gently knead it a couple of times. Form the dough into a circle about 1 inch thick. Using a sharp knife, cut the dough into wedges.
Step 8: Bake
Place your scone wedges on the prepared baking sheet, spacing them a bit apart. Bake in the preheated oven for about 15-20 minutes, or until they are golden on top. Let them cool for 5 minutes on the baking sheet before transferring them to a wire rack.
Notes
- Use Cold Ingredients: Cold butter helps create a fluffier texture. Don’t skip this!
- Avoid Overmixing: Gently fold your ingredients. This preserves the lightness of the scones.
- Storage Tips: Store them in an airtight container to maintain freshness.
- Customizations: Feel free to swap out cranberries for your favorite dried fruit, such as cherries or raisins.
- Serving Suggestions: Serve warm for the best taste experience!

Nutrition Information
pamelas gluten free scones recipe nutrition facts

How Do You Store Pamela’s Gluten-Free Scones?
To maintain the delightful freshness of your scones, store them in an airtight container at room temperature for 2-3 days. If you’d like to keep them longer, they can be frozen. Just place them in freezer bags, and they will last up to 3 months. When you’re ready to enjoy, simply thaw at room temperature or pop them in the oven for a quick reheat.
Sides for Pamela’s Gluten-Free Scones
To make your experience even better, consider these perfect sides:
1. Creamy Yogurt
Pair these scones with a dollop of Greek yogurt. The creamy texture contrasts well with the crumbly scones, making every bite delightful.
2. Fresh Berries
A bowl of mixed fresh berries brings a refreshing touch. Their acidity complements the sweetness of the scones, making it a balanced pairing.
3. Flavored Butter
Try whipping up some herb-infused butter or even a flavored compound butter. Spreading this on a warm scone can elevate the flavors effectively.
What Alternatives Can You Use for the Ingredients?
If you find yourself missing some pantry staples, don’t worry! Here are some alternatives:
1. Non-Dairy Milk
If you’re out of whole milk, almond milk or oat milk are suitable substitutes. They offer a similar texture and won’t compromise your scone’s integrity.
2. Maple Syrup for Sugar
For a natural sweetener, consider using maple syrup. Replace granulated sugar with ¼ cup of maple syrup, adjusting the liquid by reducing the milk a little.
3. Coconut Oil Instead of Butter
For a dairy-free option, use melted coconut oil. This provides healthy fats and maintains moisture in the scones.
4. Other Nuts
No walnuts? No problem! Pecans or almonds will work beautifully in this recipe. They add crunch and flavor without altering the scone’s essence.

Pamelas Gluten Free Scones Recipe
Ingredients
Equipment
Method
- Start by preheating your oven to 375°F (190°C). This step is crucial. An adequately heated oven ensures that your scones rise properly and develop a golden-brown crust.
- Line a baking sheet with parchment paper. This little action prevents sticking and helps with easy cleanup later on.
- In a large mixing bowl, combine the Pamela’s Baking & Pancake Mix, granulated sugar, ground cinnamon, and baking powder. Whisk them together thoroughly. This makes sure every bite has the right balance of sweetness and spice.
- Add the chilled, diced butter to your dry mixture. Using a pastry cutter or your fingers, work the butter into the dry mixture until it resembles coarse crumbs. The key is to incorporate the butter without melting it—pieces of butter will give the scones a flaky texture later.
- In a separate bowl, whisk together the lightly beaten egg and whole milk. Pour this mixture into the dry ingredients. Gently stir until just combined. Over-mixing can lead to dense scones, so be gentle here.
- Now is the time to add your dried cranberries, walnuts, and optional orange zest. Use a spatula to fold these ingredients into the dough, distributing them evenly.
- On a floured surface, turn the dough out and gently knead it a couple of times. Form the dough into a circle about 1 inch thick. Using a sharp knife, cut the dough into wedges.
- Place your scone wedges on the prepared baking sheet, spacing them a bit apart. Bake in the preheated oven for about 15-20 minutes, or until they are golden on top. Let them cool for 5 minutes on the baking sheet before transferring them to a wire rack.
Nutrition
Notes
- Use Cold Ingredients: Cold butter helps create a fluffier texture. Don’t skip this!
- Avoid Overmixing: Gently fold your ingredients. This preserves the lightness of the scones.
- Storage Tips: Store them in an airtight container to maintain freshness.
- Customizations: Feel free to swap out cranberries for your favorite dried fruit, such as cherries or raisins.
- Serving Suggestions: Serve warm for the best taste experience!
Tried this recipe?
Let us know how it was!Frequently Asked Questions
Conclusion
Pamela’s gluten-free scones are a delicious and versatile treat that anyone can enjoy. They’re simple to make, incredibly flavorful, and flexible enough to cater to your preferences. Whether it’s a cozy morning with coffee or an elegant afternoon tea, these scones are the perfect accompaniment. With easy storage options, a myriad of pairings, and simple ingredient adjustments, this recipe offers a delightful baking experience. So, gather your ingredients, preheat that oven, and enjoy the scrumptious magic of homemade scones. You won’t be disappointed!
You’ll also like these latest recipes!
Related Post

Simple Chickpea Flour Pancakes Recipe – Whisk GuideSimple Chickpea Flour Pancakes Recipe – Whisk Guide
Chickpea flour pancakes are so versatile that they can be enjoyed in various ways. First off, consider pairing them with a hearty salsa verde. The bright flavors of the sauce
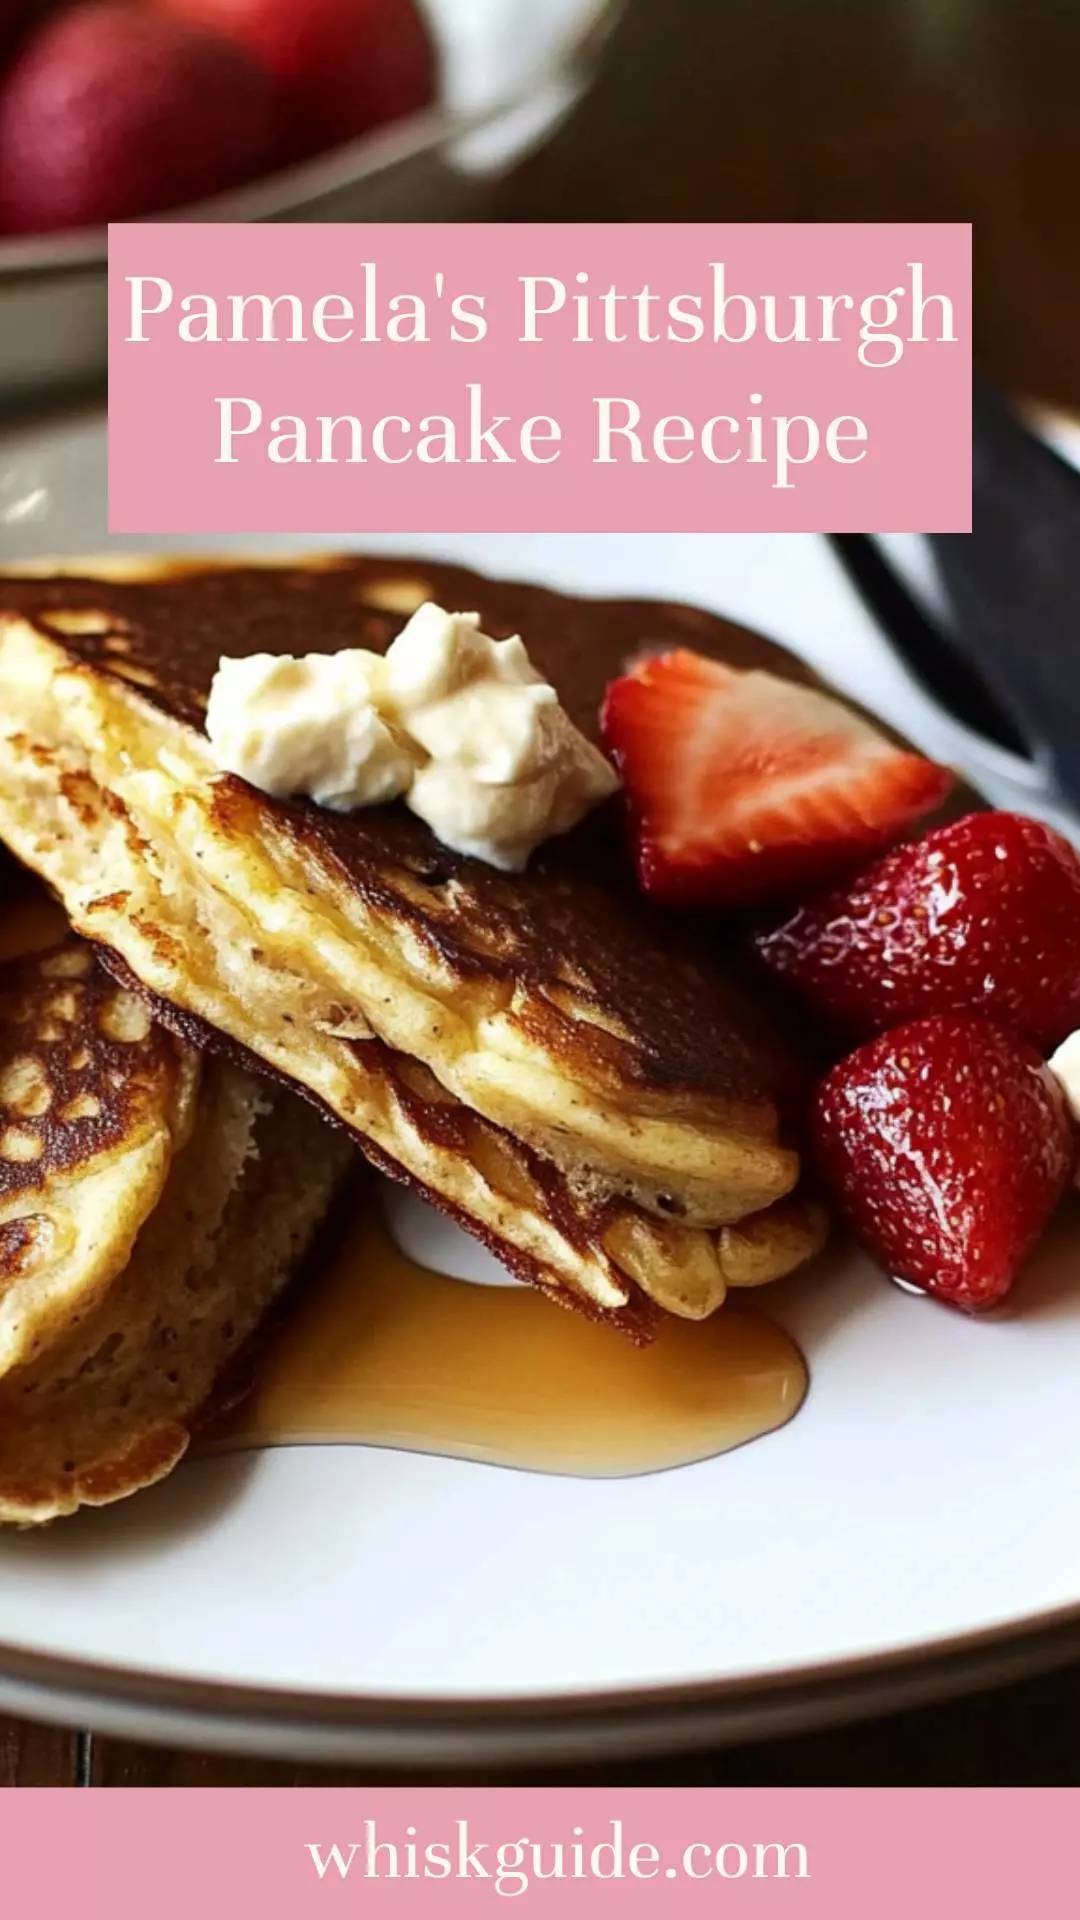
Pamela’s Pittsburgh Pancake Recipe – Whisk GuidePamela’s Pittsburgh Pancake Recipe – Whisk Guide
When we think about pancakes, syrup often springs to mind first. But if you want to take your eating experience a notch higher, consider pairing Pamela’s Pittsburgh pancakes with a

Pamela’s Gluten Free Pie Crust Recipe – Whisk GuidePamela’s Gluten Free Pie Crust Recipe – Whisk Guide
Before diving into the ins and outs of Pamela’s gluten-free pie crust recipe, let’s talk about the delightful fillings that can pair with a good pie crust. Imagine biting into