Pamela’s All Purpose Flour Bread Recipe – Whisk Guide
Bread has a unique charm. It’s not just about slicing it and slapping on some butter. This recipe opens the door to creativity. Pair it with homemade jam, olive oil for dipping, or even a spread like cream cheese. Toss it beside a hearty stew or layer it with fresh vegetables and turkey for a divine sandwich. Each option enhances the experience, turning simple bread into a vessel of flavor.

Bread is a staple in many households. It carries warmth and comfort, often bringing back memories of family gatherings and cozy dinners. The simplicity of making bread might be intimidating for some.
But let me assure you, with Pamela’s All-Purpose Flour, it’s easier than you think. Each loaf carries a story—a delicious story. As a registered dietitian and food blogger, I’ve spent countless hours in the kitchen experimenting with recipes. I’ve found that a well-crafted bread recipe can convert skeptics into true believers.
This particular recipe not only showcases Pamela’s All-Purpose Flour but also allows for versatility. It’s forgiving and adaptable, perfect for both novice and experienced bakers. Stick with me while we dive deep into what makes this recipe special.
What is Pamela’s All-Purpose Flour Bread?
Pamela’s All-Purpose Flour offers a blend crafted from a unique mix of gluten-free grains and starches. This means you can enjoy delicious bread even if you avoid gluten. The recipe is straightforward, and the ingredients are easy to come by. You don’t need an extensive repertoire of baking skills to pull it off. Trust me, I was once a novice, too.
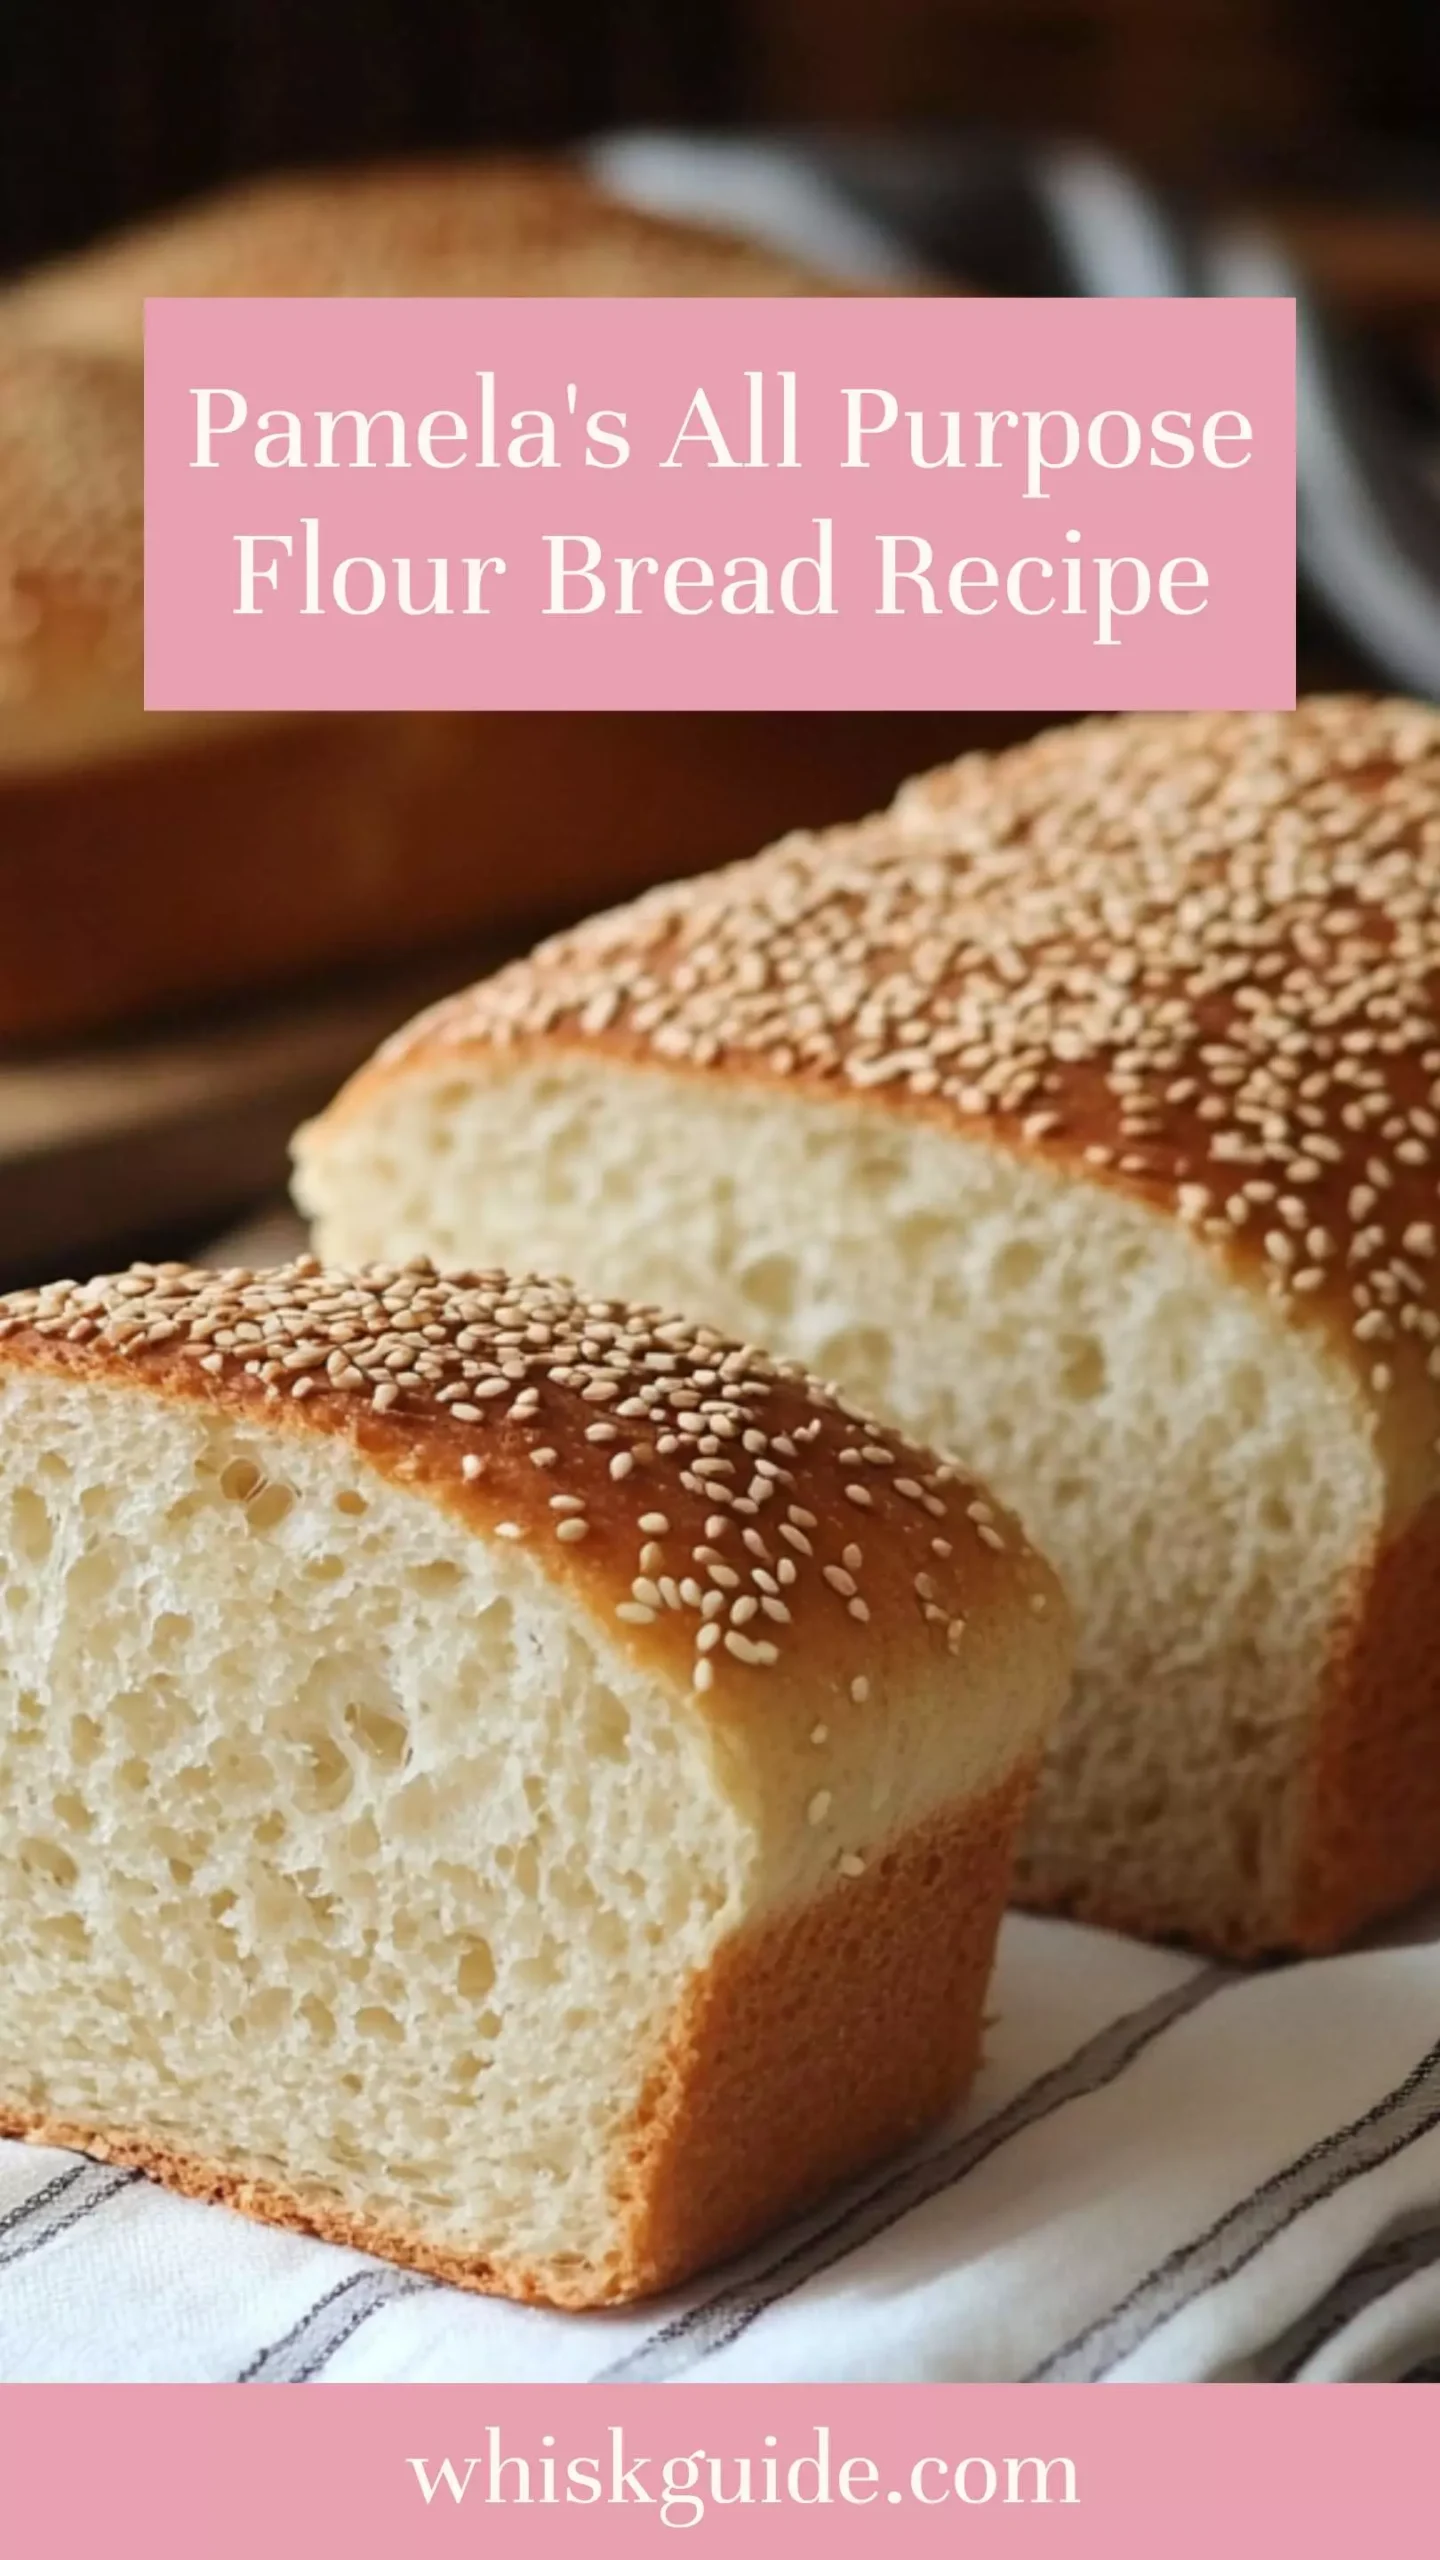
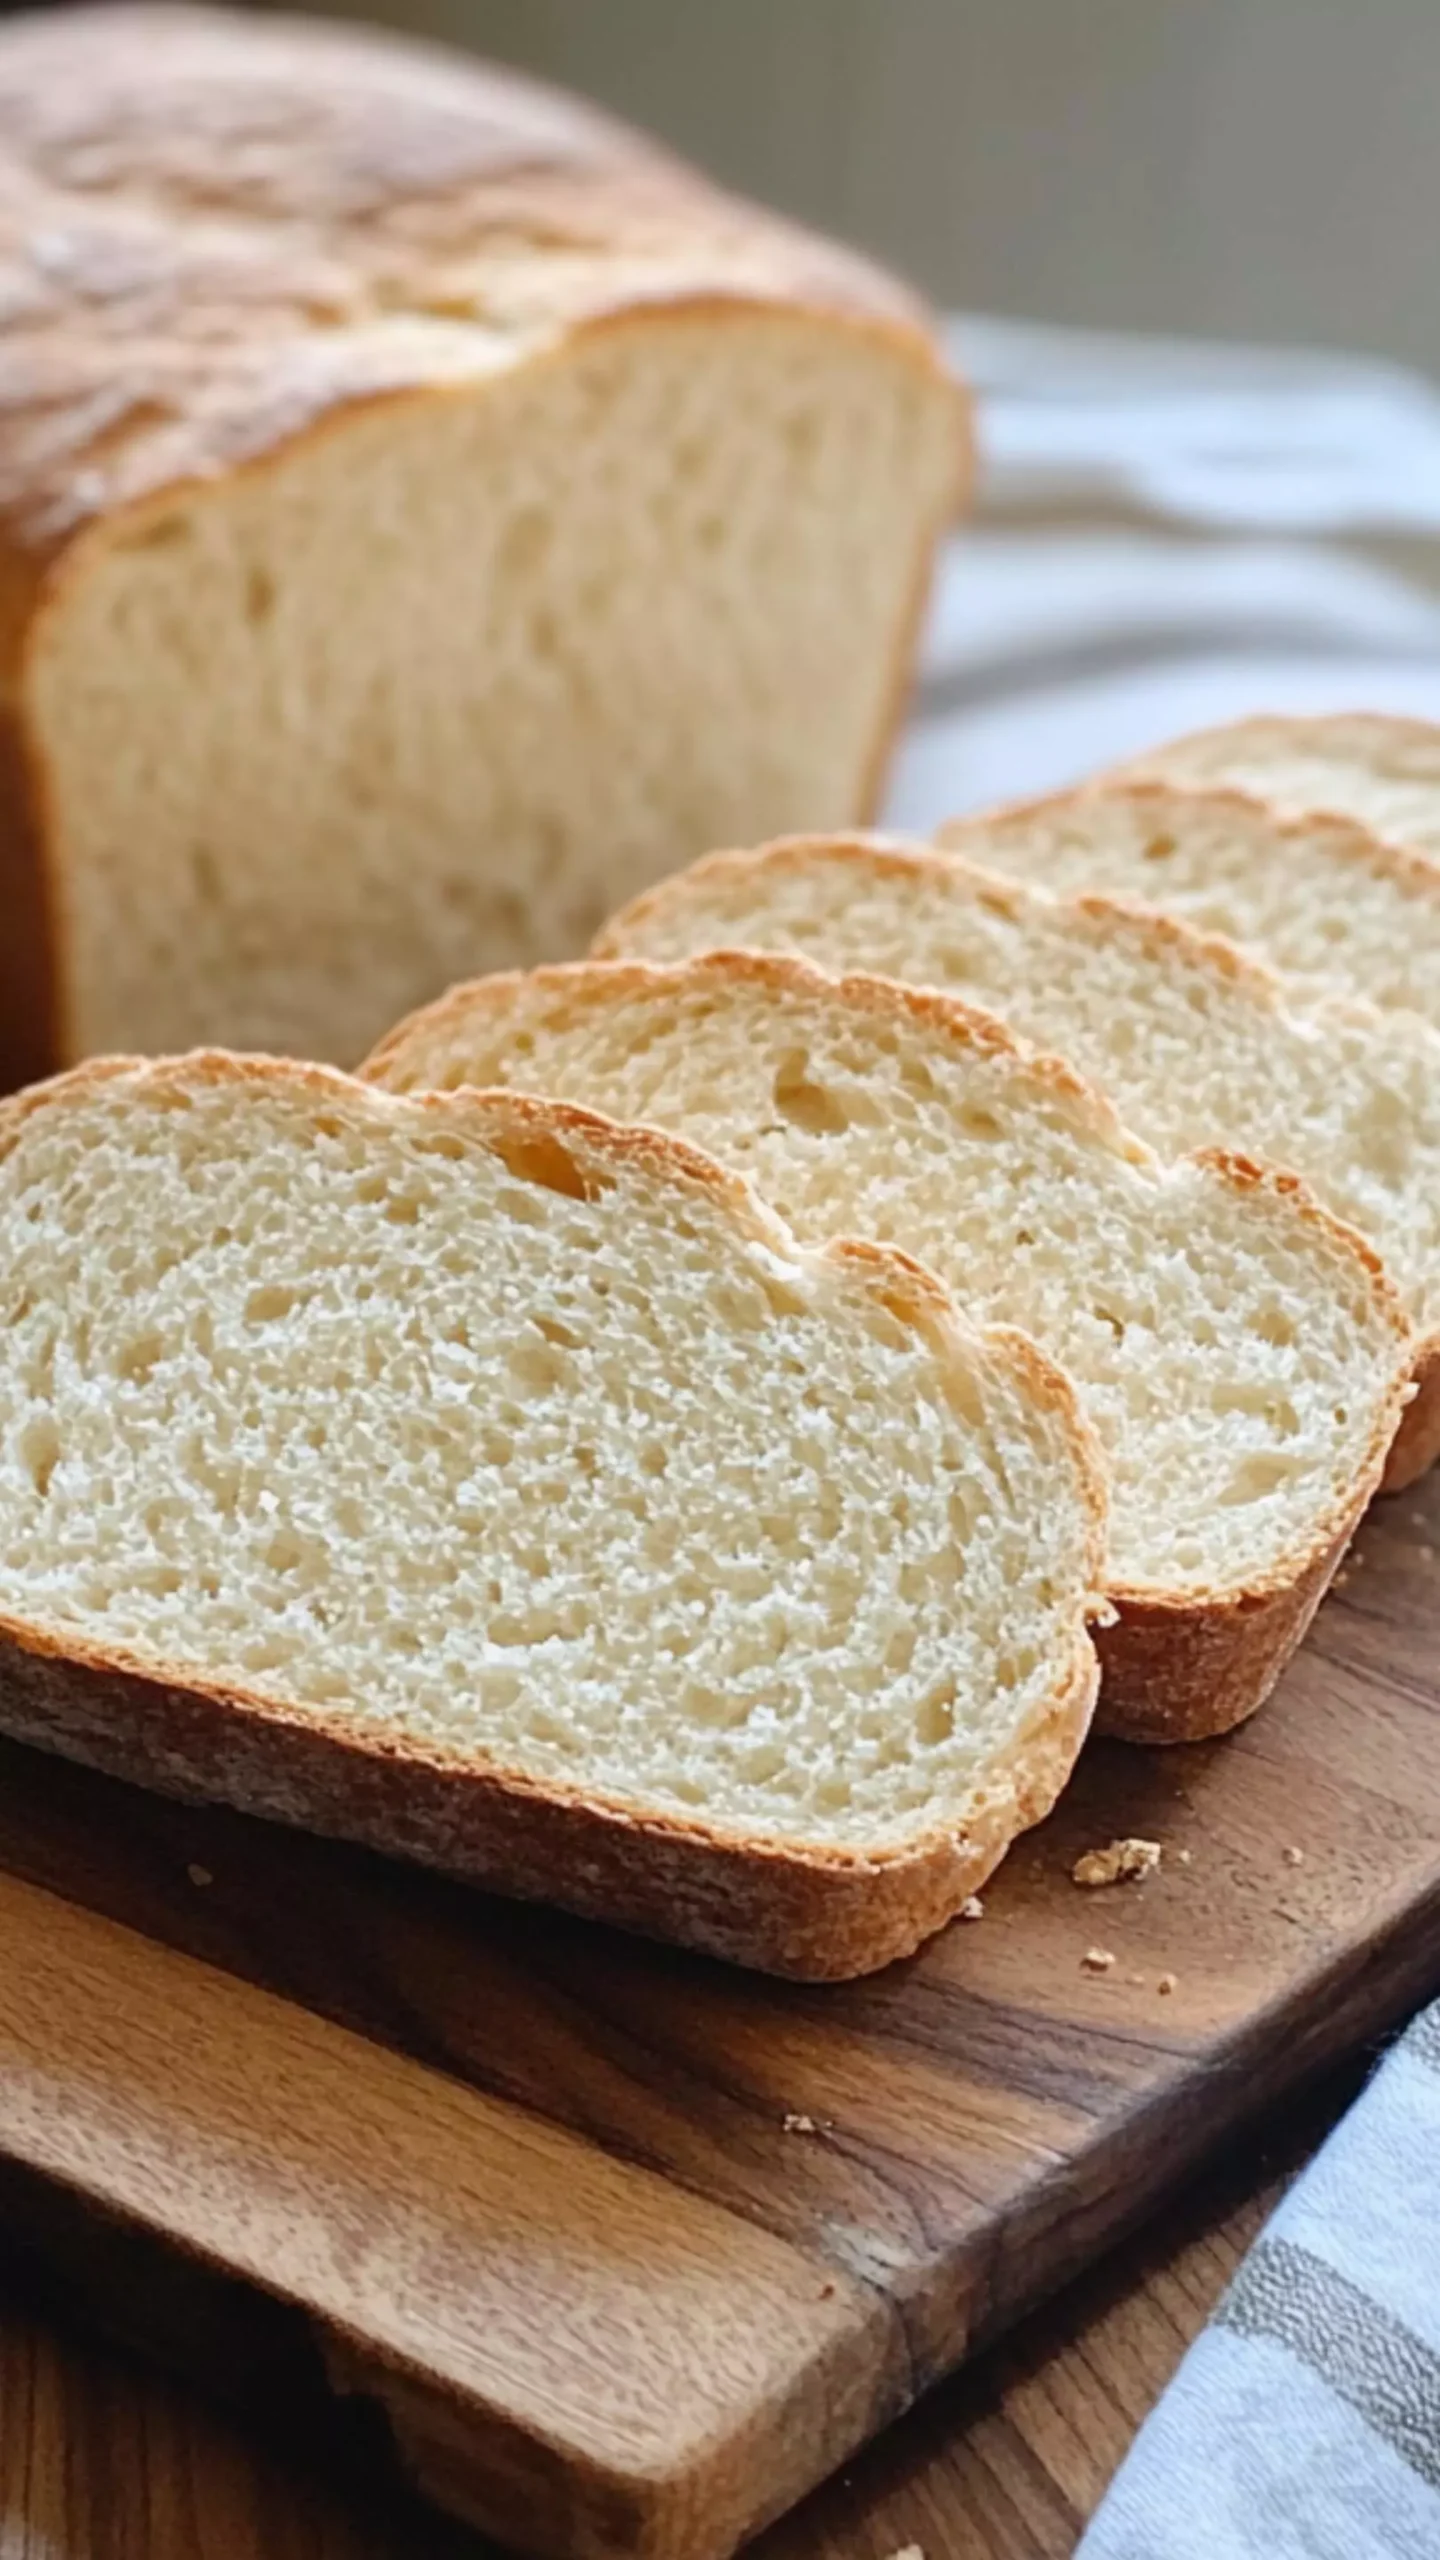
This bread recipe typically yields a soft, fluffy loaf that can be consumed as-is or transformed into sandwiches, toast, or even breadcrumbs for your next culinary adventure. Let’s explore the magic behind this recipe.
What Makes This Recipe Different From Other Pamela’s All-Purpose Flour Bread Recipes?
What sets this recipe apart is its emphasis on taste and texture. Many gluten-free bread recipes can feel dense or crumbly, but this bread comes with a delightful lightness. Using ingredients like flaxseed and apple cider vinegar contributes not only to flavor but also enhances the loaf’s structure.
I’ve played around with different formulas, and each time, I’ve found this blend rises beautifully. It provides a reliable outcome. You get that perfect crust on the outside while achieving a perfect soft center. It’s the kind of bread that can hold its own against any gourmet sandwich or simply shine with a pat of butter.
How Does It Taste?
This bread is a delightful culinary experience. The honey provides a slight sweetness, while the olive oil lends a rich depth. The bread is slightly chewy yet soft, with a finely textured crumb. It’s versatile, allowing you to enjoy it with savory spreads or sweet toppings.
Imagine sinking your teeth into a slice still warm from the oven, spreading creamy butter on top, and watching it melt into the bread. Or think of crafting a breakfast sandwich that showcases fresh eggs and spinach—the possibilities are infinite.
Ingredients You’ll Need To Make This Dish
To craft this delectable bread, gather the following ingredients:
For Bread Makers:
- 2 large eggs, room temperature
- 1 cup lukewarm water (about 100°F)
- 2 tablespoons pure honey or agave nectar
- 2 tablespoons olive oil or melted butter
- 2½ cups Pamela’s Gluten-Free Artisan Flour Blend
- 2¼ teaspoons active dry yeast
- 1½ teaspoons fine sea salt
- 1/8 teaspoon baking soda
- 1 tablespoon ground flaxseed (optional)
For Oven Baking:
- 3 large eggs, at room temperature
- 1½ cups lukewarm water (about 100°F)
- 2 tablespoons agave nectar or wildflower honey
- ¼ cup plus 2 tablespoons avocado oil or melted butter
- 3¾ cups Pamela’s All-Purpose Artisan Flour Blend
- 3½ teaspoons instant yeast
- 2¼ teaspoons sea salt
- 1 teaspoon apple cider vinegar
The ingredients come together to create something exceptional, and that’s not even the best part.

Step by Step Instructions
Ready to roll up your sleeves? Let’s make some bread! Here’s how I get it done, step by step.
Step 1: Gather Your Ingredients
First things first—get everything together. Assemble your ingredients on a clean countertop. Make sure your eggs are at room temperature. This helps in creating that fluffy texture.
Step 2: Prepare the Yeast Mixture
In a small bowl, combine lukewarm water, honey (or agave nectar), and yeast. Stir gently to combine. Let it sit for about 5–10 minutes. You’ll know it’s ready when it bubbles up like a beautiful science experiment.
Step 3: Mix Dry Ingredients
In a large bowl, combine Pamela’s All-Purpose Flour, baking soda, salt, and ground flaxseed. Whisk these together. You want everything well mixed to avoid any clumps in your dough.
Step 4: Combine Wet and Dry Ingredients
Once your yeast is frothy, add it to your dry mixture. Also, throw in your eggs and olive oil (or melted butter). Mix with a spatula, then switch to your hands if you like a good tactile experience. It will come together, but it might be a bit sticky—that’s okay!
Step 5: Kneading and First Rise
Transfer the dough to a lightly floured surface and knead for about 5 minutes. Form it into a ball and place it in a greased bowl. Cover it with a clean kitchen towel and let it rise in a warm spot for an hour or until it doubles in size.
Step 6: Shape the Loaf
Once the dough has risen, punch it down gently. Grab your loaf pan and grease it. Shape the dough into a loaf and place it in the pan. Cover it again and let it rise for another 30 minutes.
Step 7: Preheat the Oven
Preheat your oven to 375°F (190°C). It’s essential to allow the oven to reach the right temperature while your bread gets those last few puffs.
Step 8: Bake the Bread
Once the oven is hot, place the loaf inside. Bake for 30-35 minutes. You’ll know it’s done when the top turns a beautiful golden brown. You can also tap the bottom of the loaf; it should sound hollow.
Step 9: Cooling Time
Remove the bread from the oven and the pan. Let it cool on a wire rack. Patience is key; let it cool completely before slicing to avoid a gummy texture.
Tips & Tricks For Making Pamela’s All-Purpose Flour Bread
- Keep Ingredients Room Temperature: Always use room temperature eggs and water. This ensures the yeast activates properly.
- Don’t Skip the Second Rise: Allowing the dough to rise twice is crucial for achieving that airy texture we all want.
- Use a Kitchen Scale: For accuracy, measure out your flour with a scale. This ensures you have just the right amount.
- Experiment with Add-ins: Consider integrating seeds, nuts, or dried herbs for extra flavor and texture.
- Store Properly: Allow the bread to cool, then wrap it tightly in plastic wrap or store it in a bread box to maintain freshness.

Nutrition Information

How Do I Store This Dish?
Proper storage is vital for keeping your bread fresh. Here’s how to do it:
- Room Temperature: Wrap completely cooled bread in plastic wrap and store it in a cool, dry place for 3–5 days.
- Refrigerator: If you want it to last longer, refrigerate it. Just keep in mind that refrigeration can dry it out.
- Freezing: For extended storage, slice the bread and place it in a freezer-safe bag. It can last for up to 3 months. Just toast or thaw before serving.
What Other Substitutes Can You Use in Pamela’s All-Purpose Flour Bread Recipe?
Variety is the spice of life! If you’re looking to switch things up, consider these options:
- Honey: Replace with maple syrup for a vegan twist.
- Butter: Use coconut oil instead for a dairy-free alternative.
- Flaxseed: Swap it with chia seeds for a similar texture.
- Water: Substitute with plant-based milk to add a hint of creaminess.
- Sea Salt: Use Himalayan salt for a mineral-rich option.
These changes can offer exciting insights while creating something uniquely yours.
Pamela’s All Purpose Flour Bread Recipe
Ingredients
Equipment
Method
- First things first—get everything together. Assemble your ingredients on a clean countertop. Make sure your eggs are at room temperature. This helps in creating that fluffy texture.
- In a small bowl, combine lukewarm water, honey (or agave nectar), and yeast. Stir gently to combine. Let it sit for about 5–10 minutes. You’ll know it’s ready when it bubbles up like a beautiful science experiment.
- In a large bowl, combine Pamela’s All-Purpose Flour, baking soda, salt, and ground flaxseed. Whisk these together. You want everything well mixed to avoid any clumps in your dough.
- Once your yeast is frothy, add it to your dry mixture. Also, throw in your eggs and olive oil (or melted butter). Mix with a spatula, then switch to your hands if you like a good tactile experience. It will come together, but it might be a bit sticky—that’s okay!
- Transfer the dough to a lightly floured surface and knead for about 5 minutes. Form it into a ball and place it in a greased bowl. Cover it with a clean kitchen towel and let it rise in a warm spot for an hour or until it doubles in size.
- Once the dough has risen, punch it down gently. Grab your loaf pan and grease it. Shape the dough into a loaf and place it in the pan. Cover it again and let it rise for another 30 minutes.
- Preheat your oven to 375°F (190°C). It’s essential to allow the oven to reach the right temperature while your bread gets those last few puffs.
- Once the oven is hot, place the loaf inside. Bake for 30-35 minutes. You’ll know it’s done when the top turns a beautiful golden brown. You can also tap the bottom of the loaf; it should sound hollow.
- Remove the bread from the oven and the pan. Let it cool on a wire rack. Patience is key; let it cool completely before slicing to avoid a gummy texture.
Nutrition
Notes
- Keep Ingredients Room Temperature: Always use room temperature eggs and water. This ensures the yeast activates properly.
- Don’t Skip the Second Rise: Allowing the dough to rise twice is crucial for achieving that airy texture we all want.
- Use a Kitchen Scale: For accuracy, measure out your flour with a scale. This ensures you have just the right amount.
- Experiment with Add-ins: Consider integrating seeds, nuts, or dried herbs for extra flavor and texture.
- Store Properly: Allow the bread to cool, then wrap it tightly in plastic wrap or store it in a bread box to maintain freshness.
Tried this recipe?
Let us know how it was!Frequently Asked Questions
Conclusion
Pamela’s All-Purpose Flour bread recipe isn’t just another baking project—it’s an experience. It embraces the joy of creating something delicious while being accessible to all levels of bakers.
Remember, baking is not just a science; it’s an art form. With each loaf, you’re crafting memories—whether it’s sharing with family or enjoying a quiet moment with a slice of warm bread.
So gather your ingredients and dive into this delightful journey. Bread-making is a rewarding skill that brings a touch of warmth to your table. Here’s to great bread and even better company. Happy baking!
You’ll also like these latest recipes!
Related Post
Spinach Mushroom Frittata – Whisk GuideSpinach Mushroom Frittata – Whisk Guide
Spinach Mushroom Frittata is savory and rich, and pairing it with the right sides makes the meal truly memorable. These options add freshness, texture, and a touch of sweetness. A

Pamelas Gluten Free Scones Recipe – Whisk GuidePamelas Gluten Free Scones Recipe – Whisk Guide
Before diving into the delightful world of Pamela’s gluten-free scones, let’s explore the wonderful accompaniments that can elevate your scone experience. These scones are incredibly versatile and pair beautifully with

Simple Chickpea Flour Pancakes Recipe – Whisk GuideSimple Chickpea Flour Pancakes Recipe – Whisk Guide
Chickpea flour pancakes are so versatile that they can be enjoyed in various ways. First off, consider pairing them with a hearty salsa verde. The bright flavors of the sauce